
| [ Main index » Bicycle components tests » (Dynamo) bicycle lighting » Schmidt Edelux review » Dissection and brief analysis of a Schmidt Edelux | Dutch: NL: Deze pagina in het Nederlands ] |
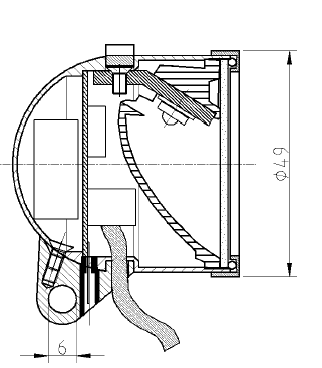
Before I made this page, the only information on Edelux internals was the following picture with a cross section, which I think was originally from Schmidt's website, where at this moment only a lower resolution version seems to be available in a PDF file about the Edelux:
Now to the new information: The following is based on a brief description of how the Edelux is put together, with pictures, that I received from someone who took apart his Edelux. I added some clarifications to the text I received on how it is put together, and a few notes (prefaced by 'WHS'). It's hard to accurately analyse just from pictures so there could be some inaccuracies here and there... I might open up my Edelux some time and check it all out.
Btw., for more details on the Edelux and how this headlamp performs see my bicycle lighting test page: Edelux.
The front retaining ring has a very fine thread. It was hard to get it off, even with a wrench, so Schmidt may have applied Loctite to the threads... (WHS: I think to get the ring off without damaging it you will need a large circular clamp covered with rubber for both protection of the ring and for grip).
In the end a Dremel tool was used to remove (grind off) the retaining ring.
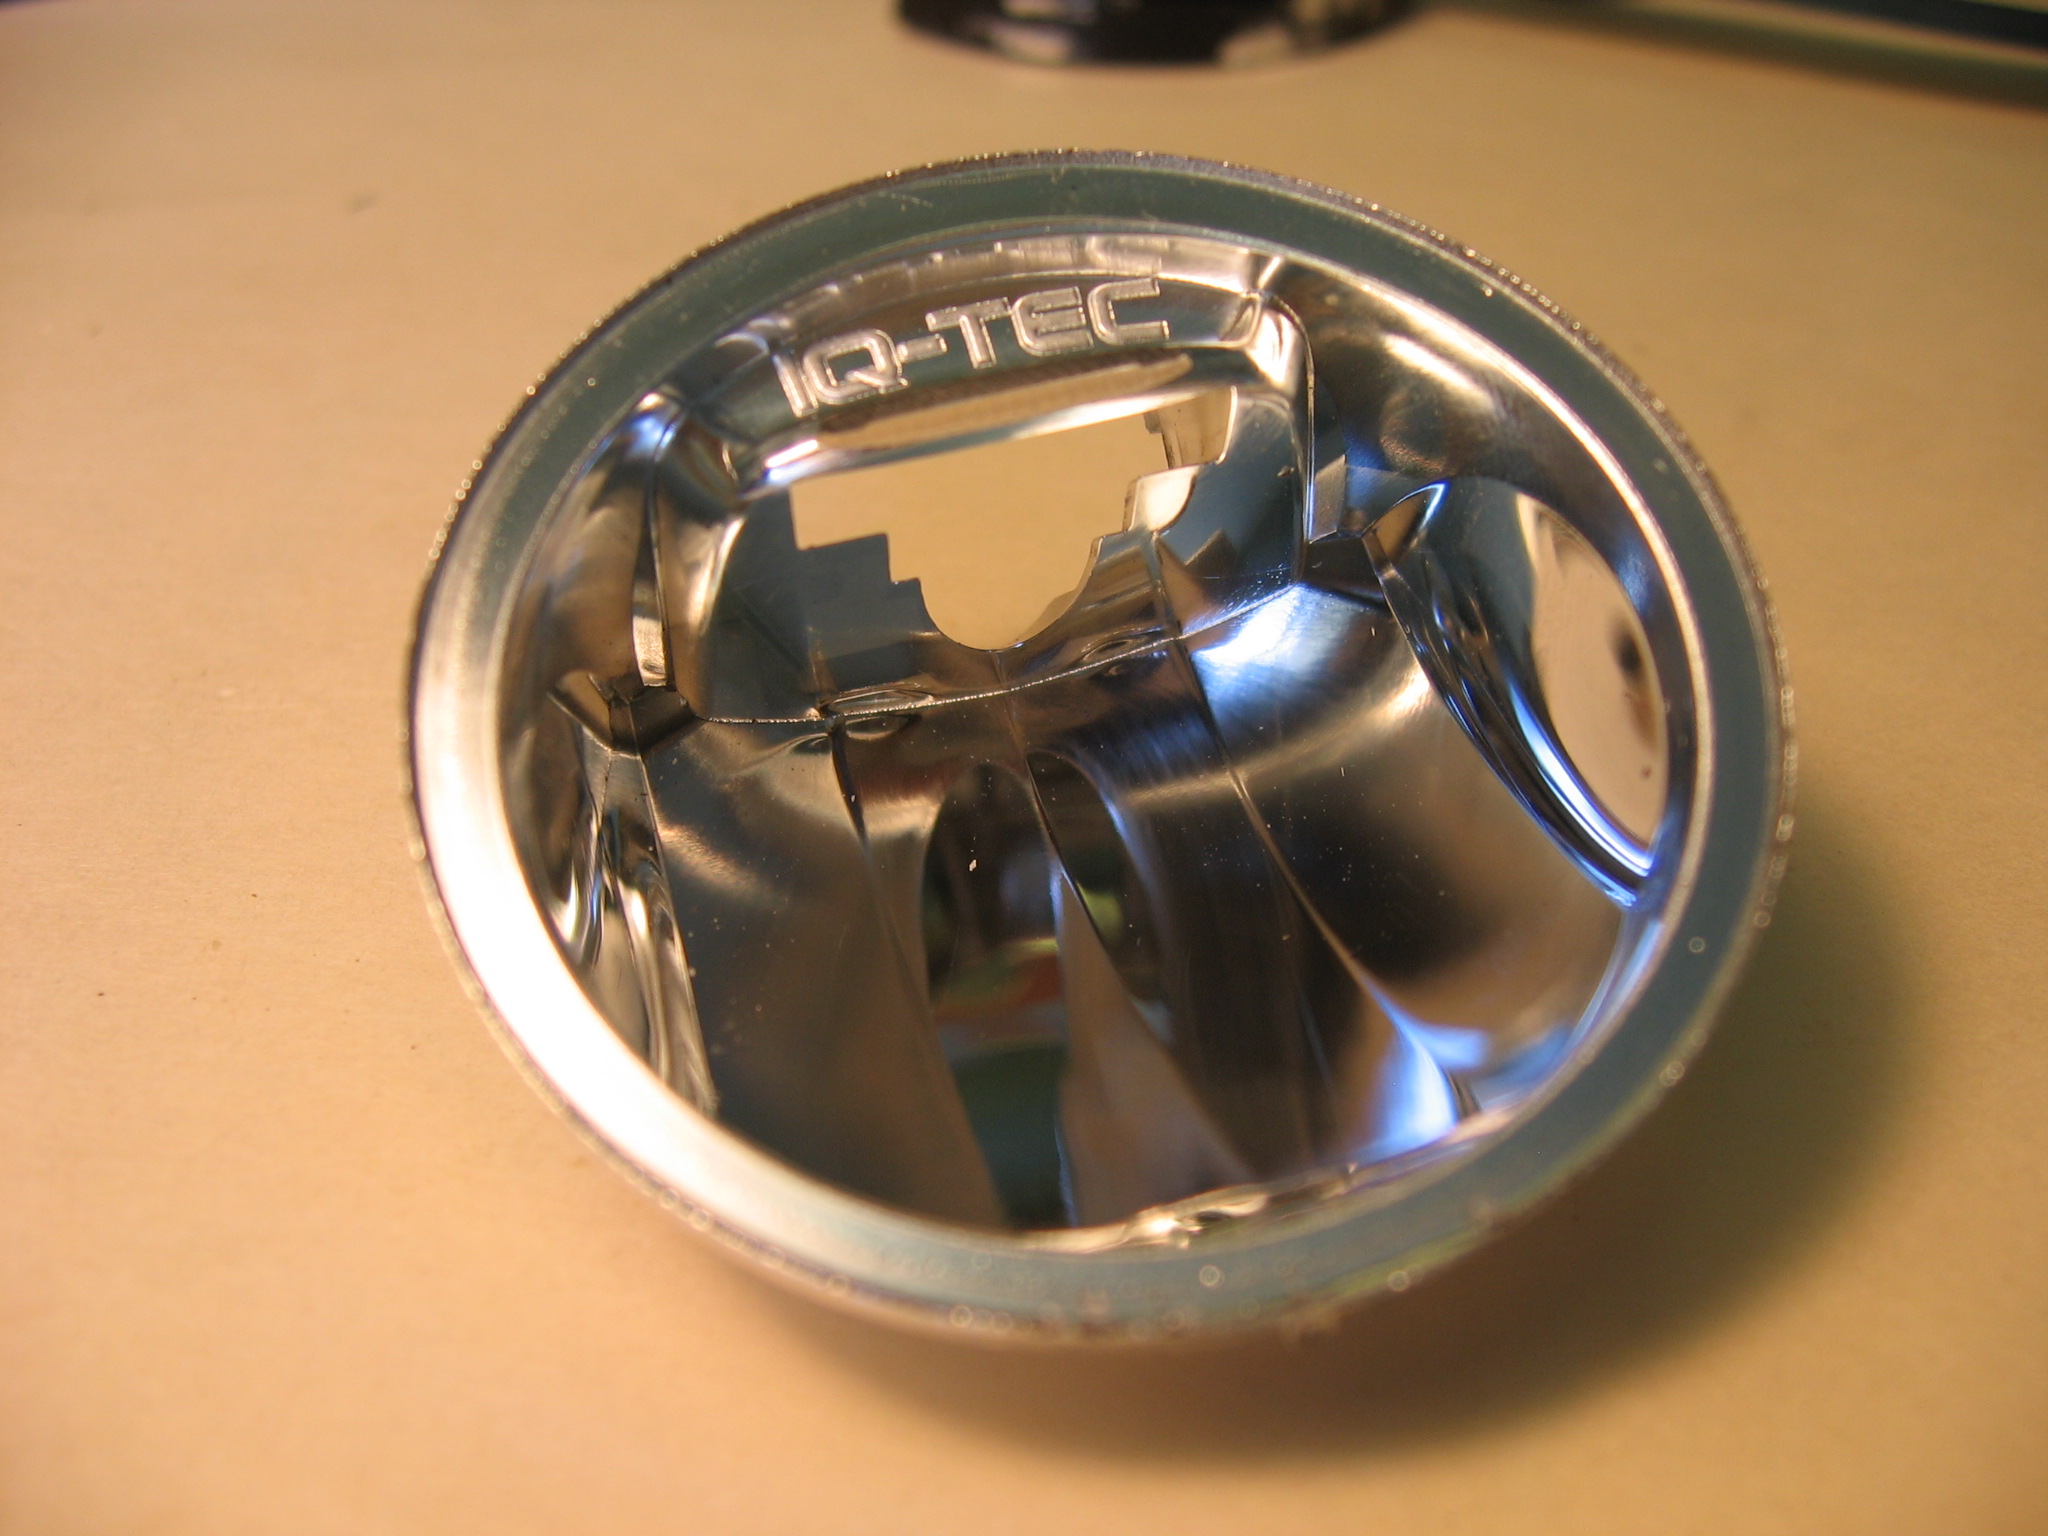

The reflector is apparently (according to the person dissecting the Edelux) made with a simple open-and-close mold.
It has a ring around the edge that rests on a ledge in the housing (perhaps it's better to say: The housing is made with a ledge on which the reflector's ring rests; Note that reflector was made first for the B&M IQ Fly, and Schmidt later made this lamp using that reflector, so the housing was made around the already existing reflector).
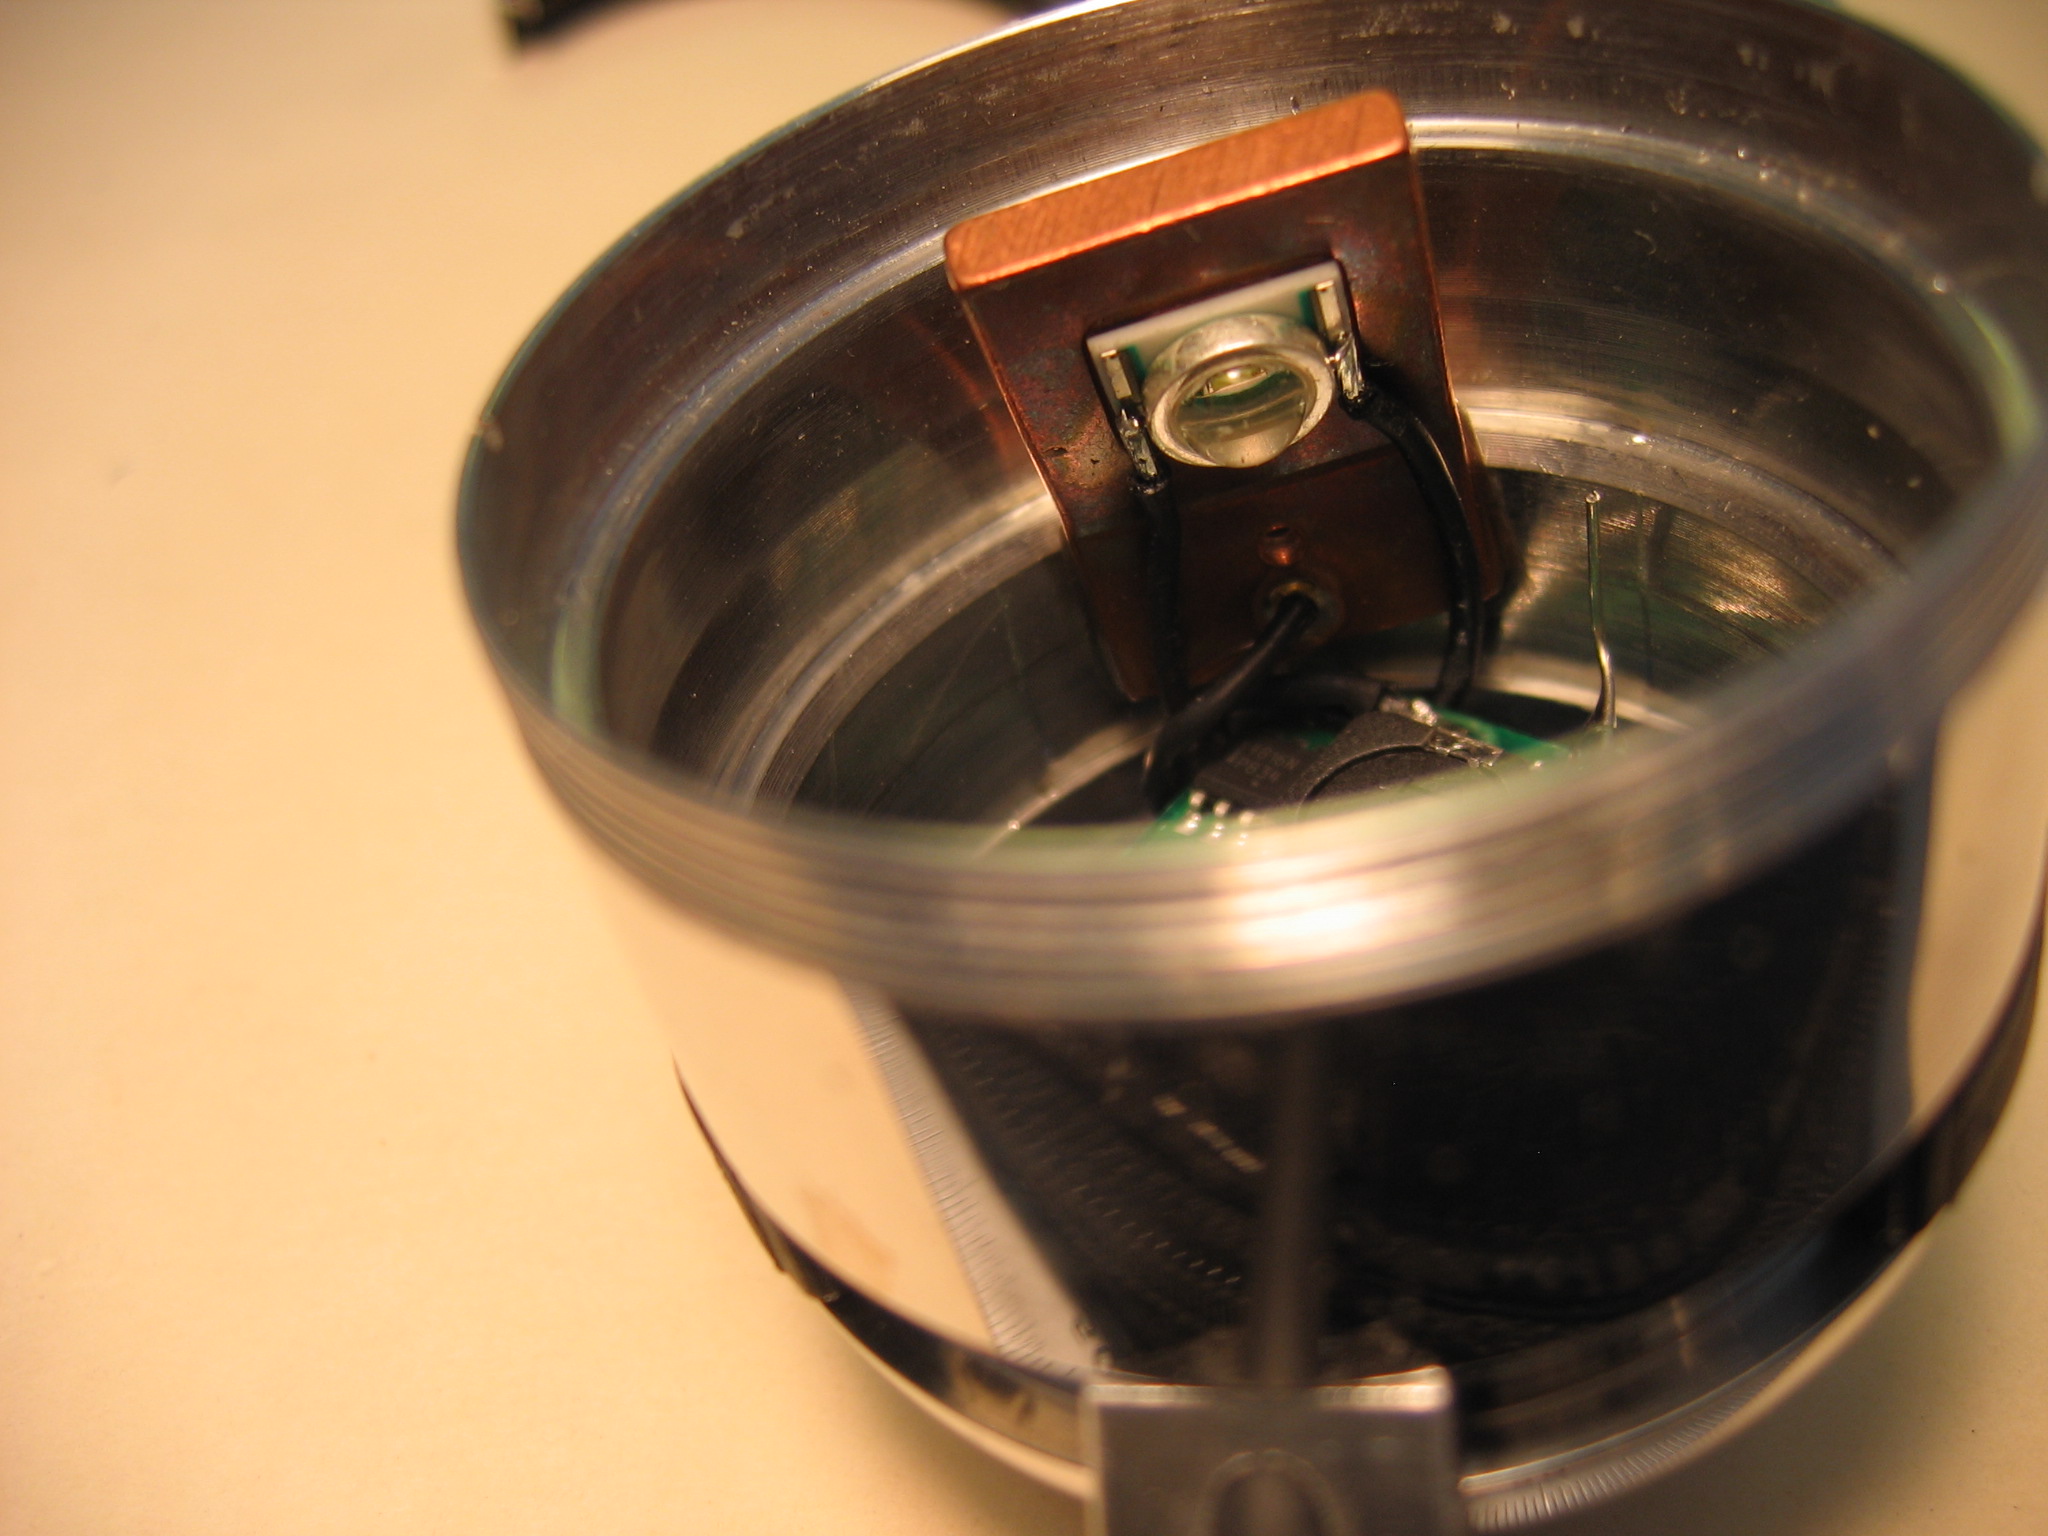
These pictures show that the LED is mounted directly onto the copper plate shown.
Below the LED, there's a wire soldered to the copper plate.
A small T6 torx bolt fixes the copper plate to the housing.
From these pictures you can clearly see that the copper plate does not contact the wall of the housing directly, but
via a clear (adhesive?) layer of presumably thermally conducting material which is about 0.5 mm thick.
WHS: I think it is not a conductive layer, but glue to keep the copper plate in place and possibly prevent it from vibrating loose. Contact is probably direct via the tapered hole and/or the bottom section of the copper, but it's hard to make out from the pictures.

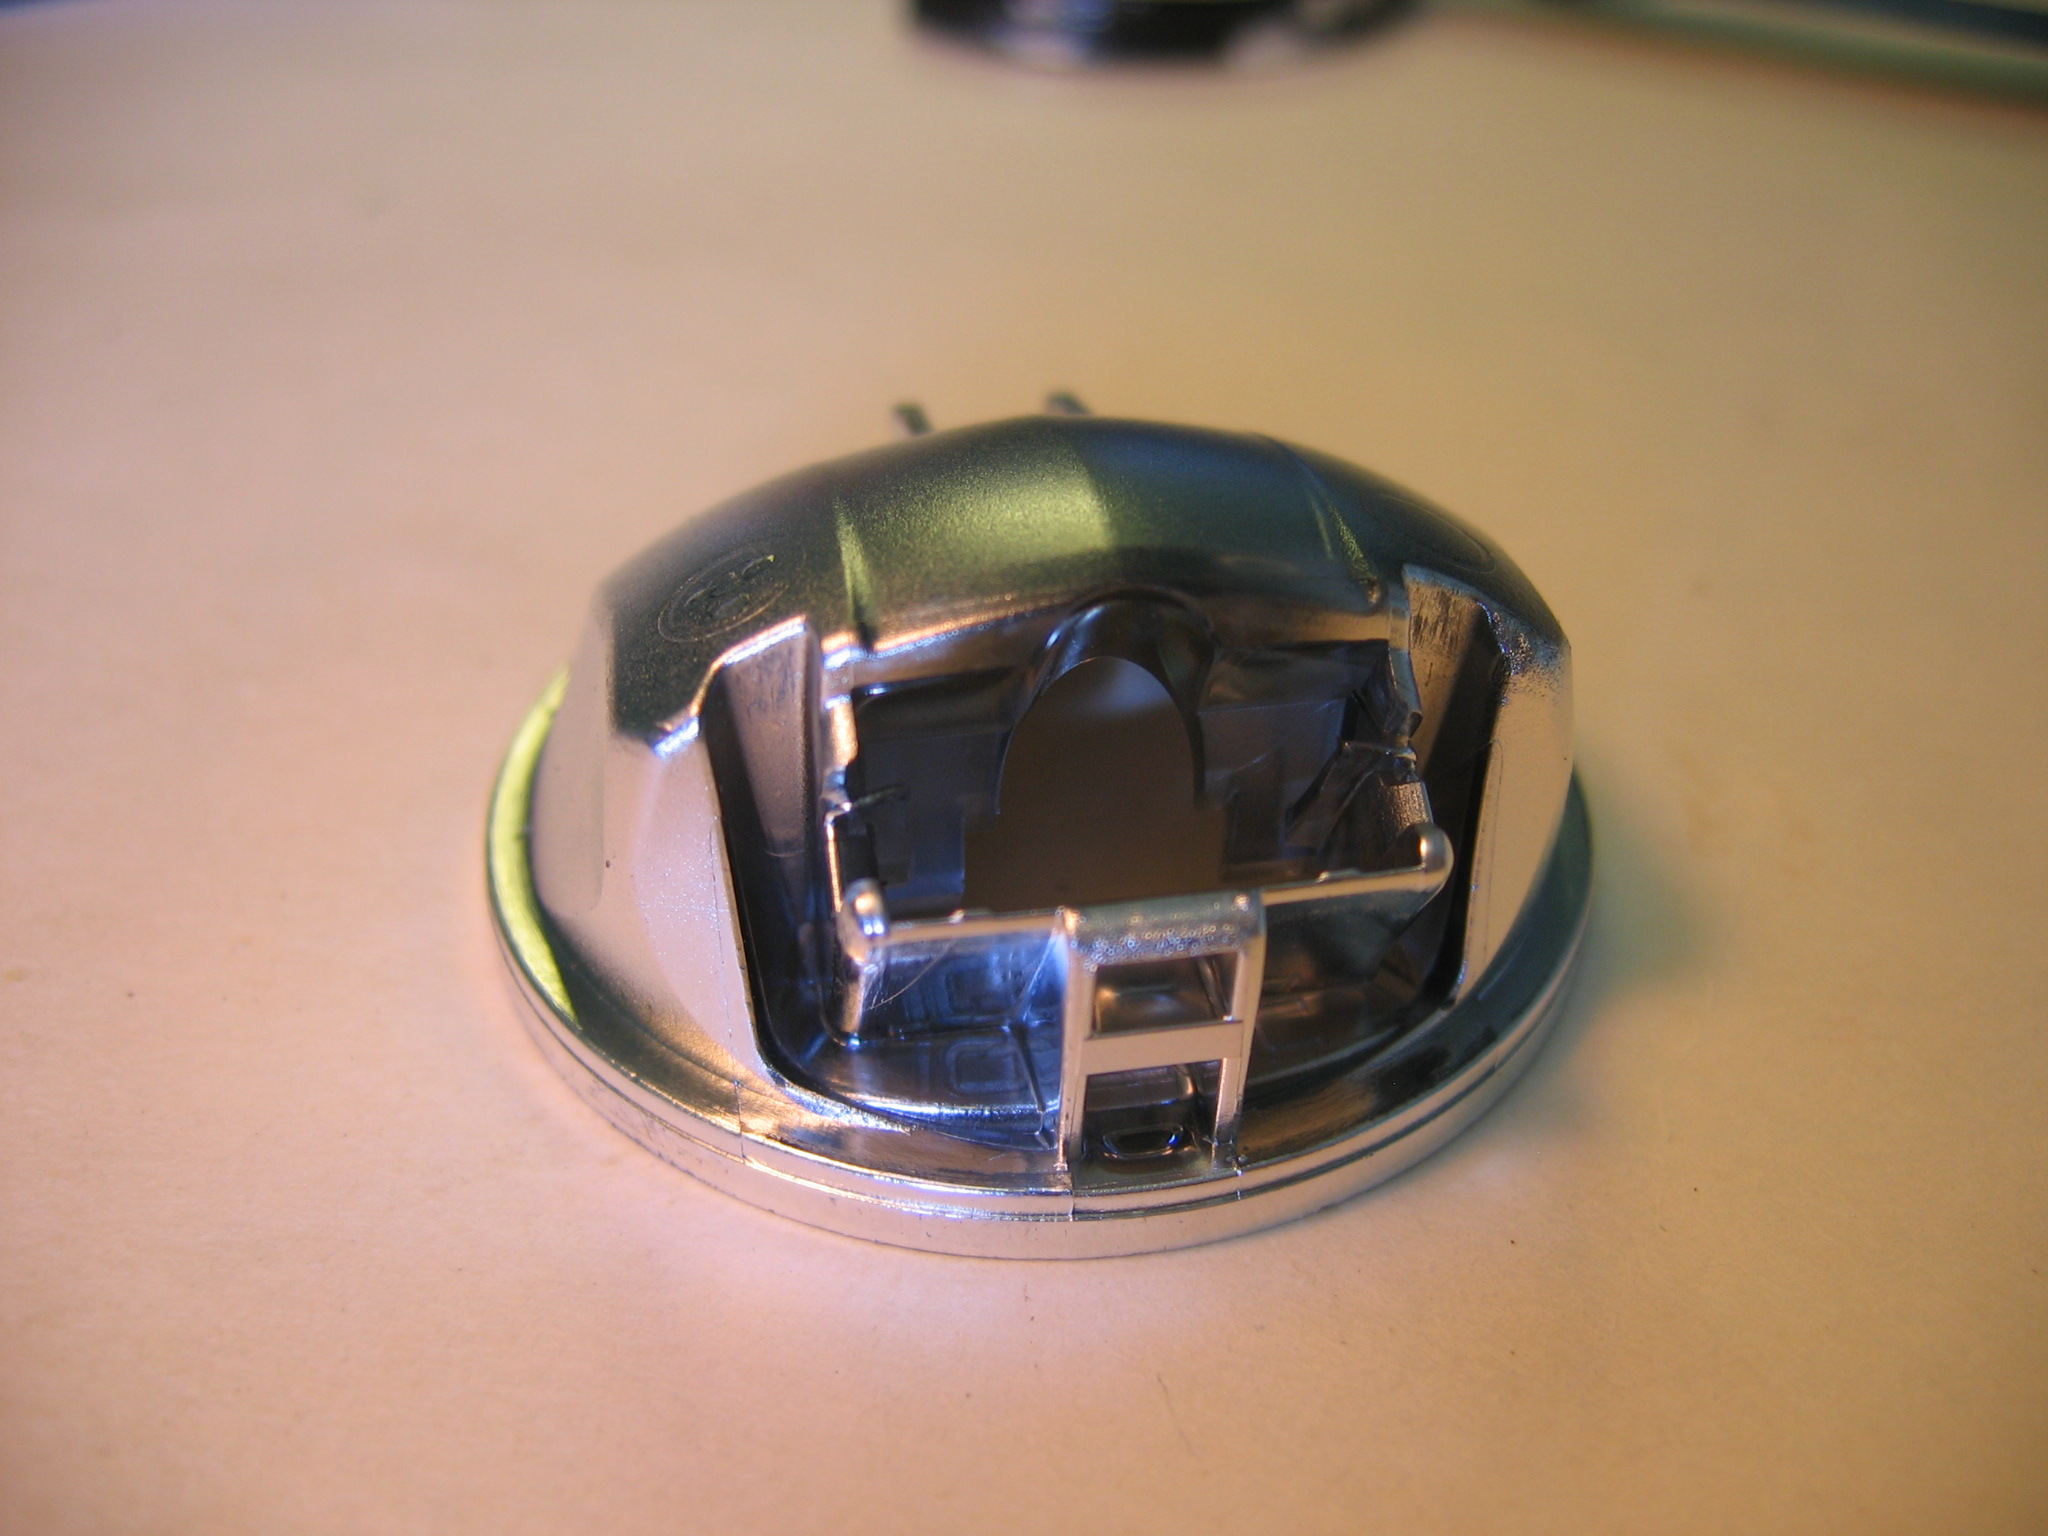
The plastic ring with which you select if the light is to be on, off, or on when it gets dark (via sensor) can simply be taken off. It hides the T6 bolt and the light sensor.
On the inside the housing shows the marks from a lathe (or CNC machine). On the outside it doesn't, which means a lot of effort went into polishing that out....
The person dissecting the lamp says this about the retaining ring and the O-ring that keeps the lamp watertight:
The retaining ring clamps down on the glass lens, which in turn compresses a rubber o-ring. This prevents water from coming in around the lens and into the reflector area, but it does not necessarily keep water from coming around the outside of the O-ring and reflector. Schmidt is counting on the O-ring compressing enough that it squeezes against the inner wall of the housing, but there is no flange or wedge on the reflector (or the lens) to guarantee that this happens...
WHS: I am not aware of Edeluxes being prone to water damage (except some from the earliest batches in 2008, but think this Edelux was from a later batch), so I suppose it works as it should... If the O-ring is wide enough, it should work without problems, providing there's enough friction between the O-ring and the glass, and/or the O-ring and the reflector. In that case a wedge isn't needed.
End of analysis.
Each picture is ca. 5MB:

| To email me go to the email page |
Last modified: Tue Feb 19 17:55:39 CET 2013