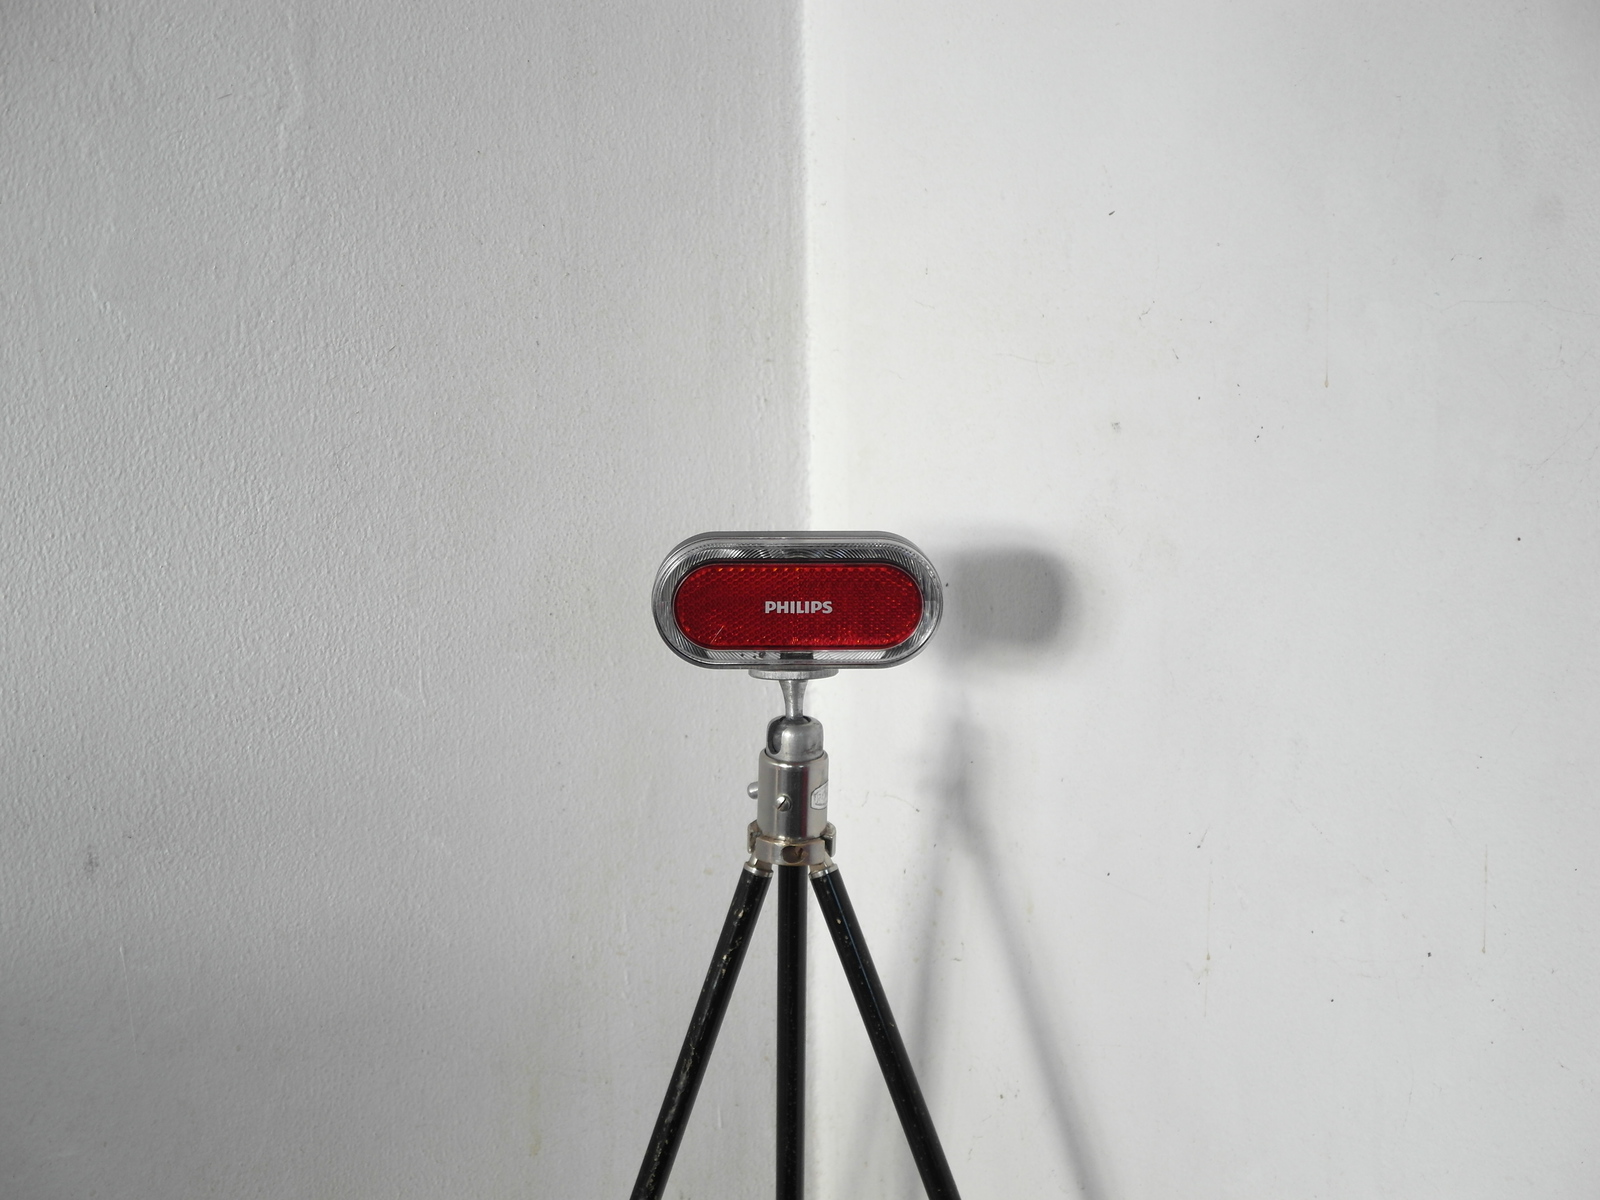


| [ Main index » Bicycle components tests » (Dynamo) bicycle lighting » Dynamo taillamps » | Dutch: Deze pagina in het Nederlands ] |
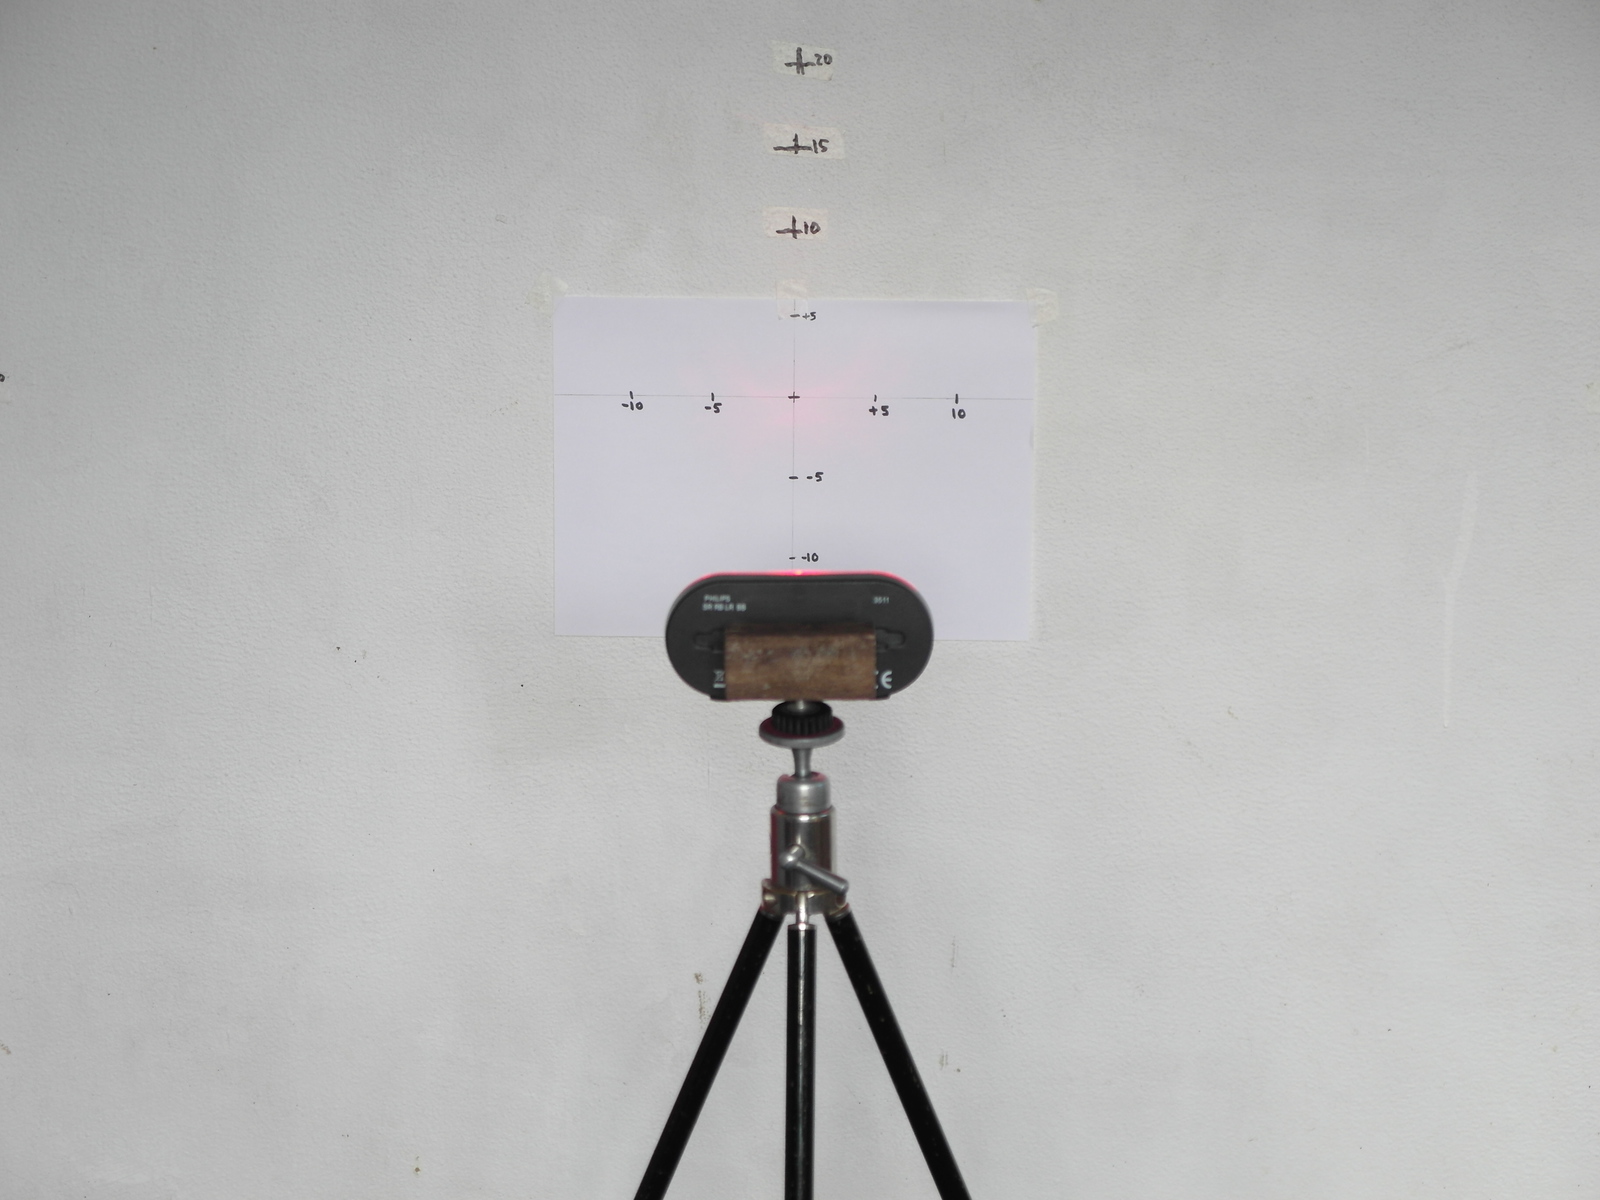
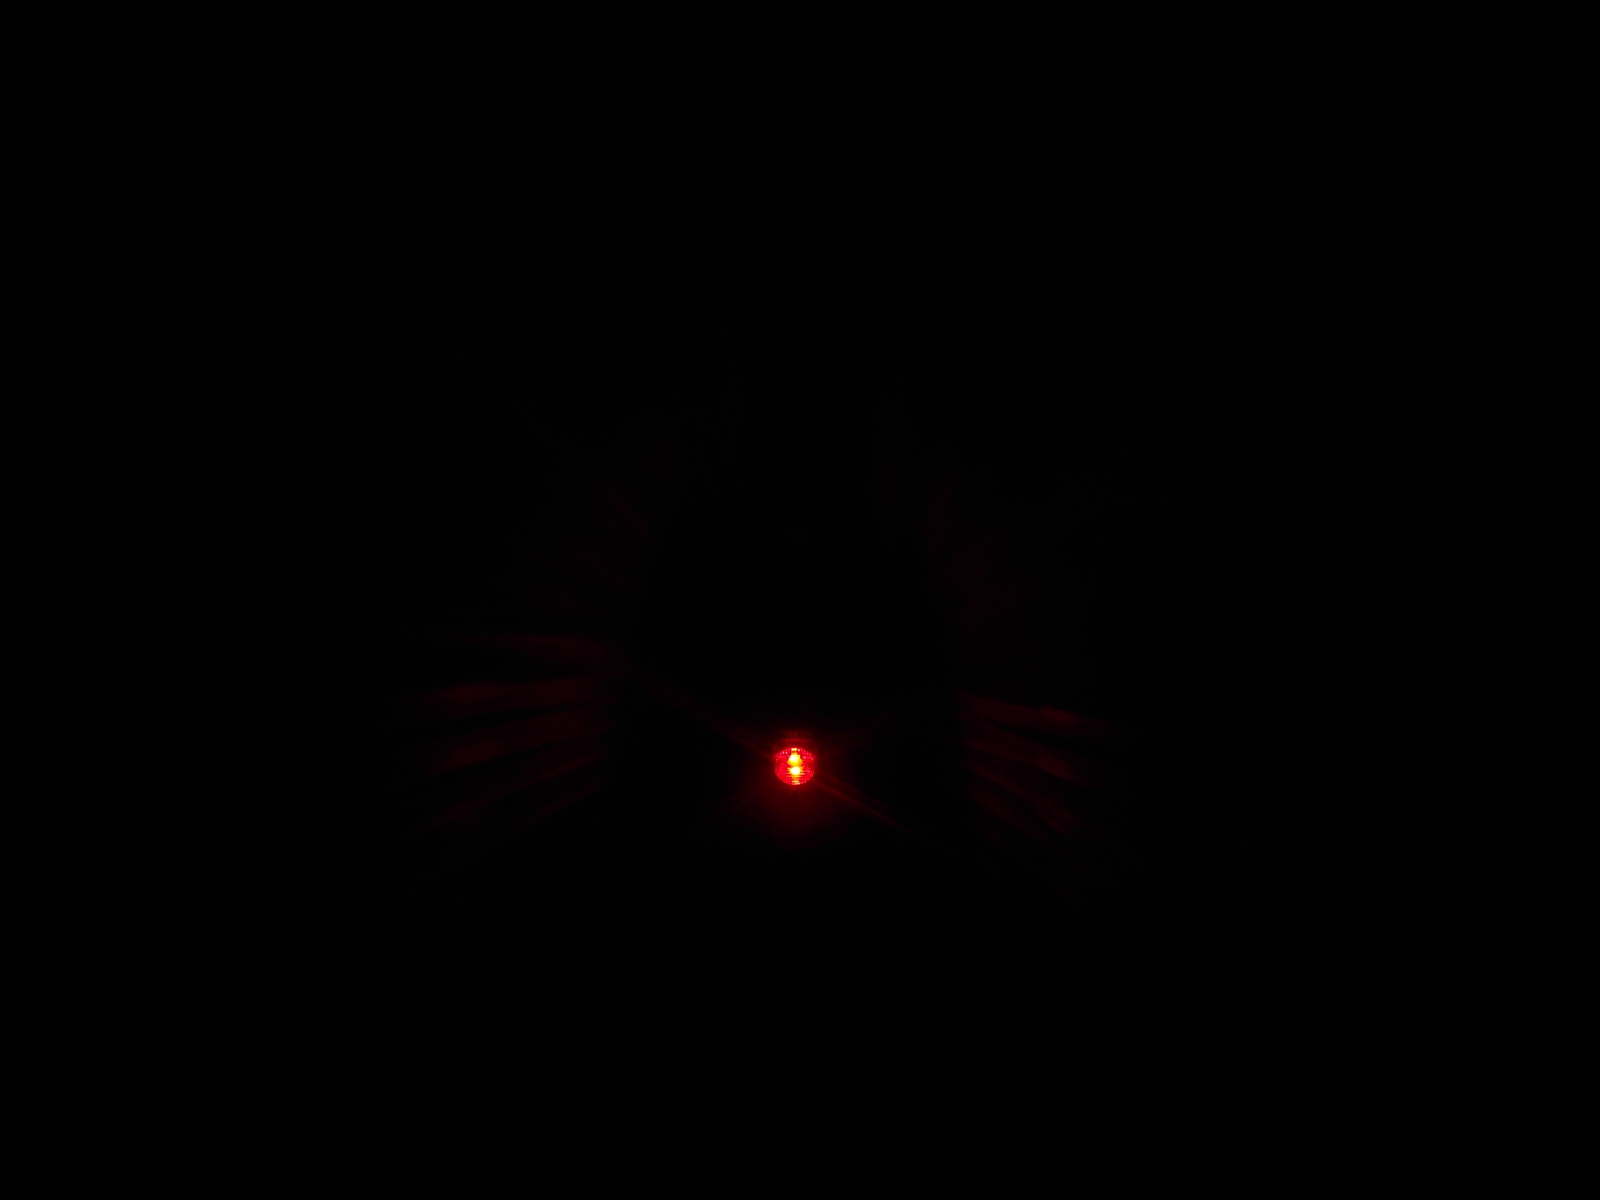
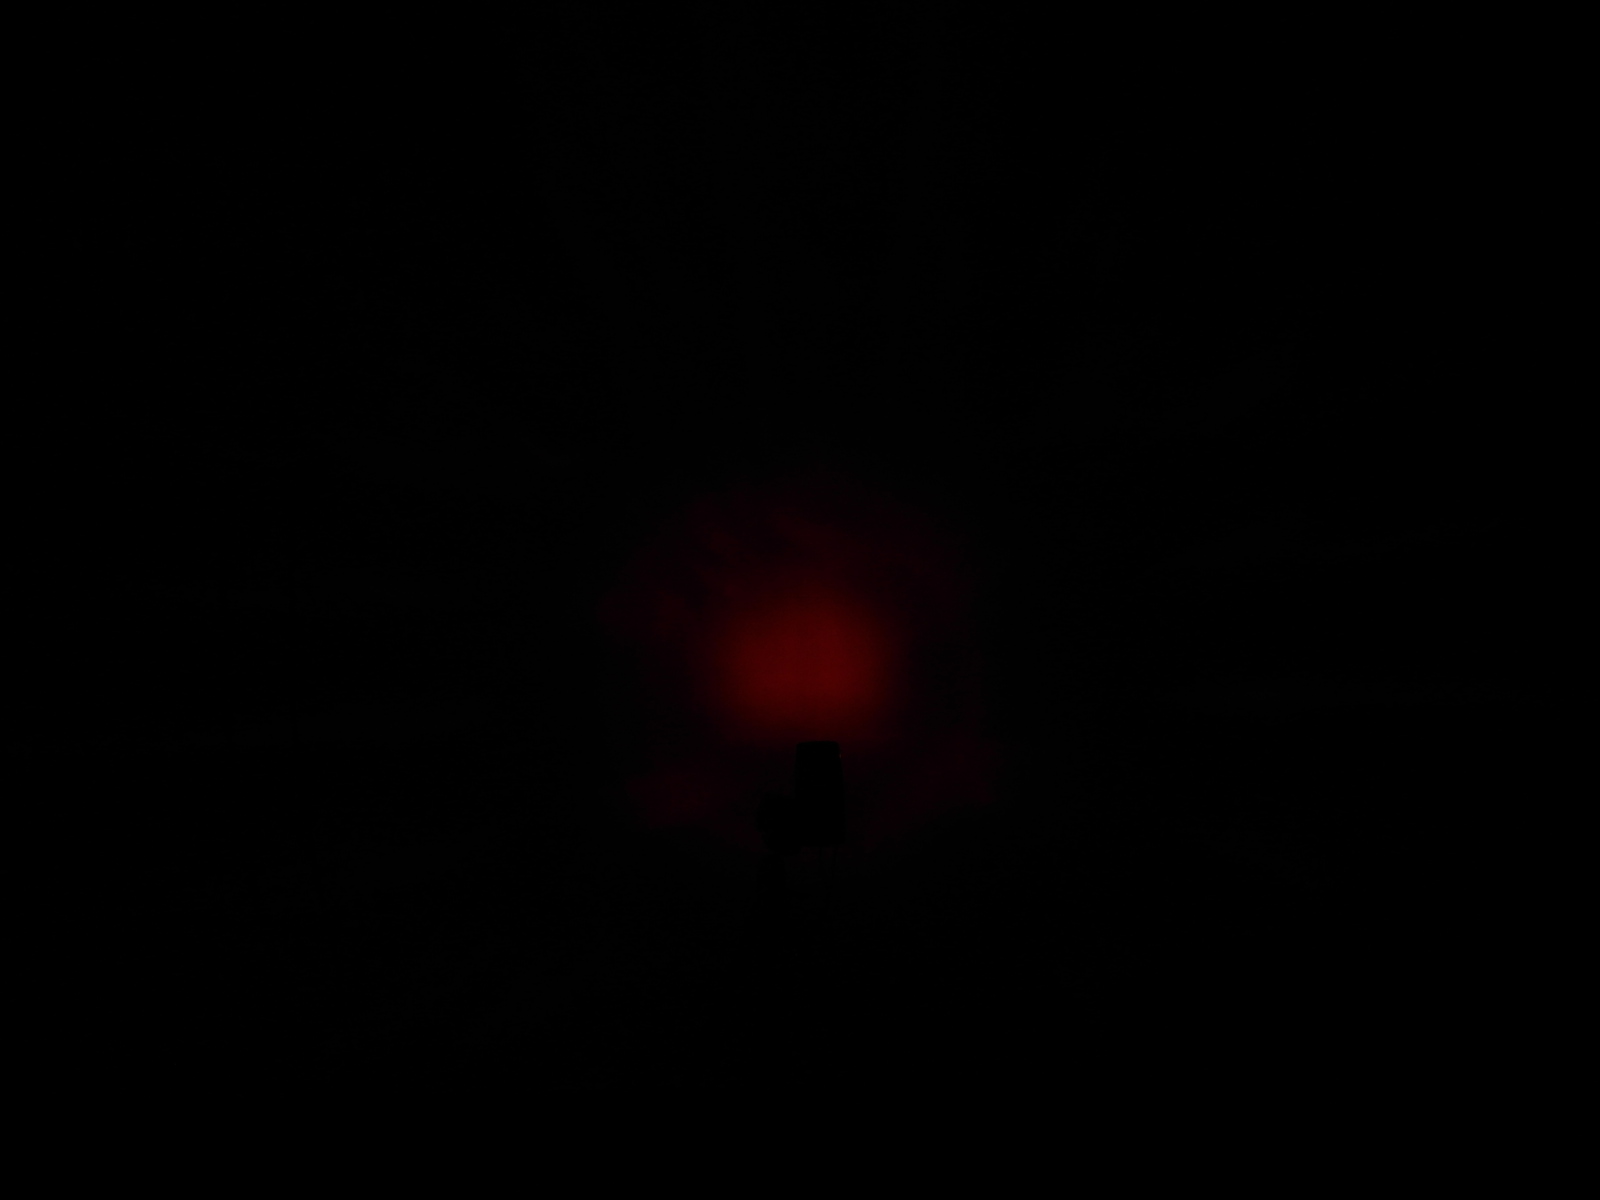
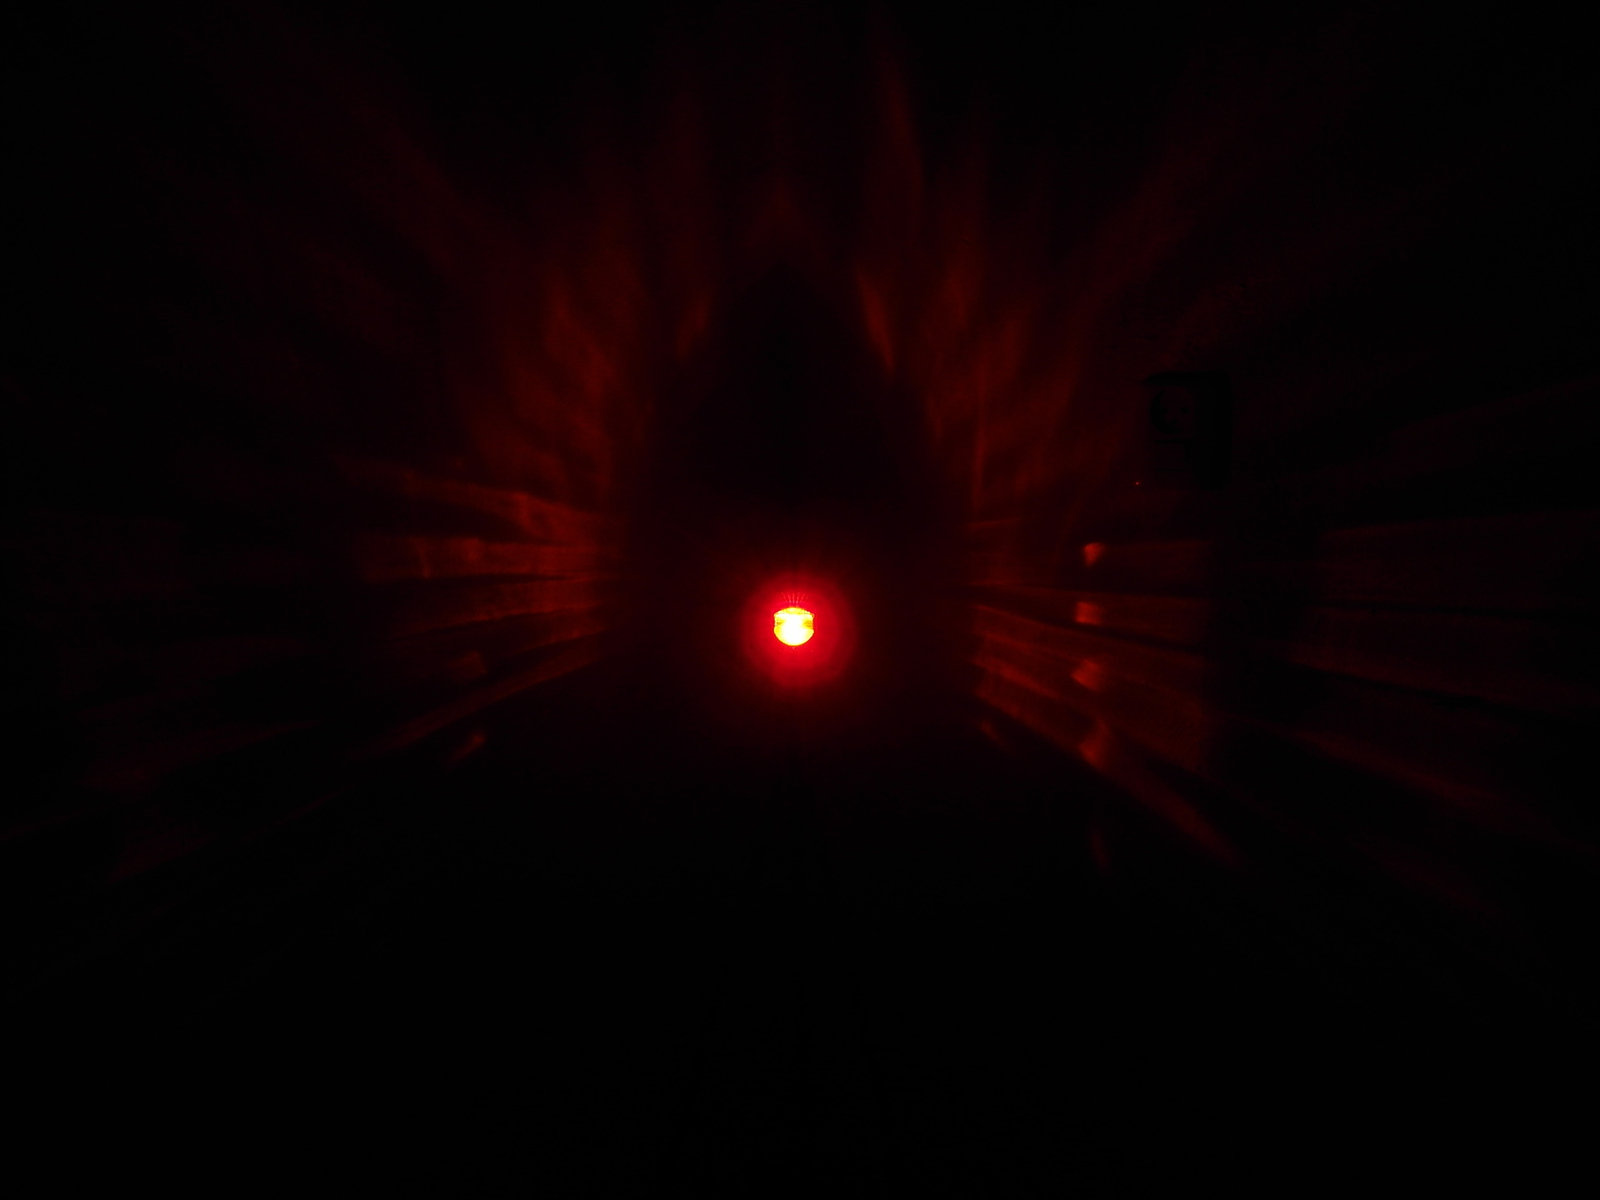
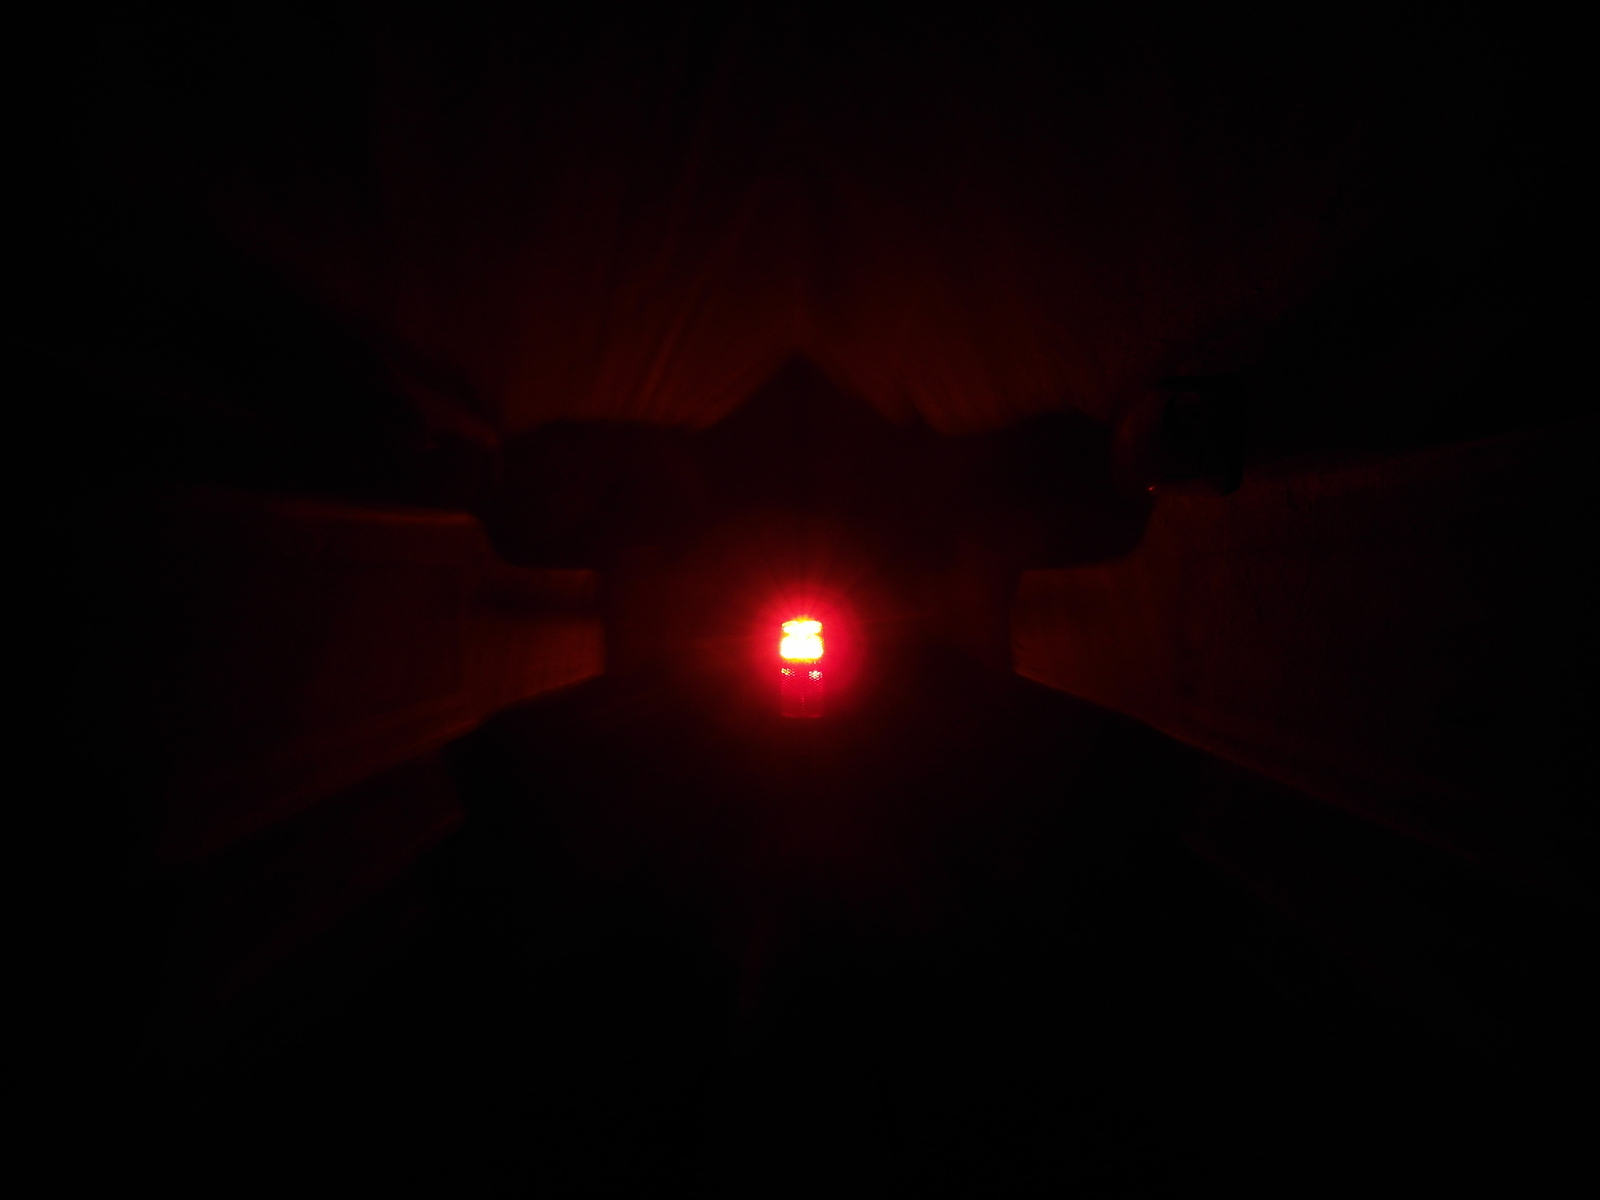
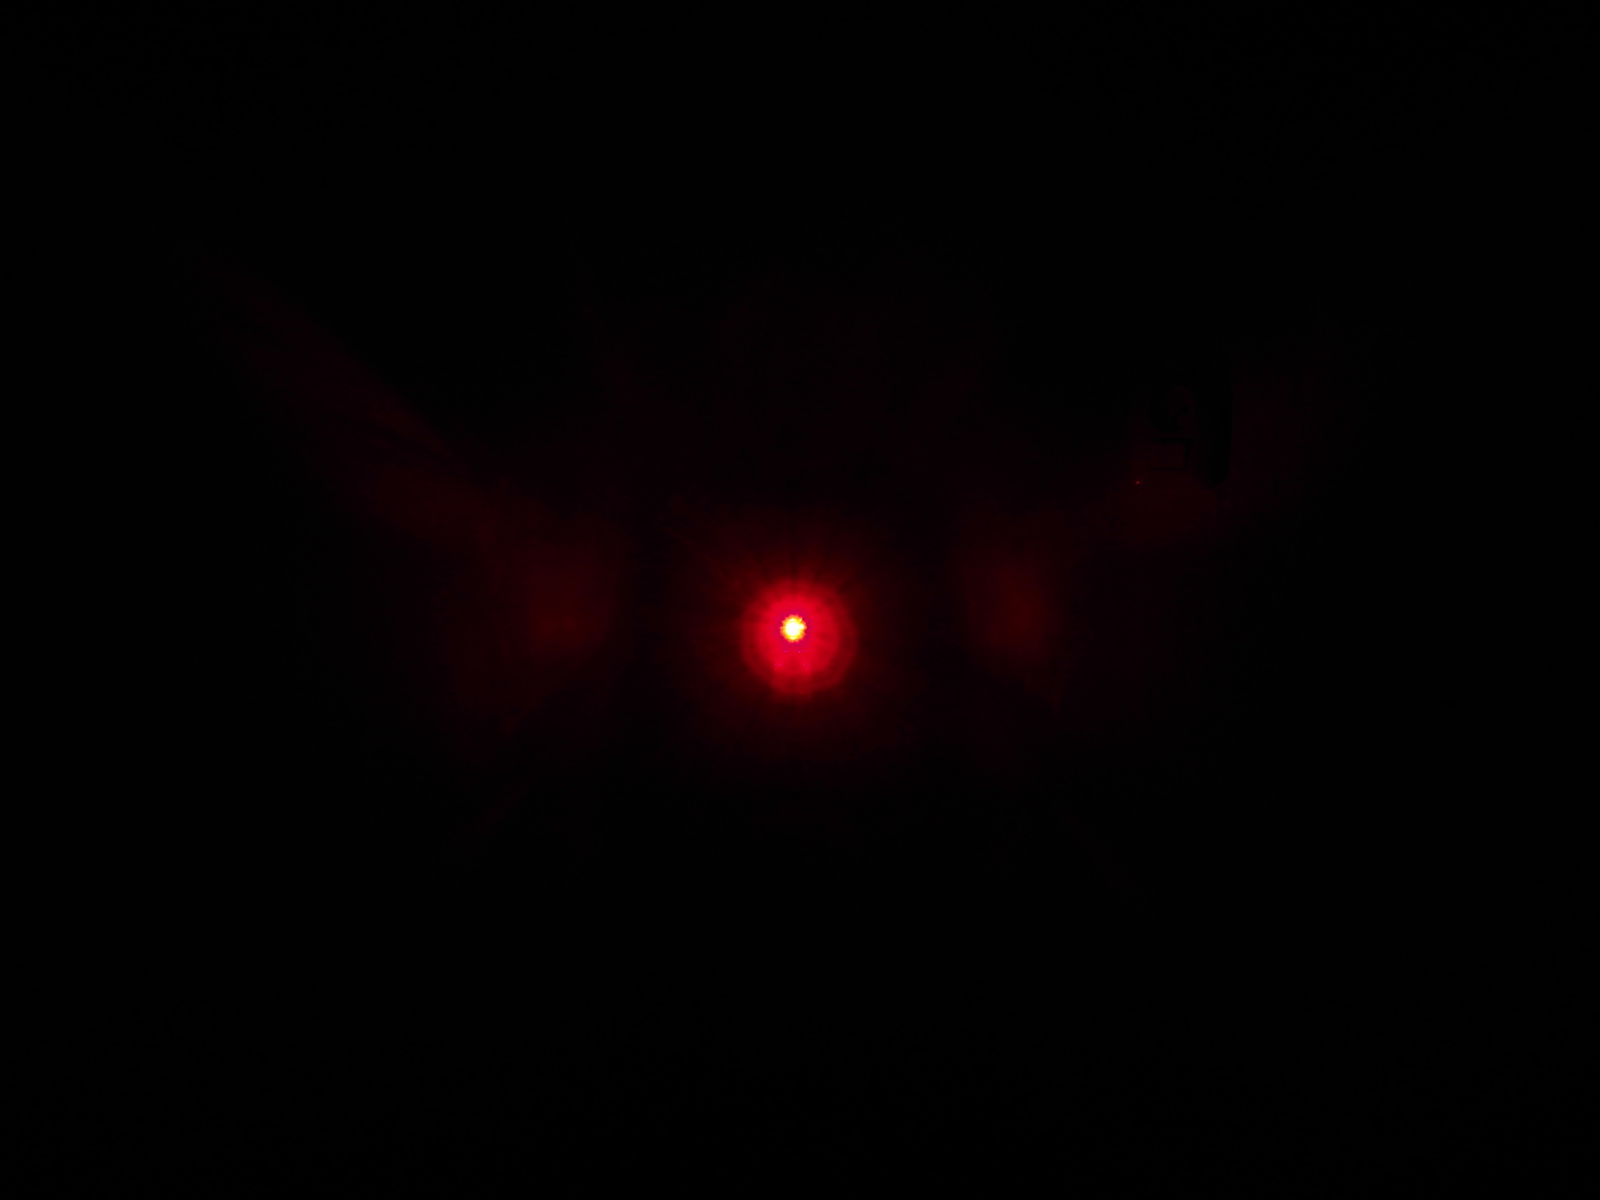
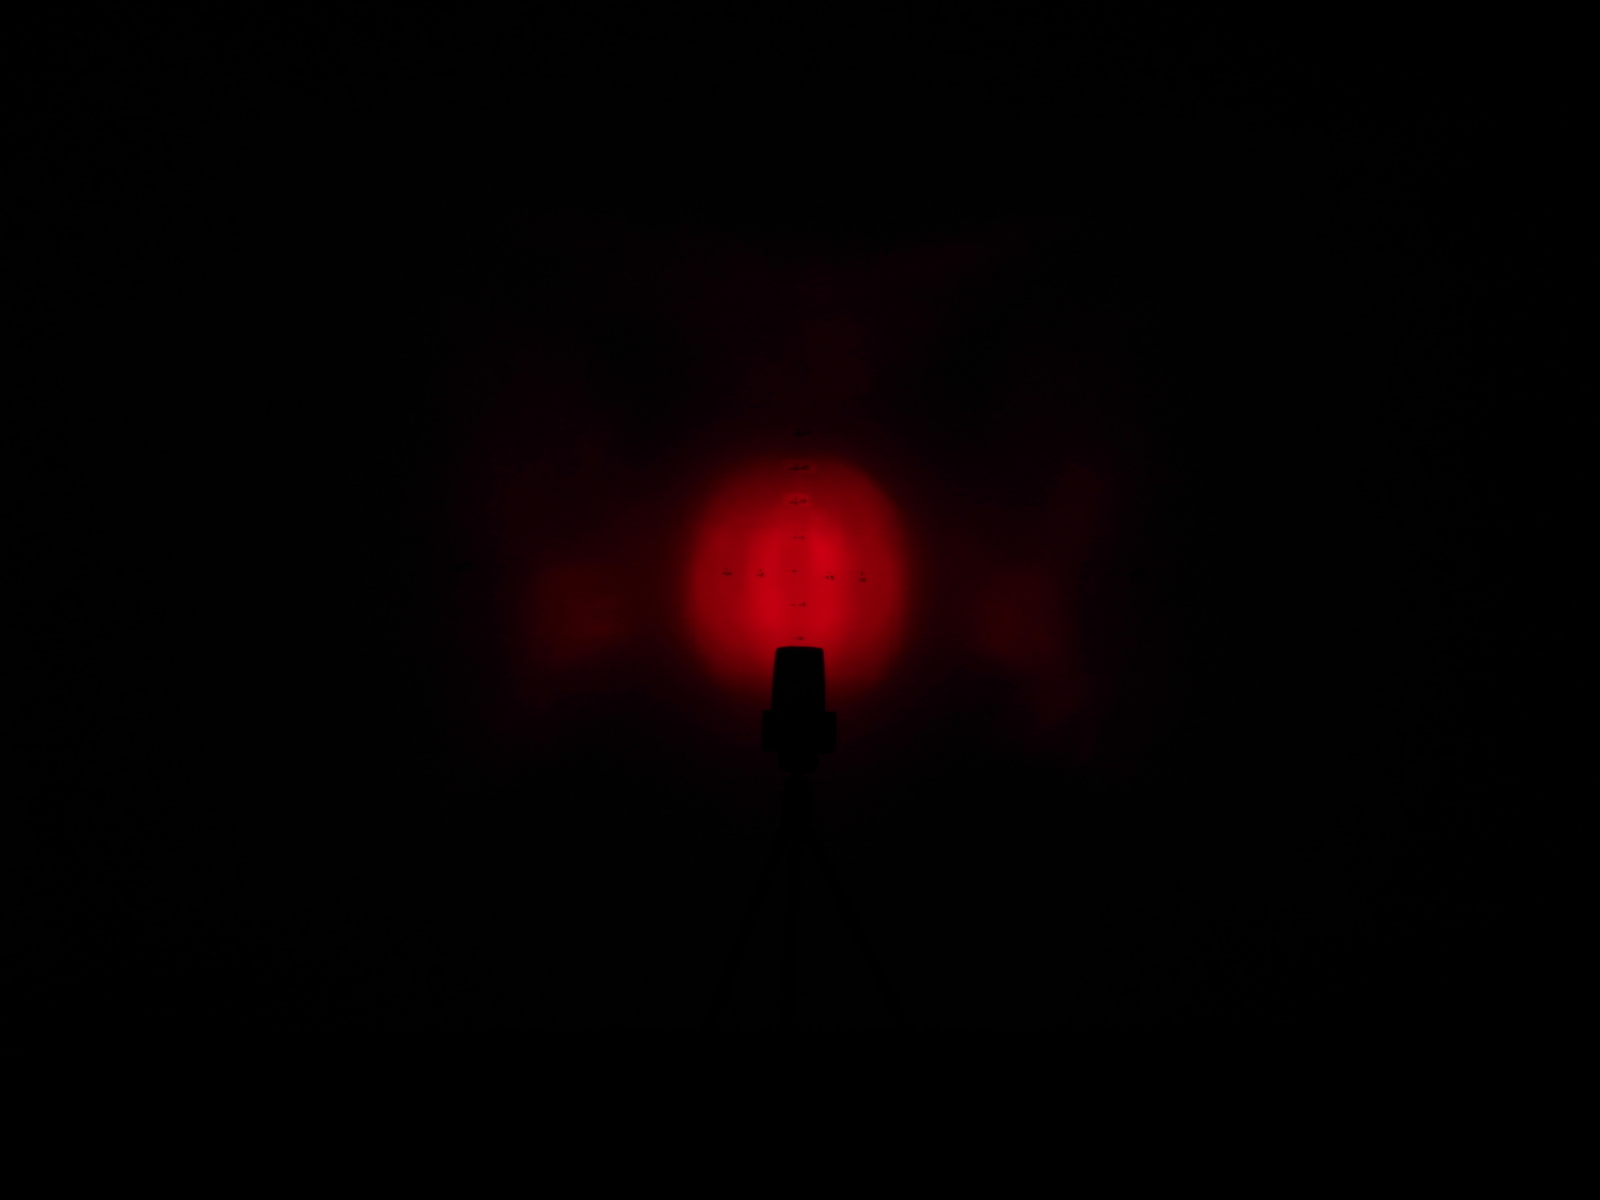
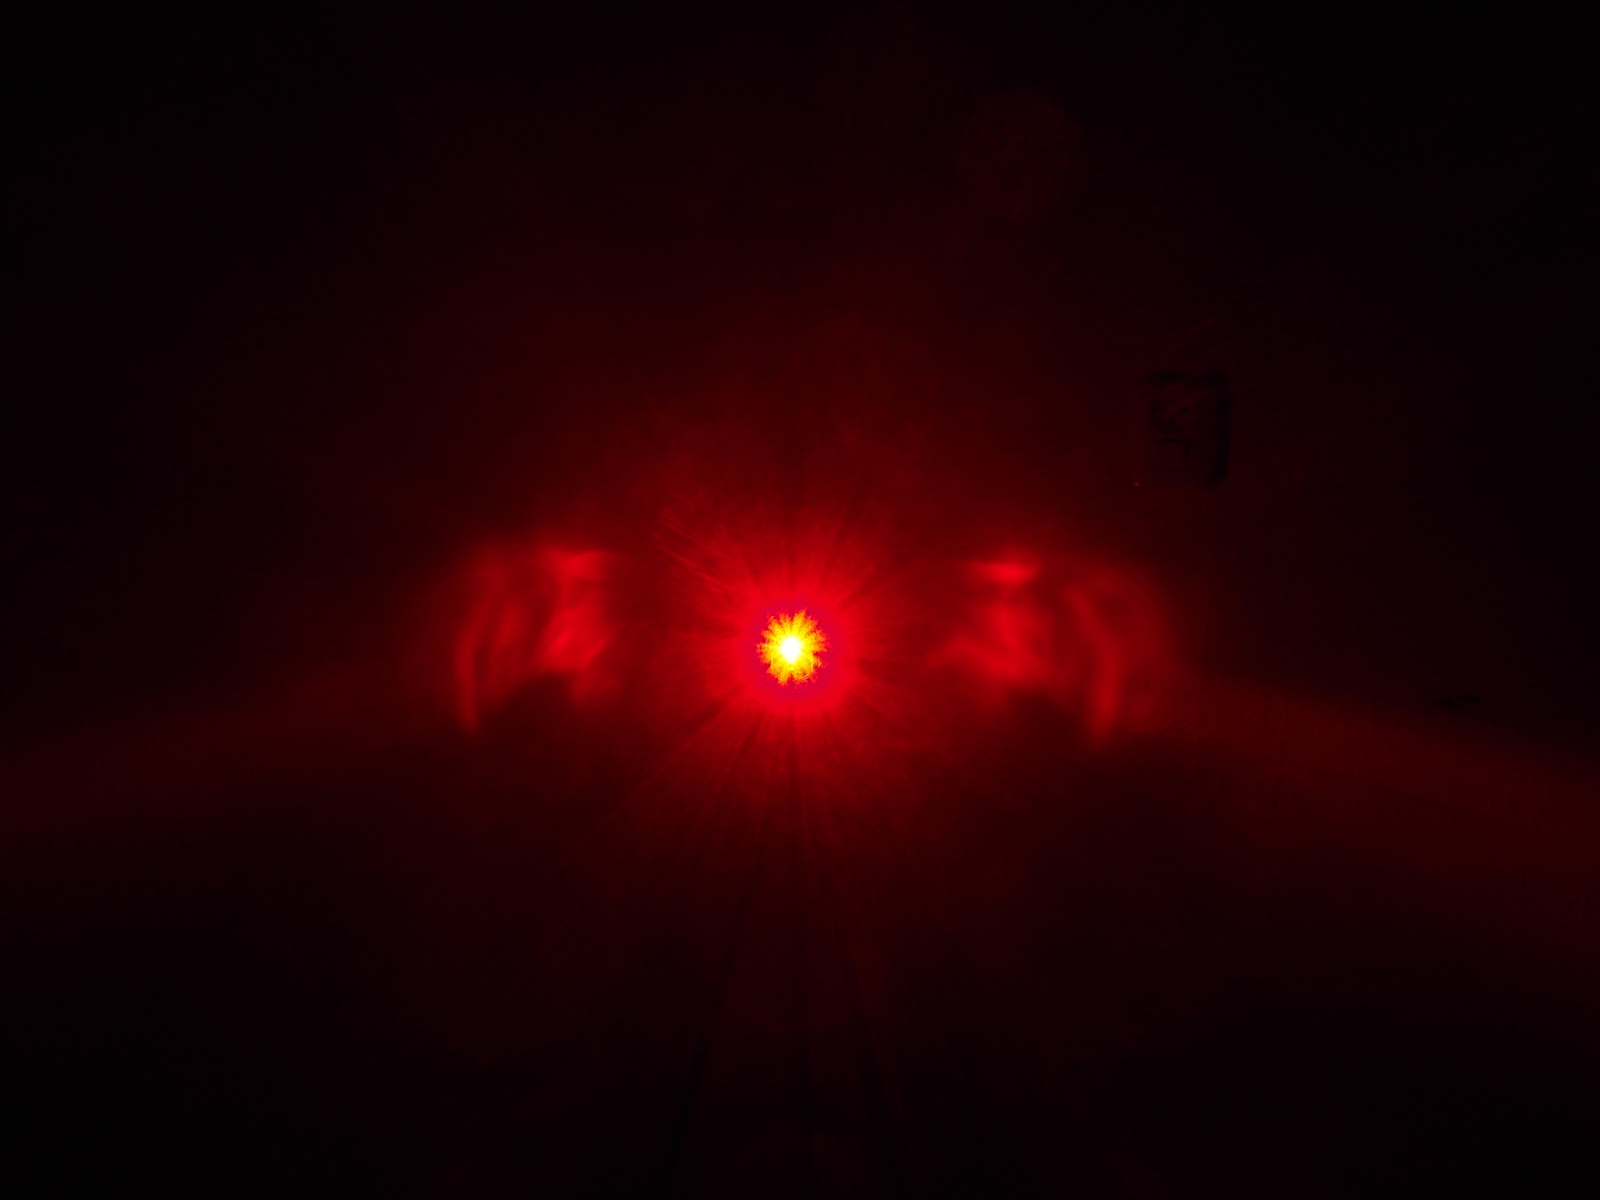
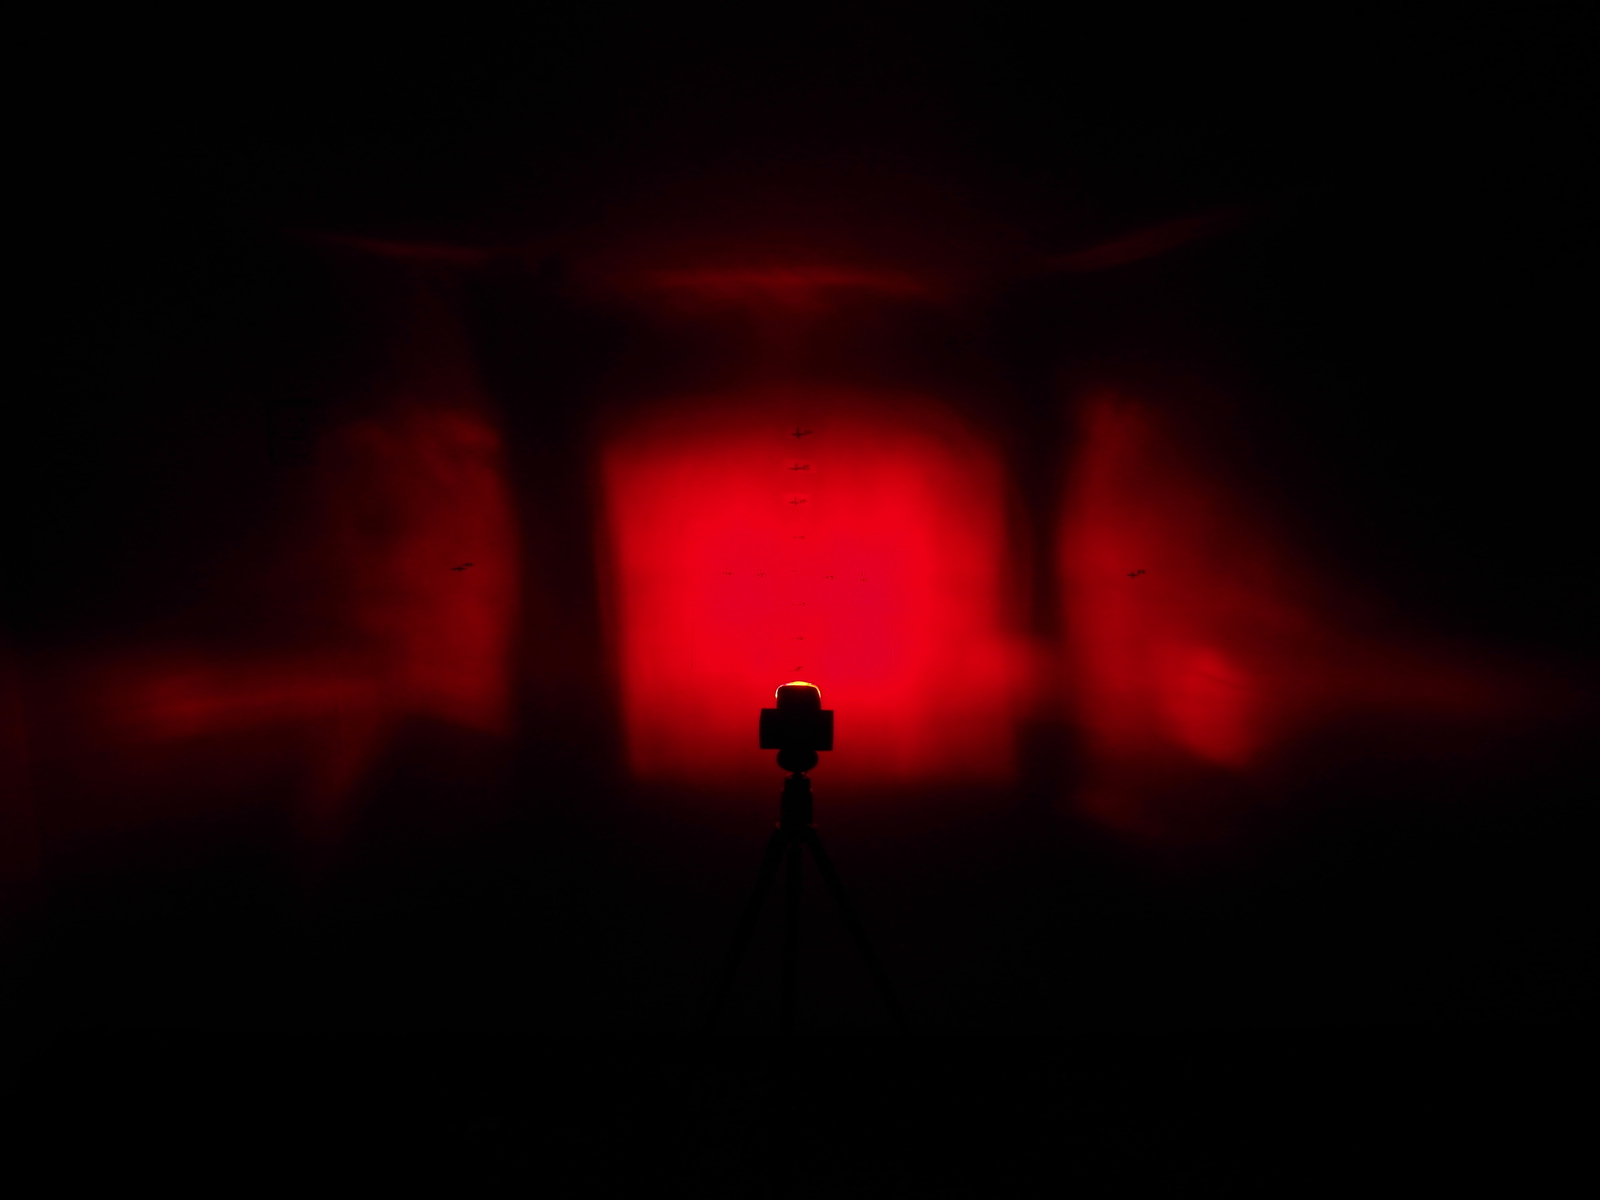
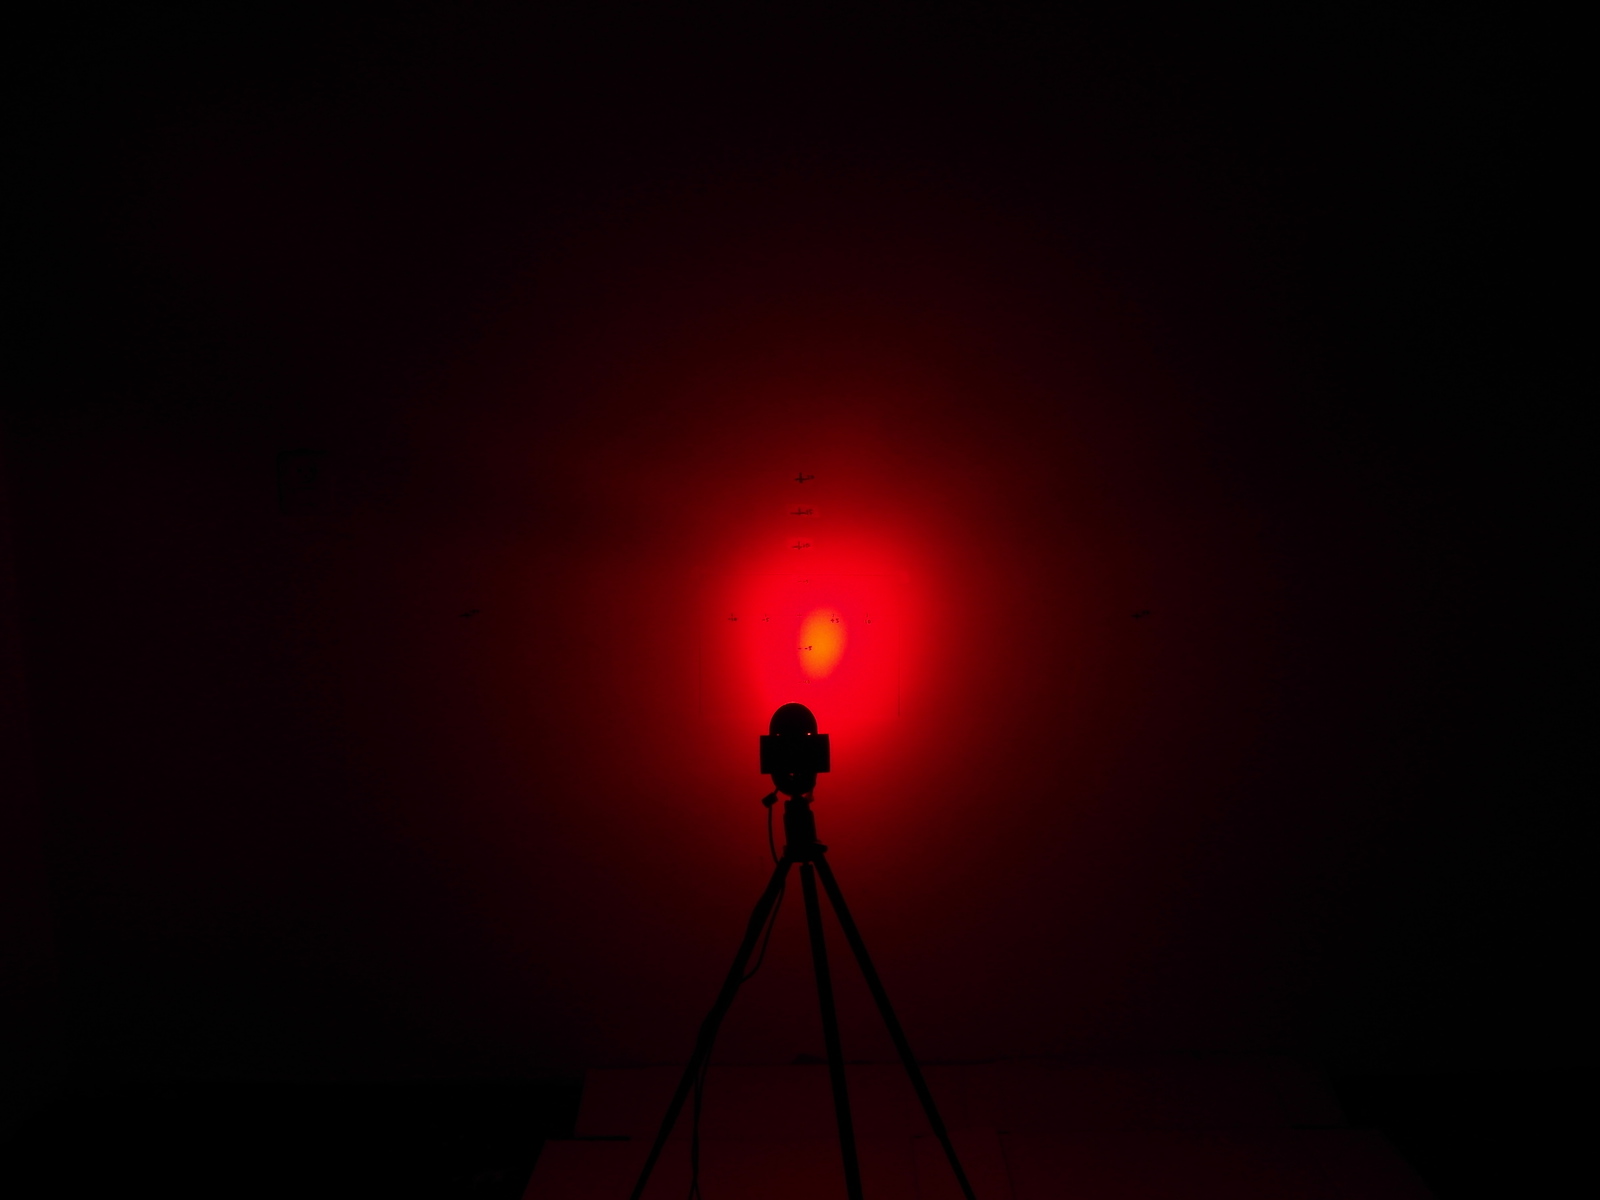
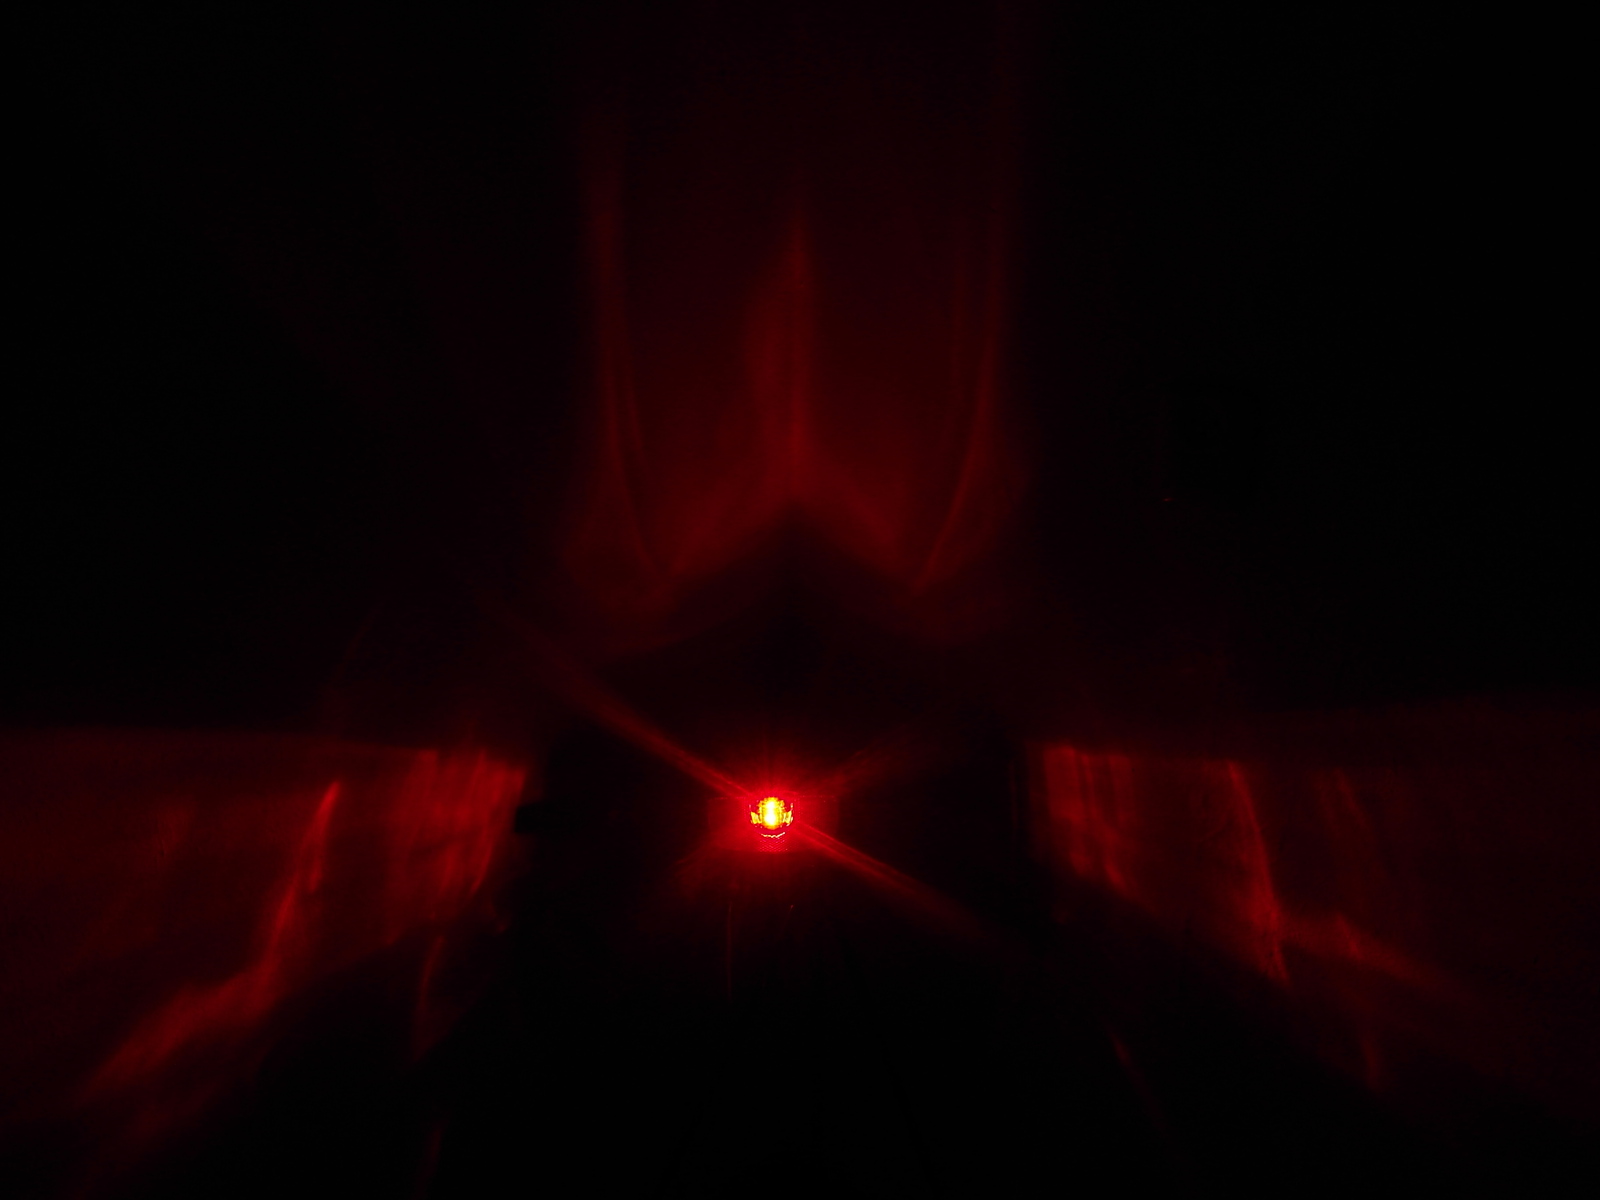
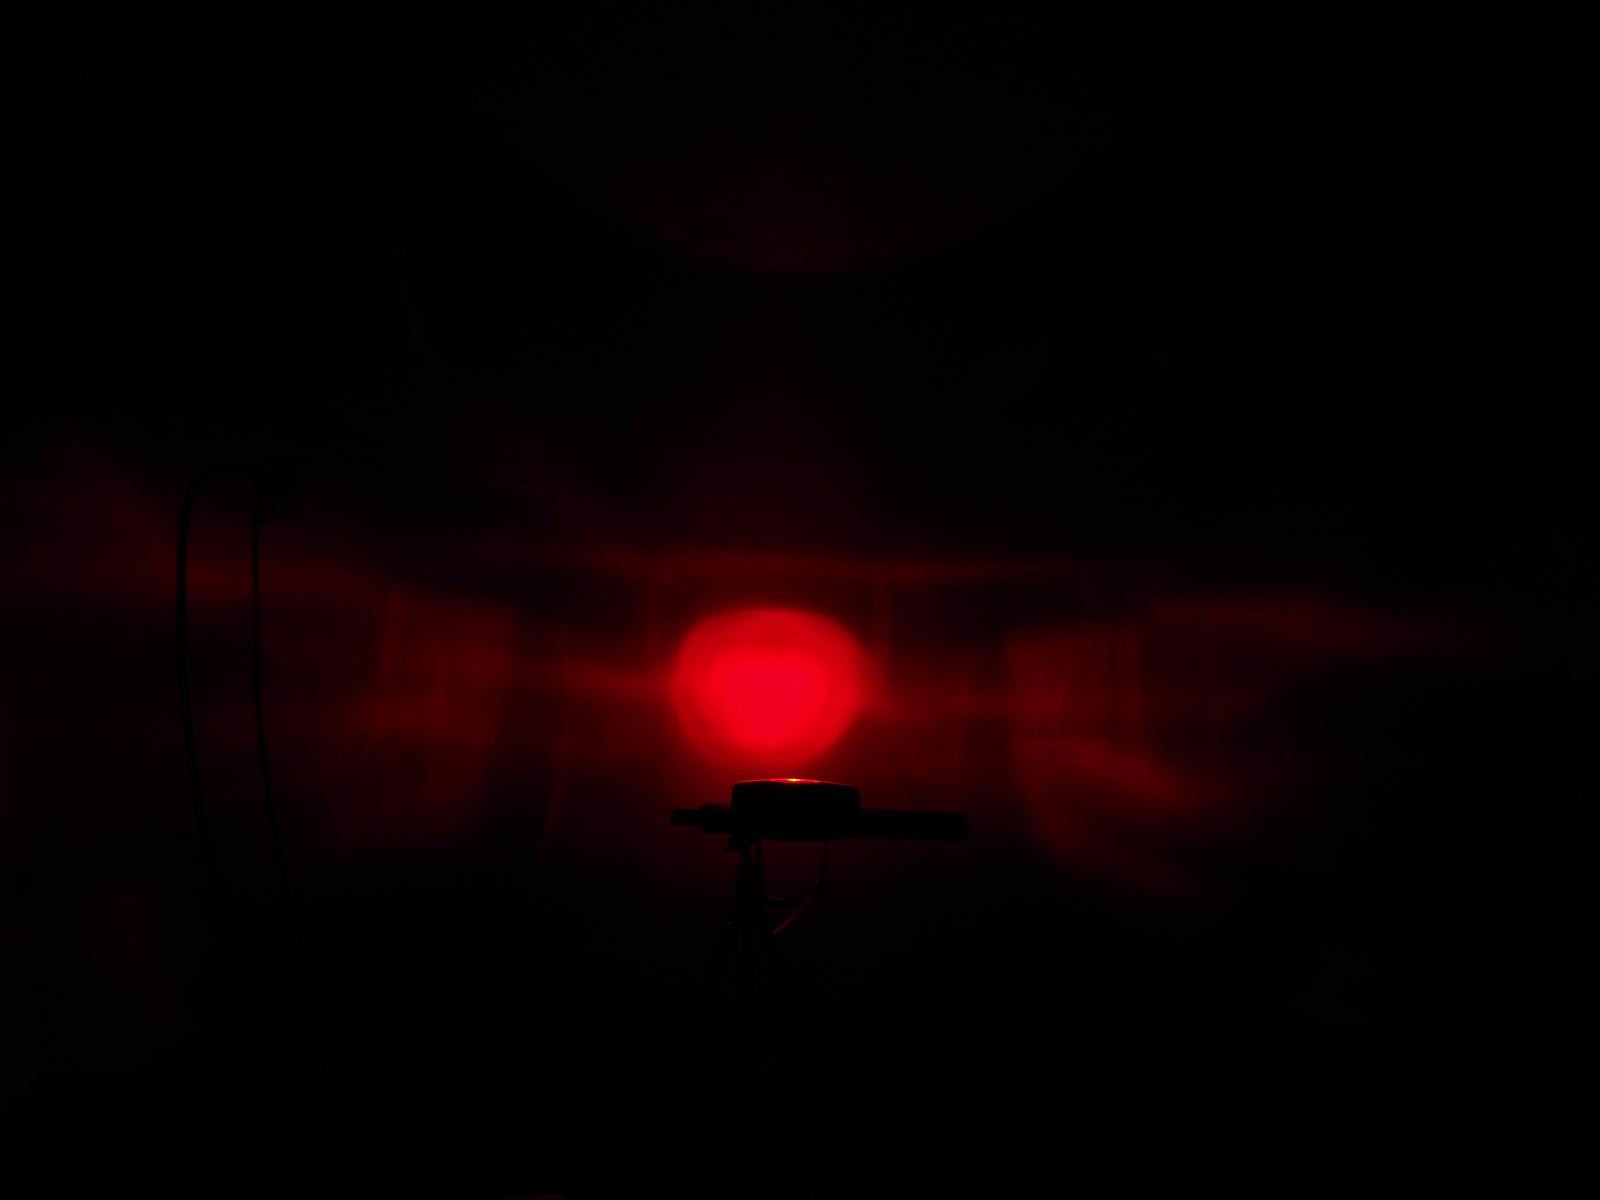
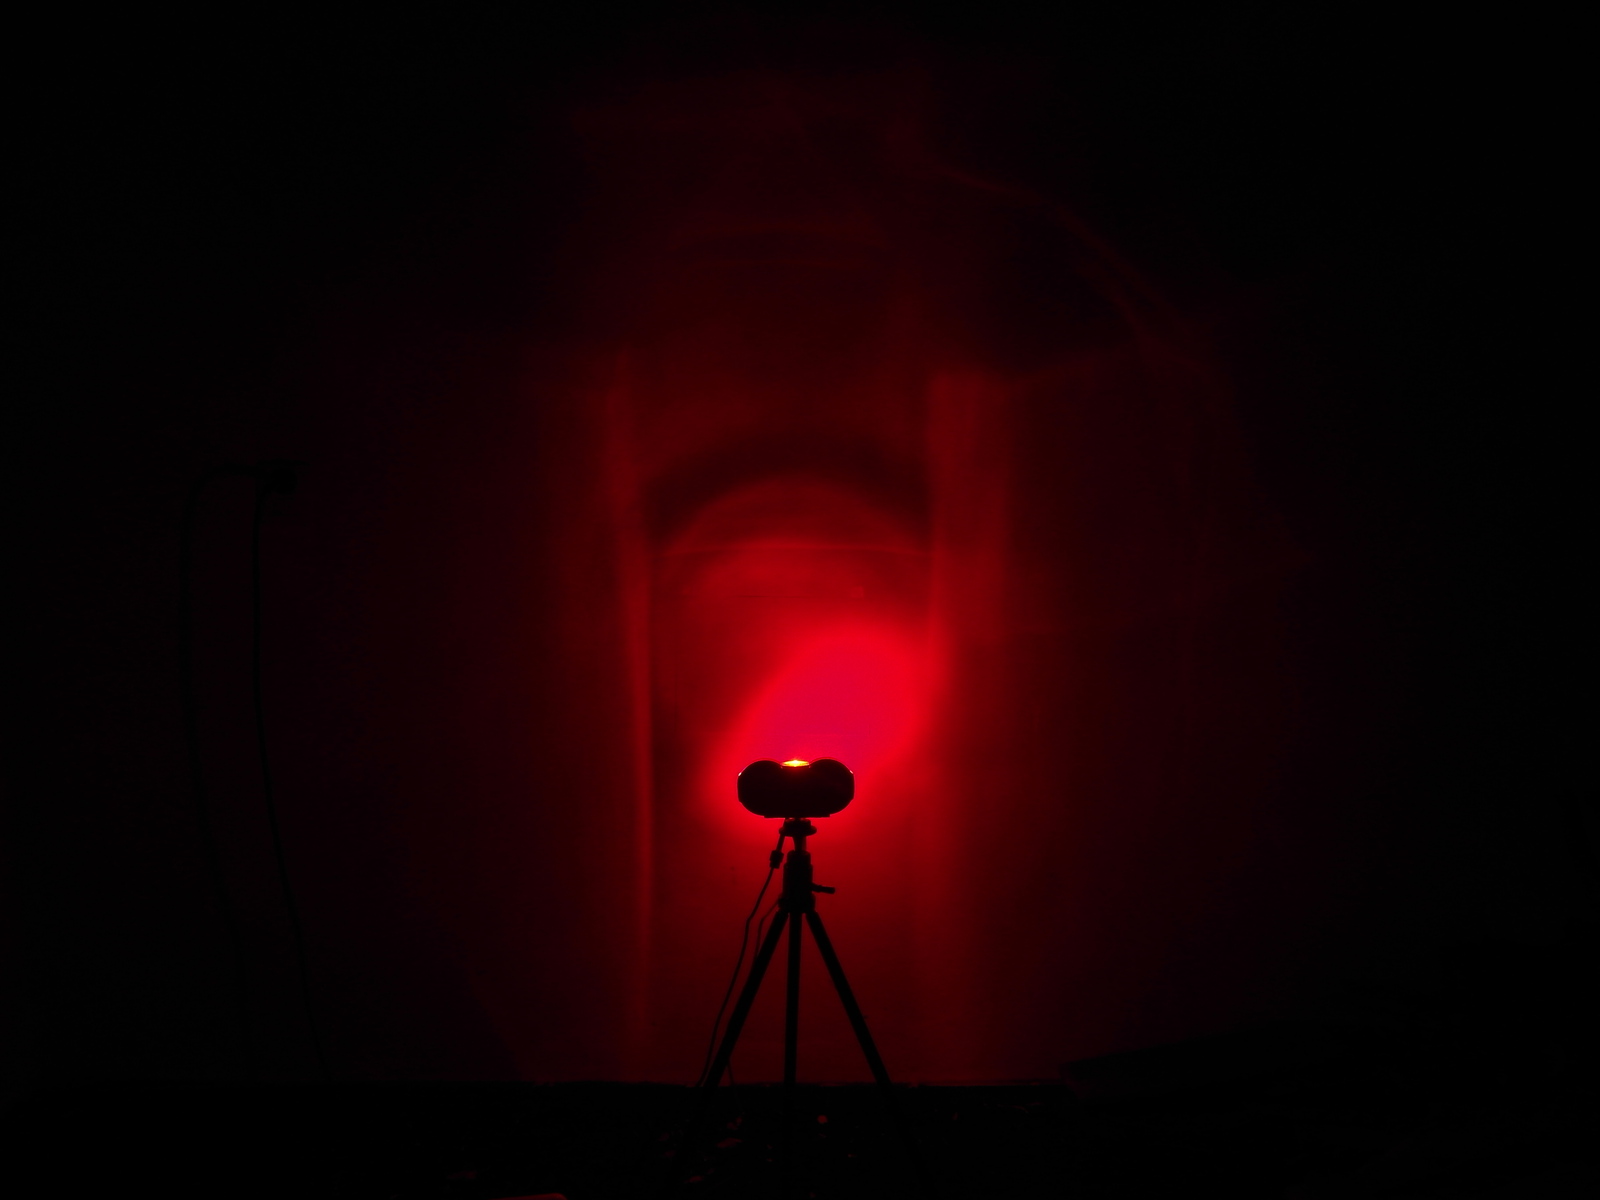
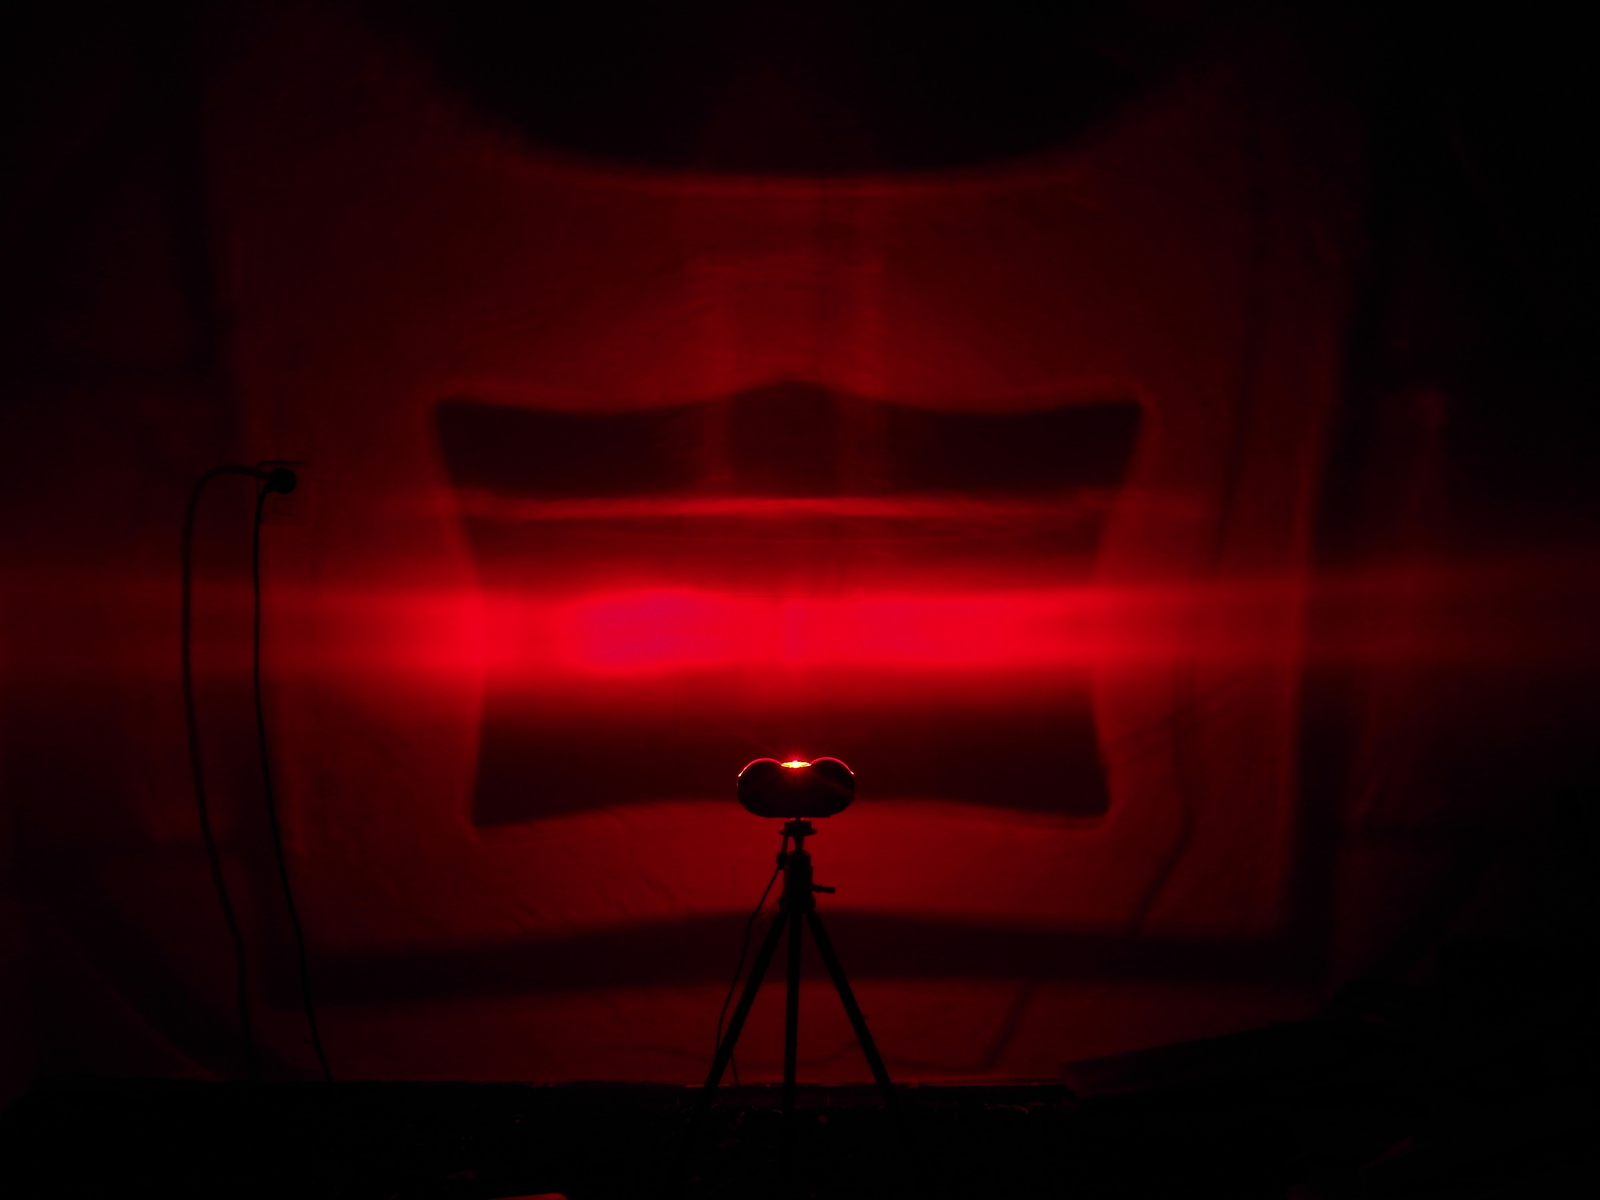
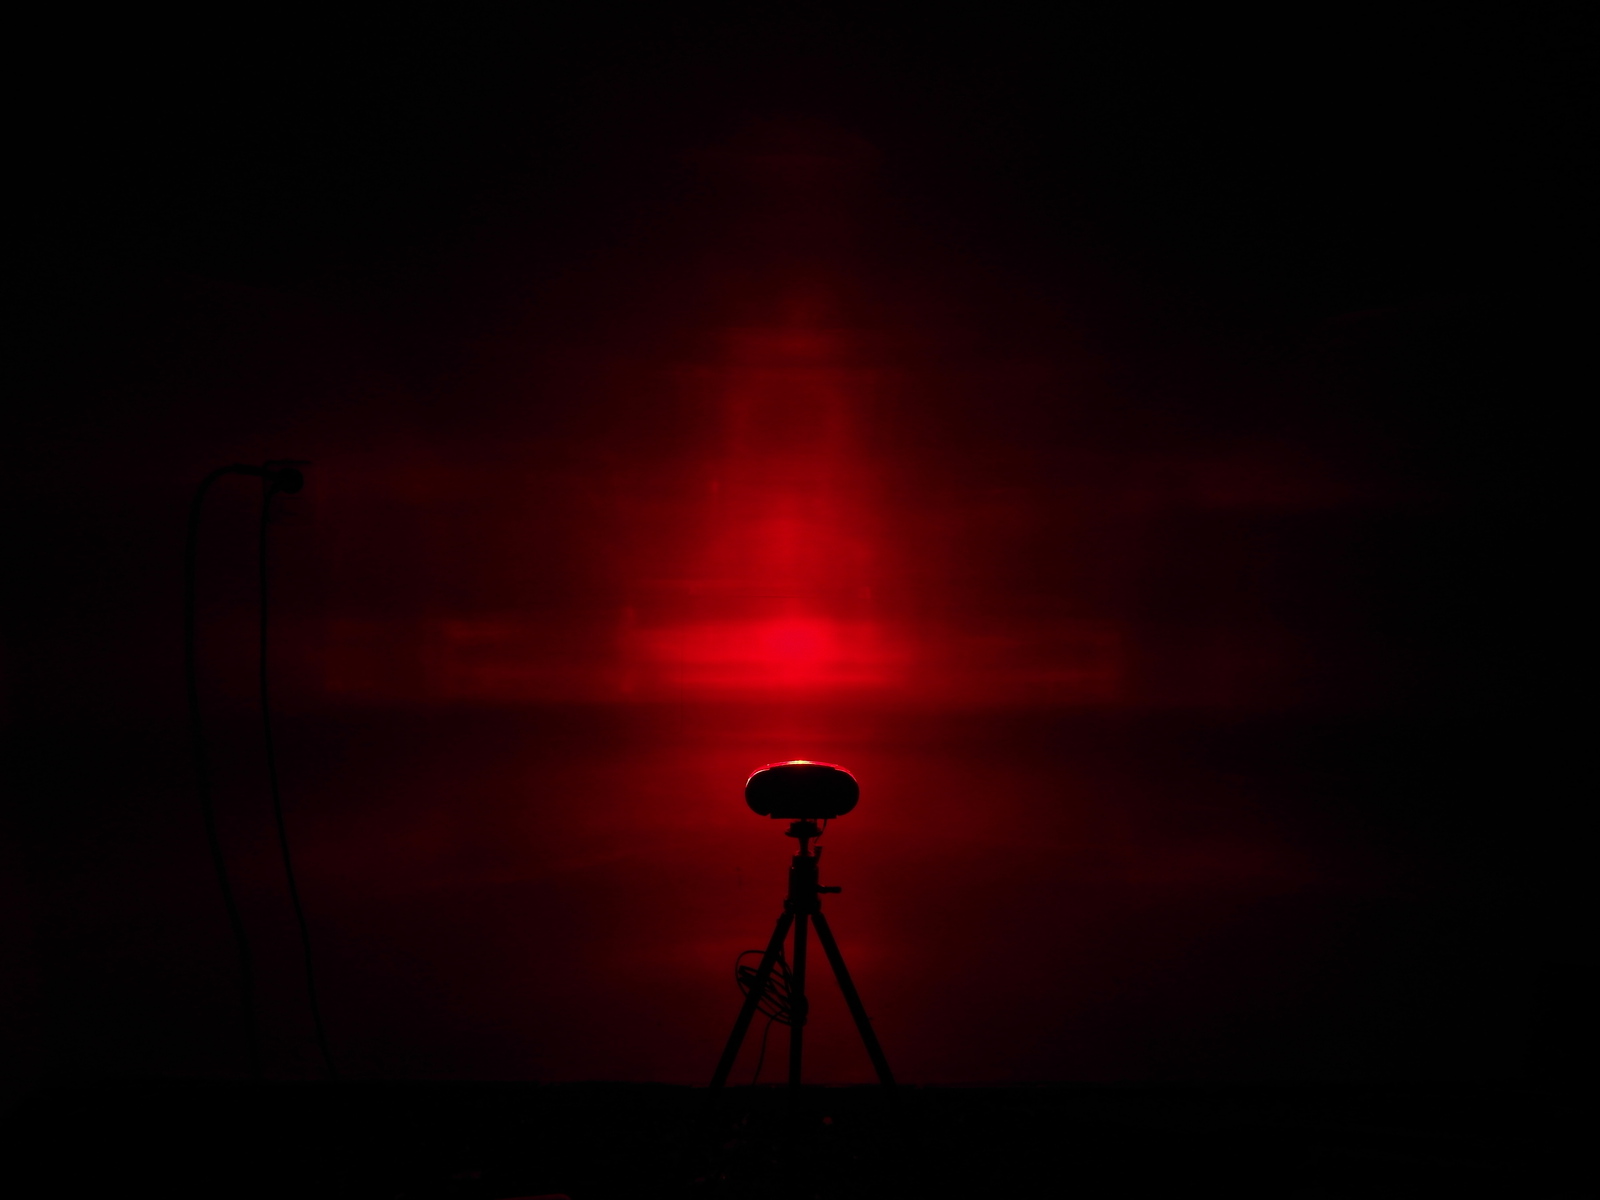
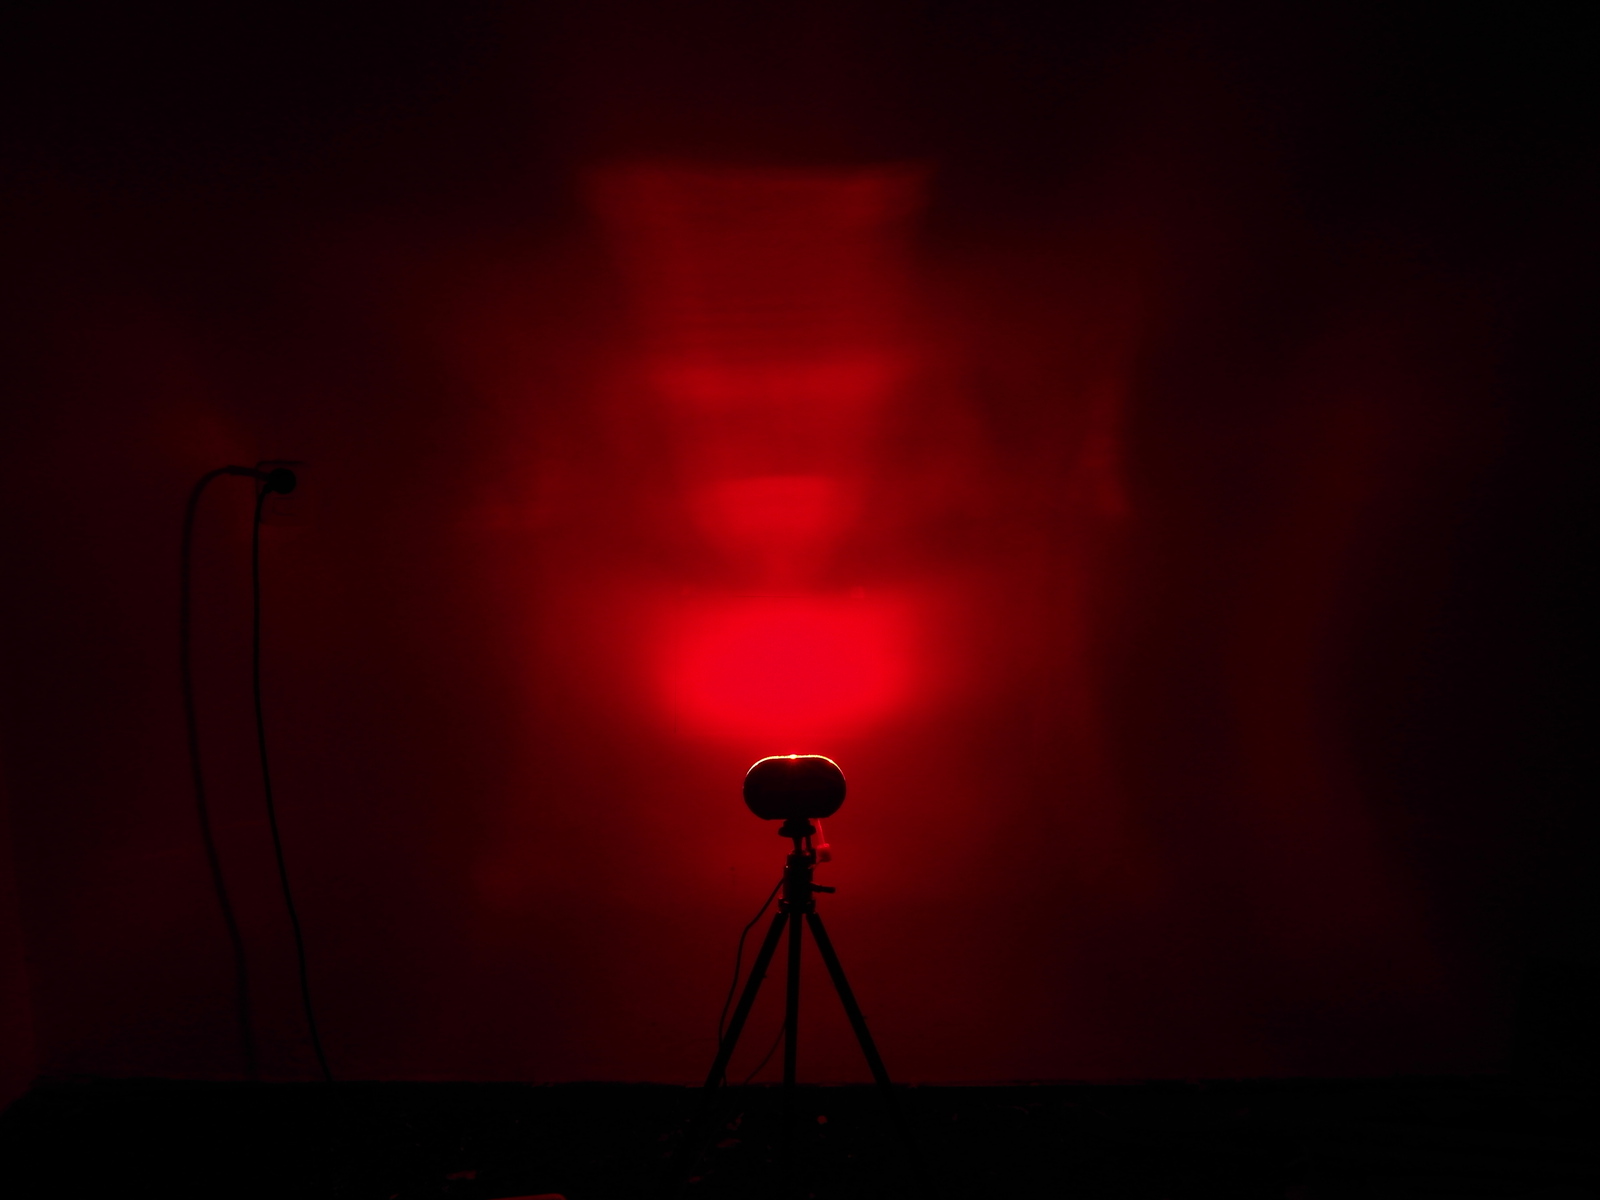
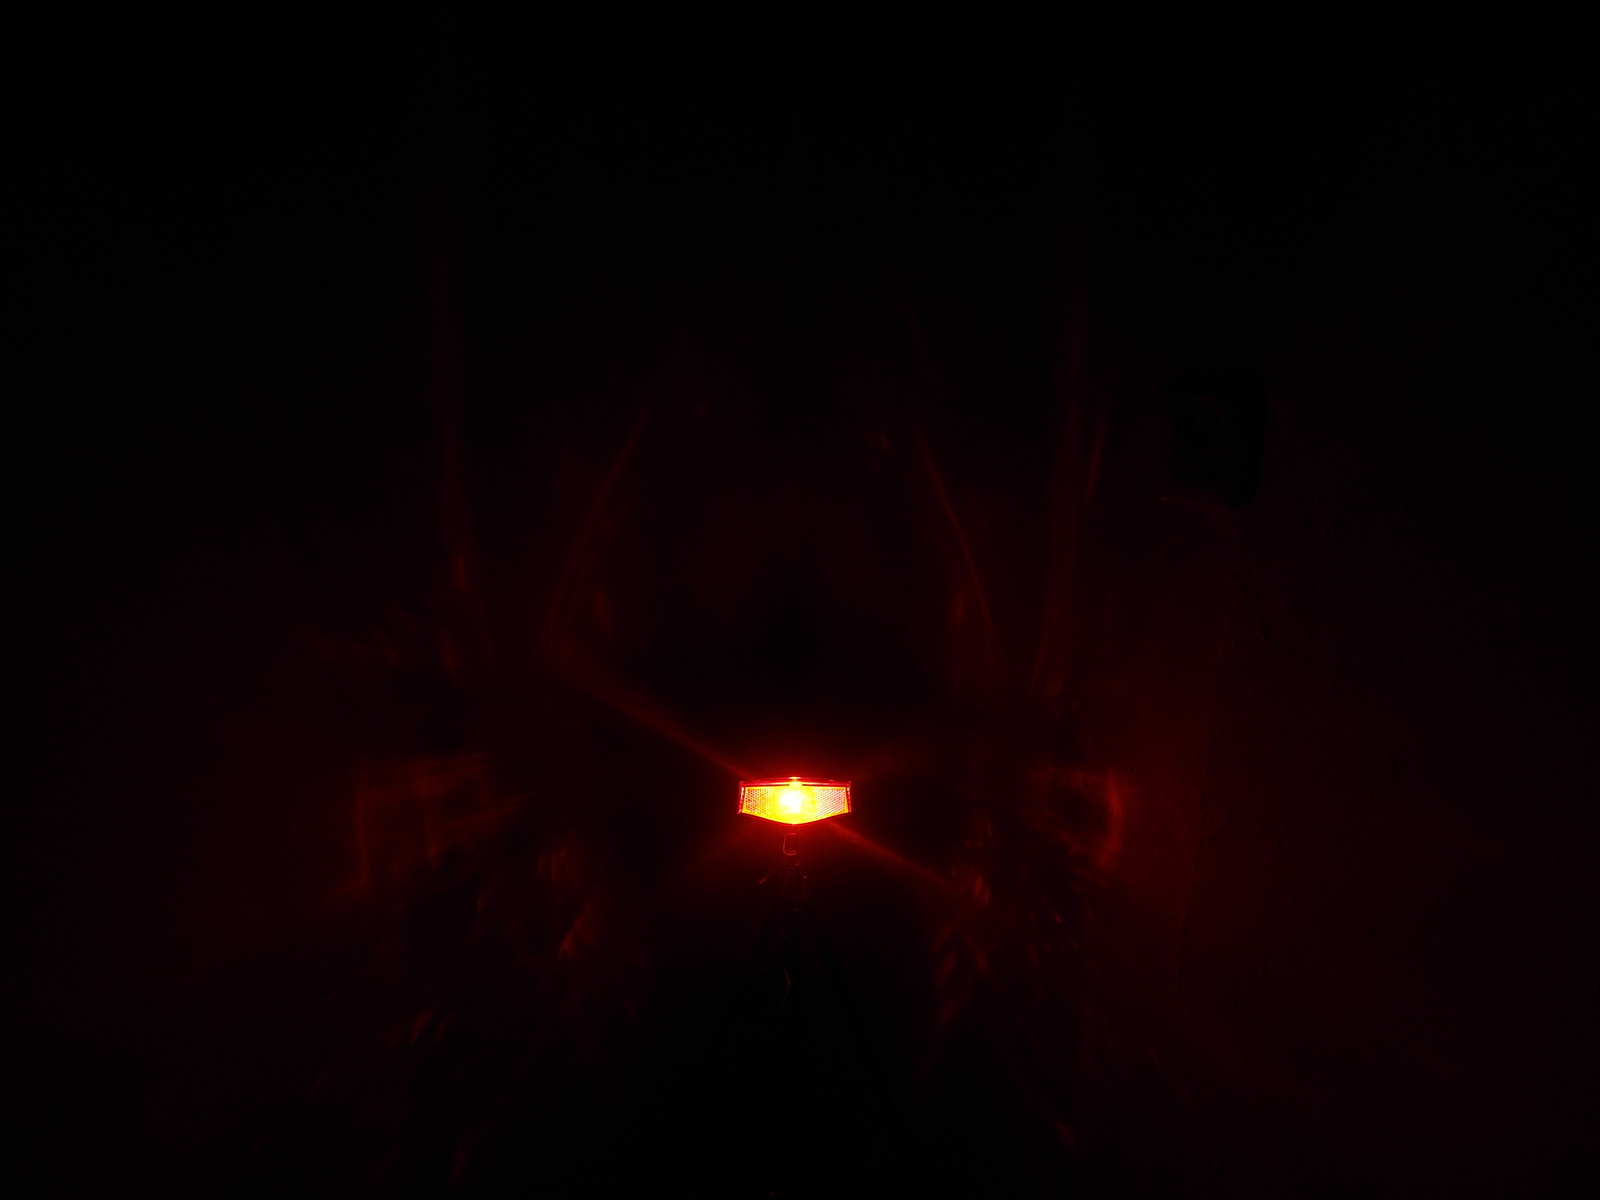
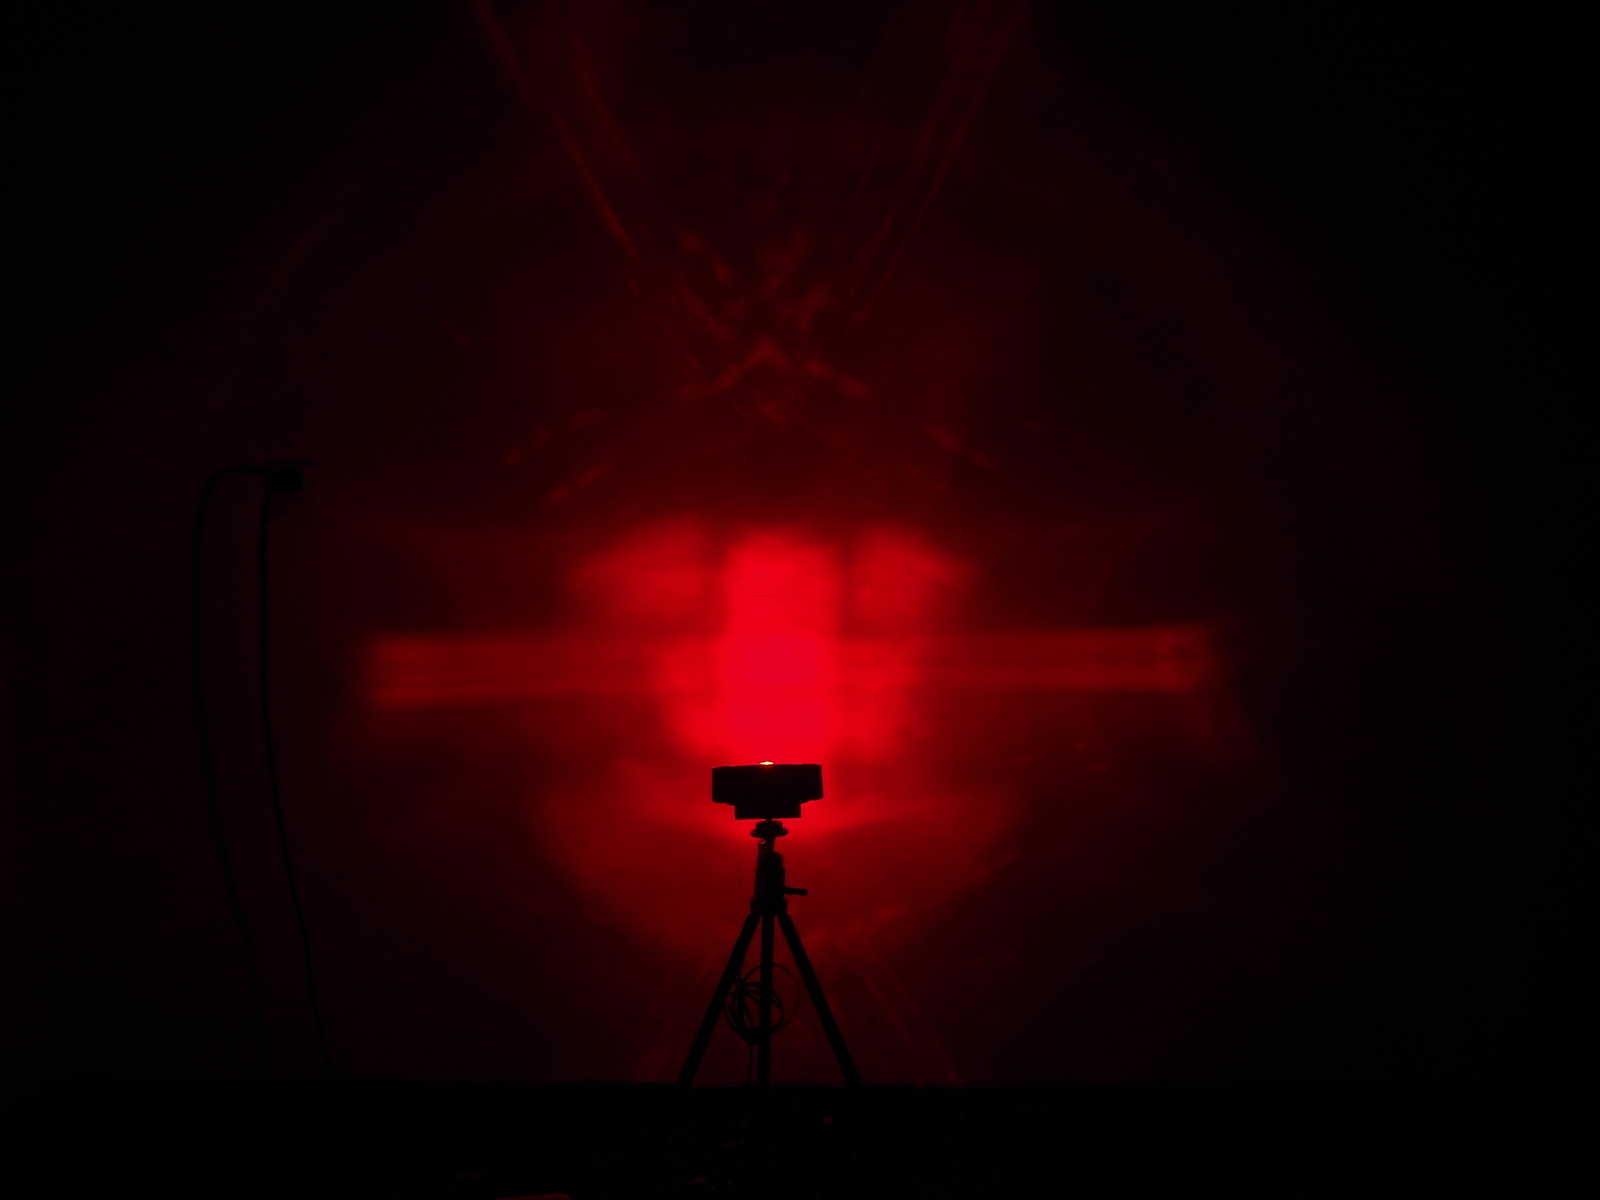
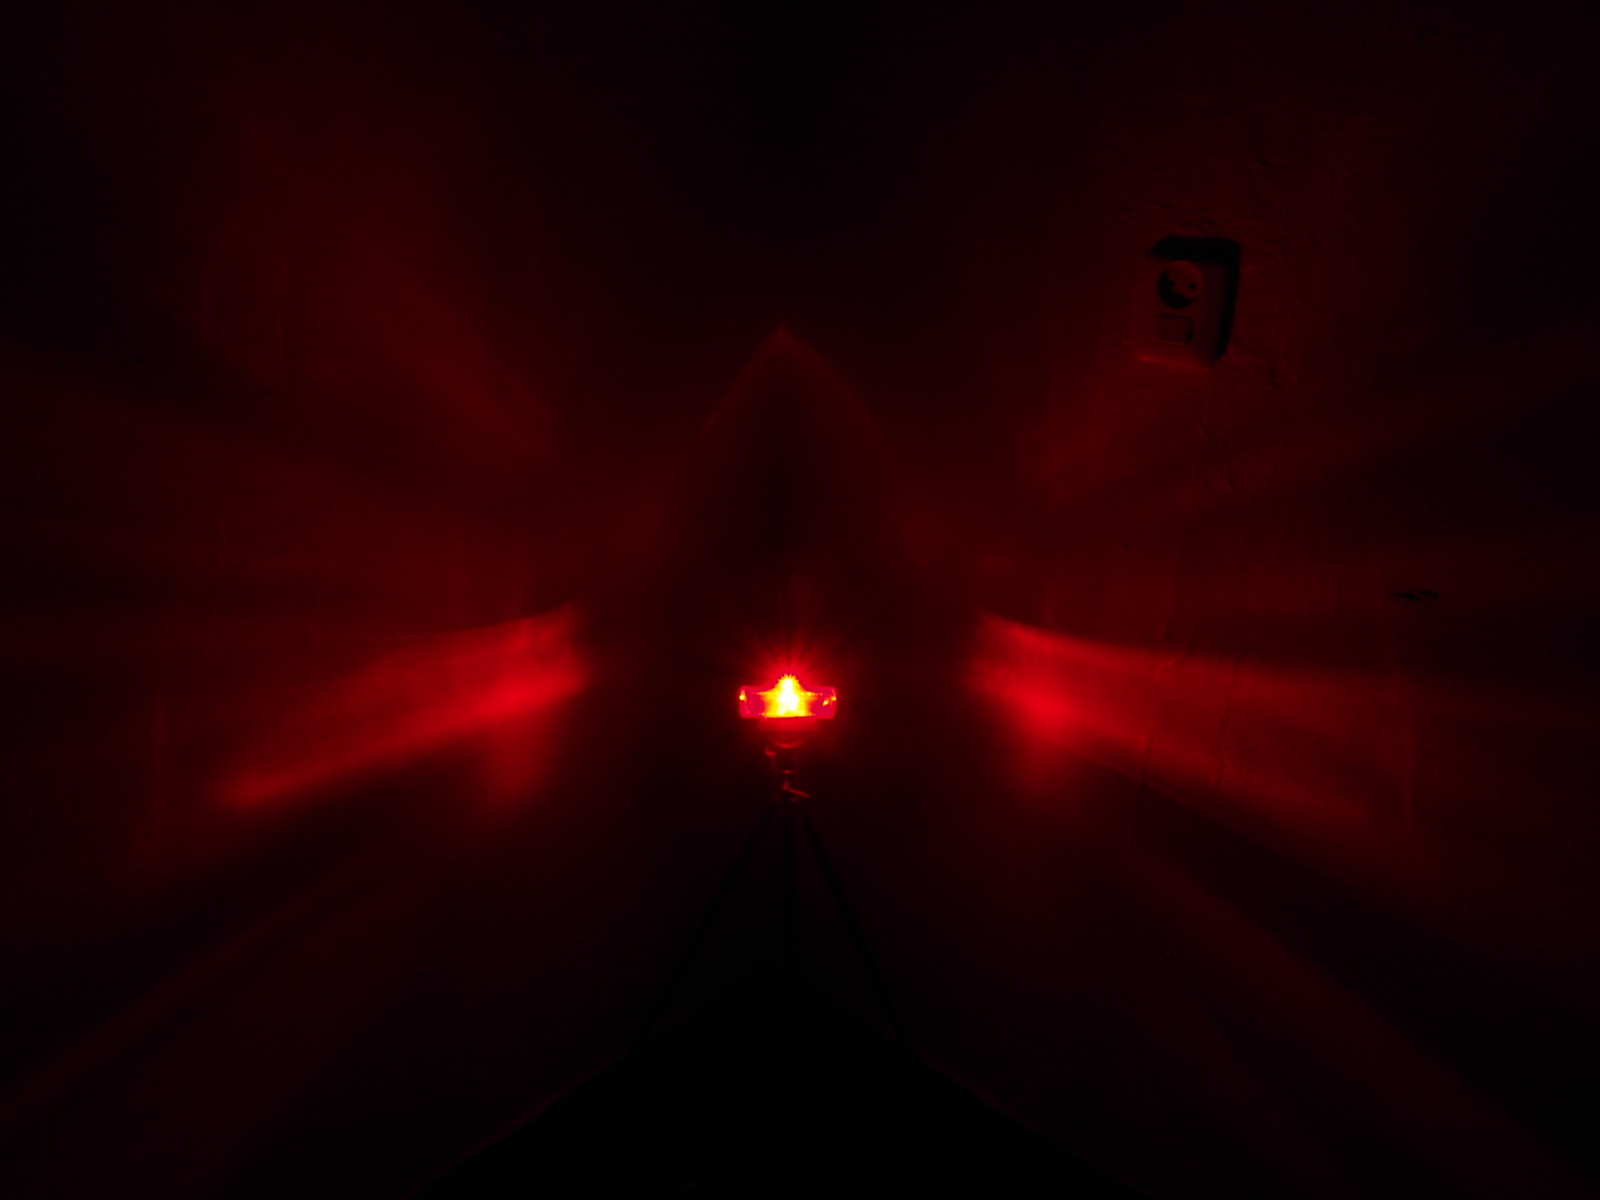
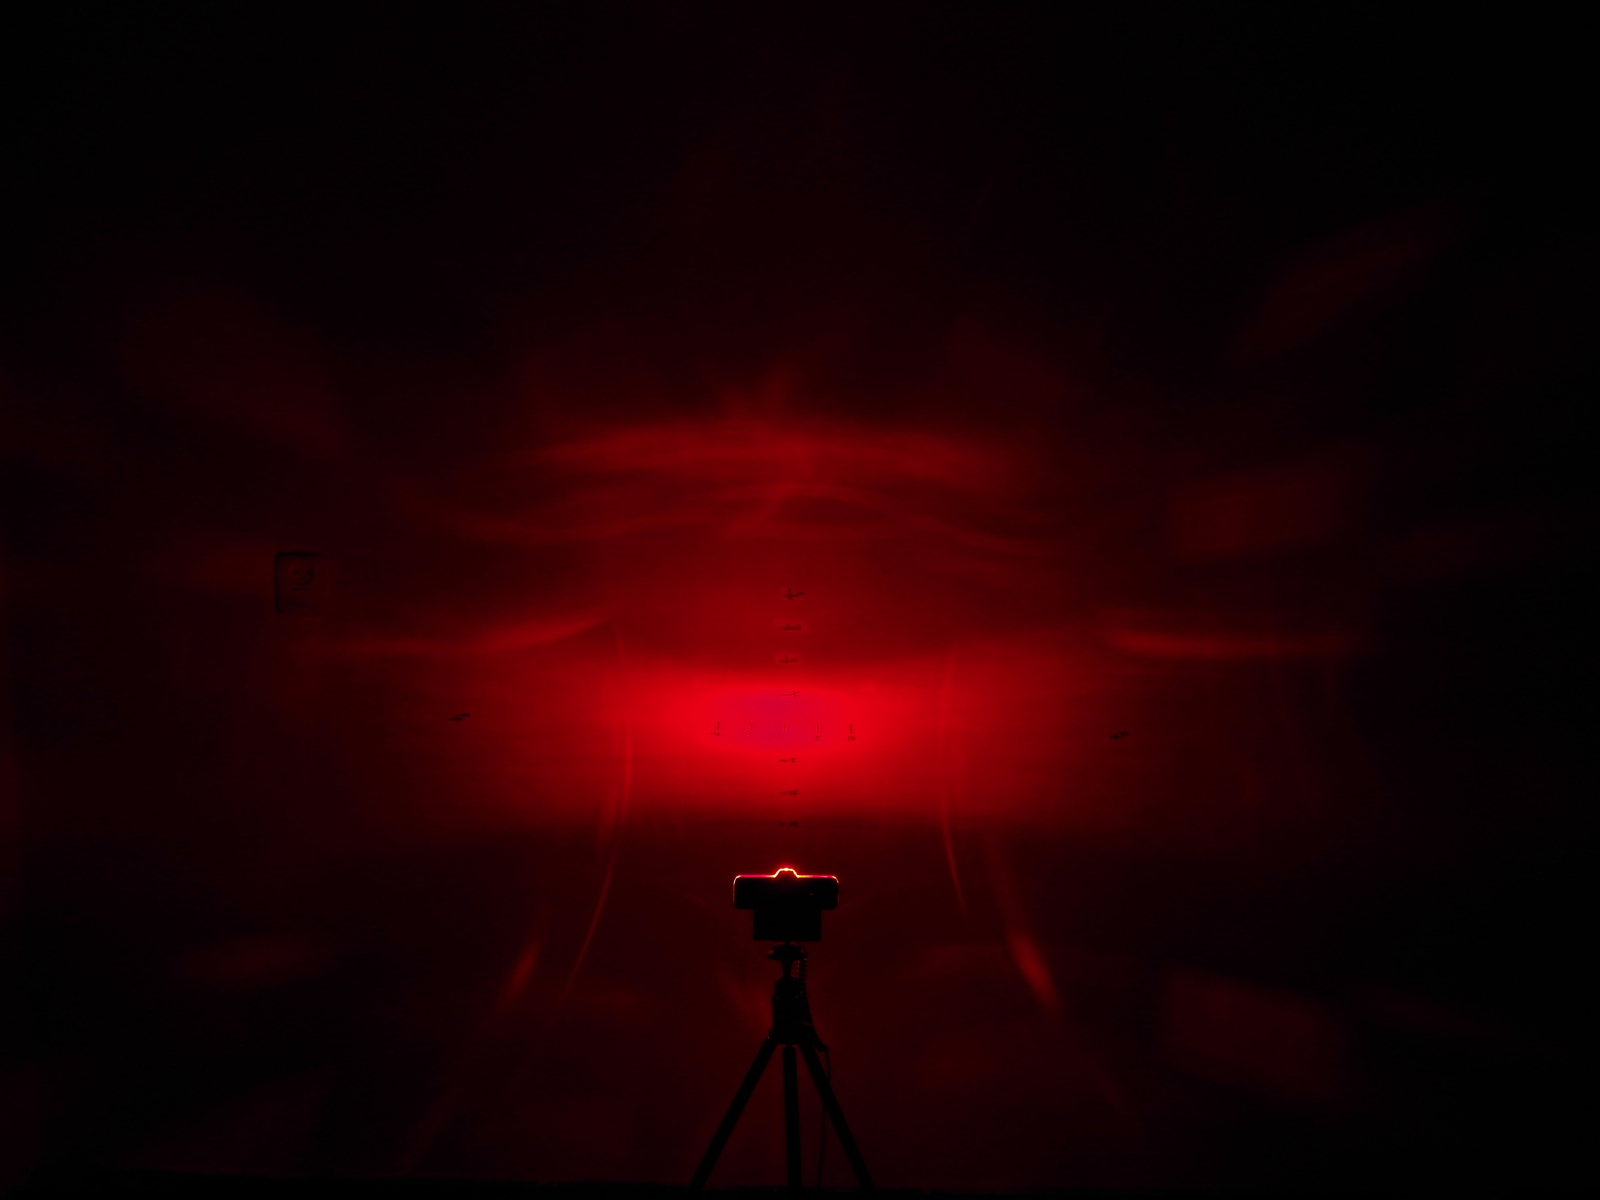
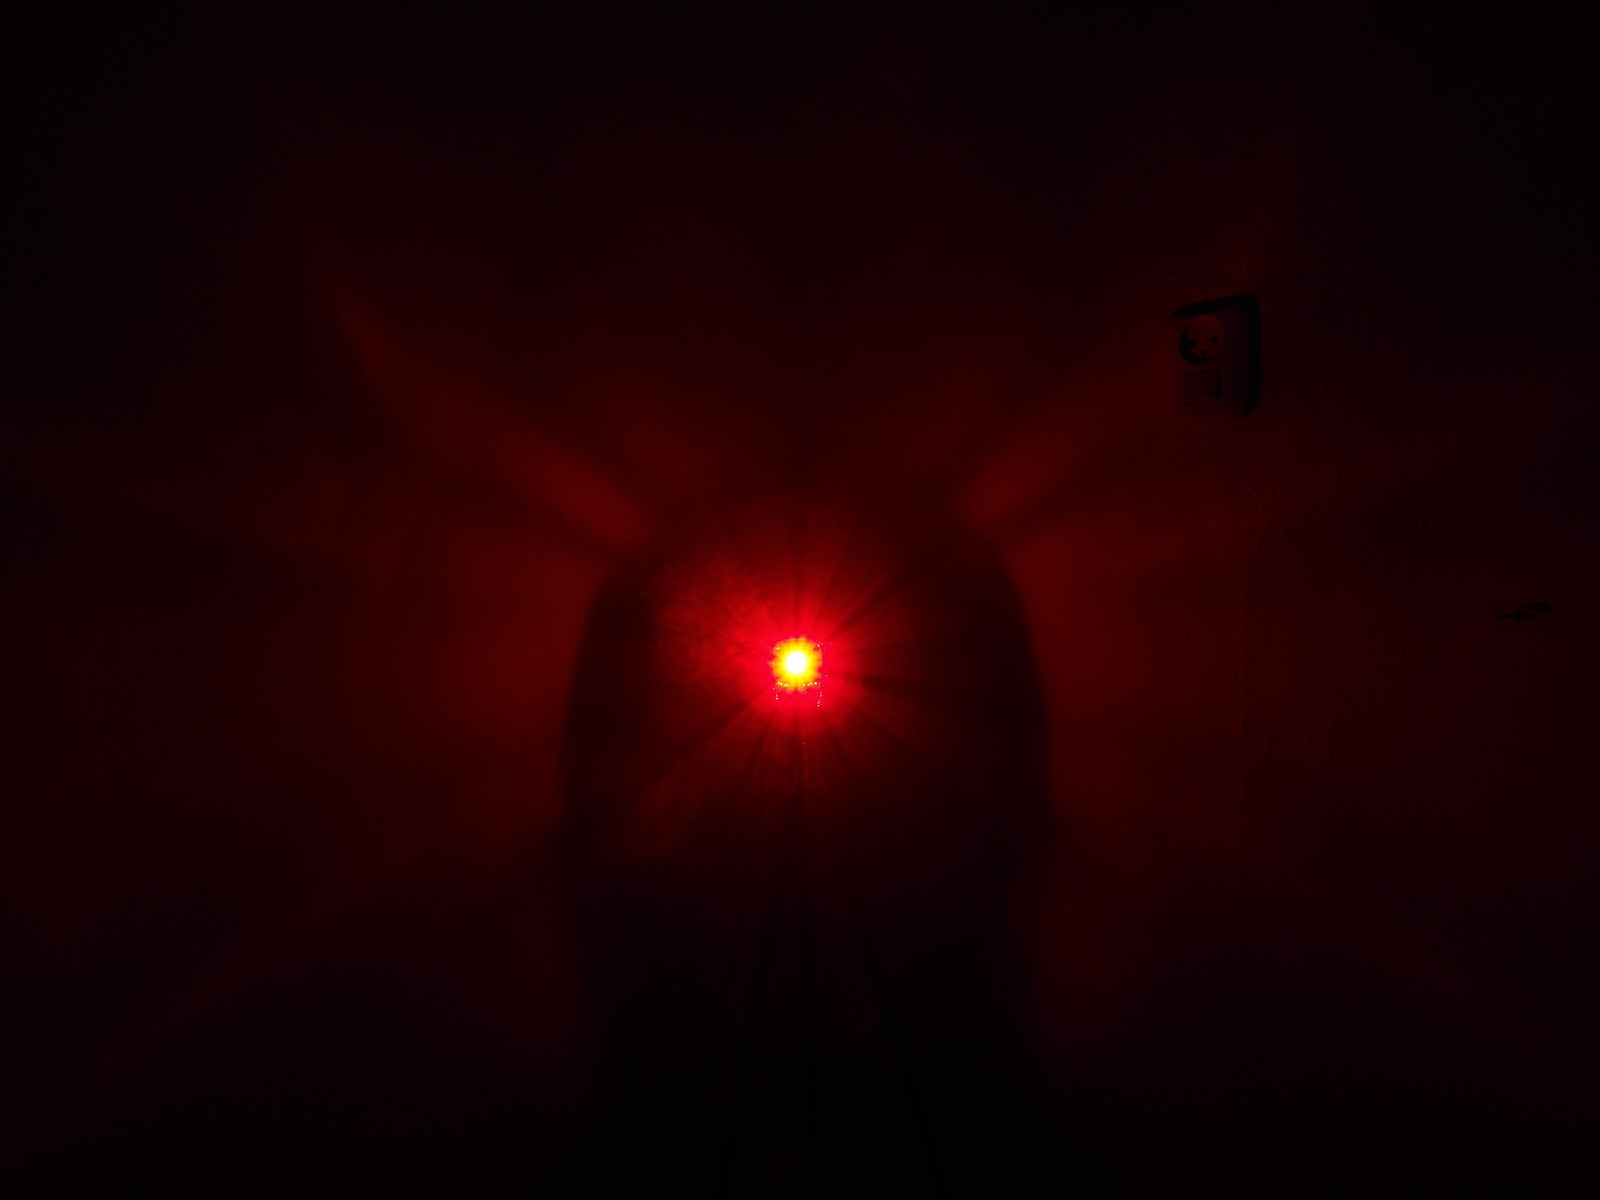
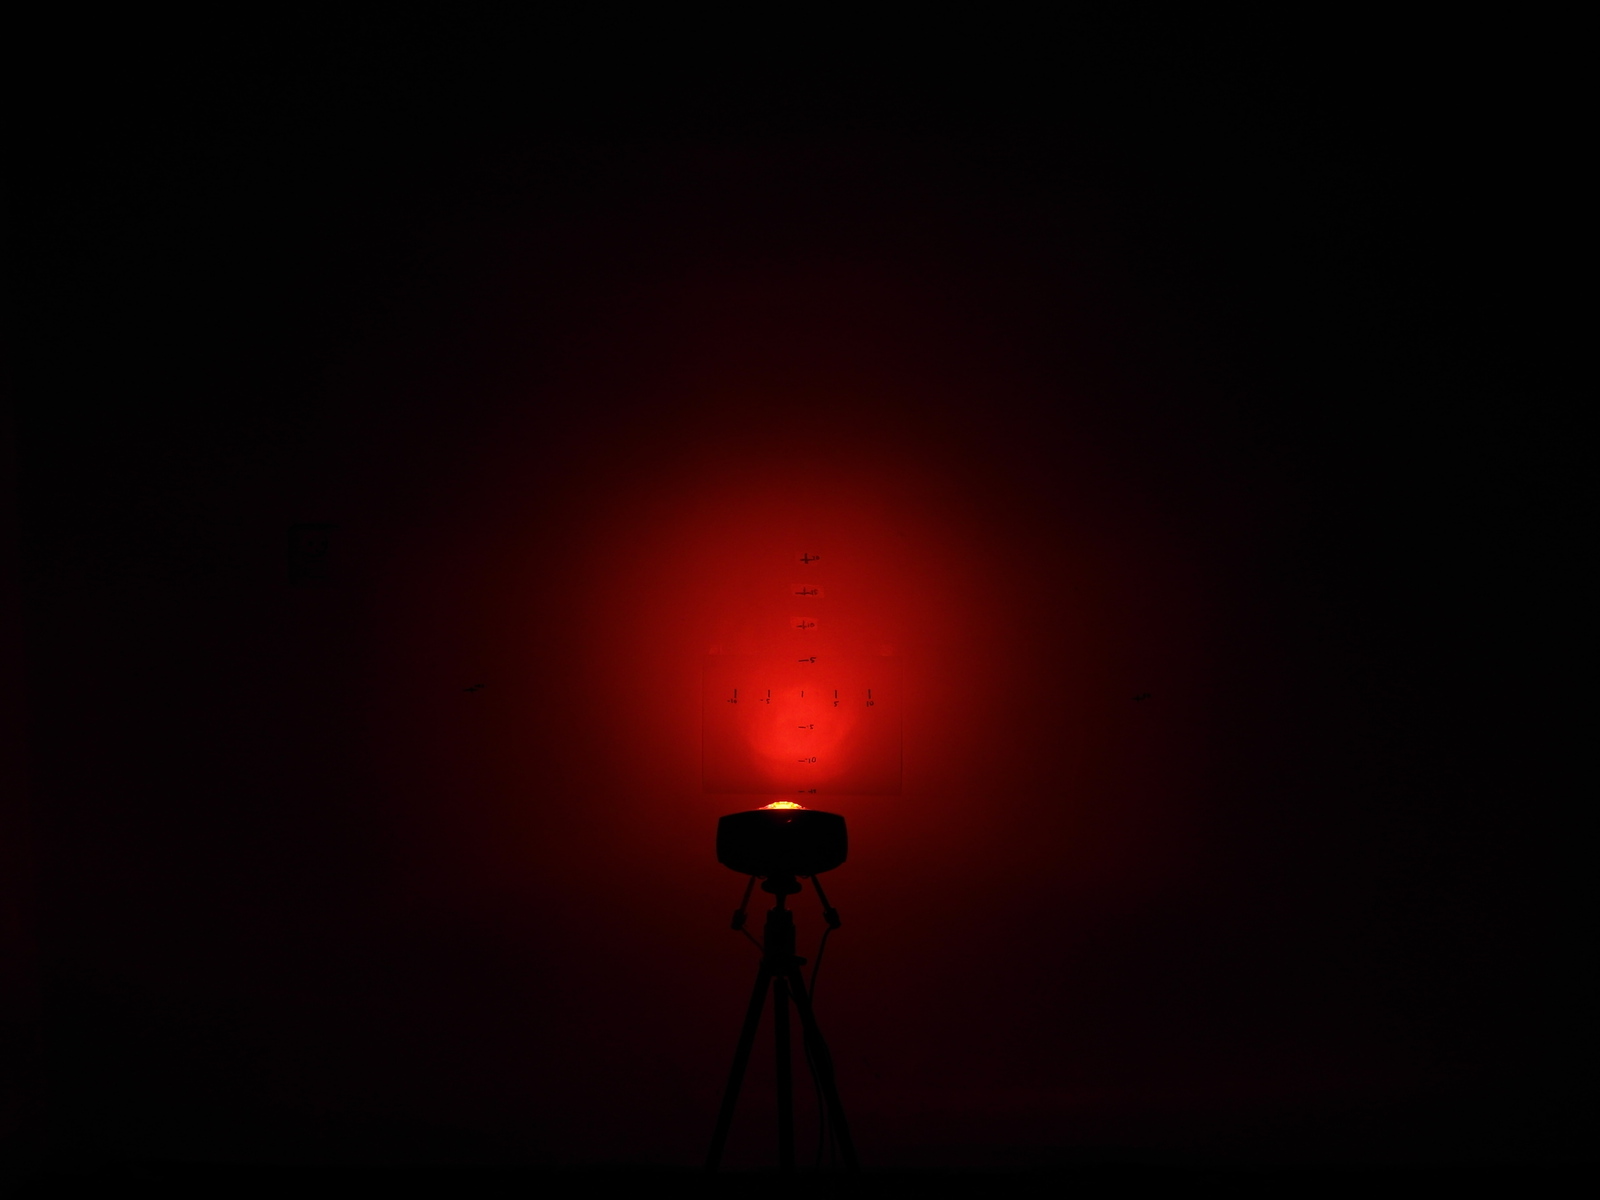
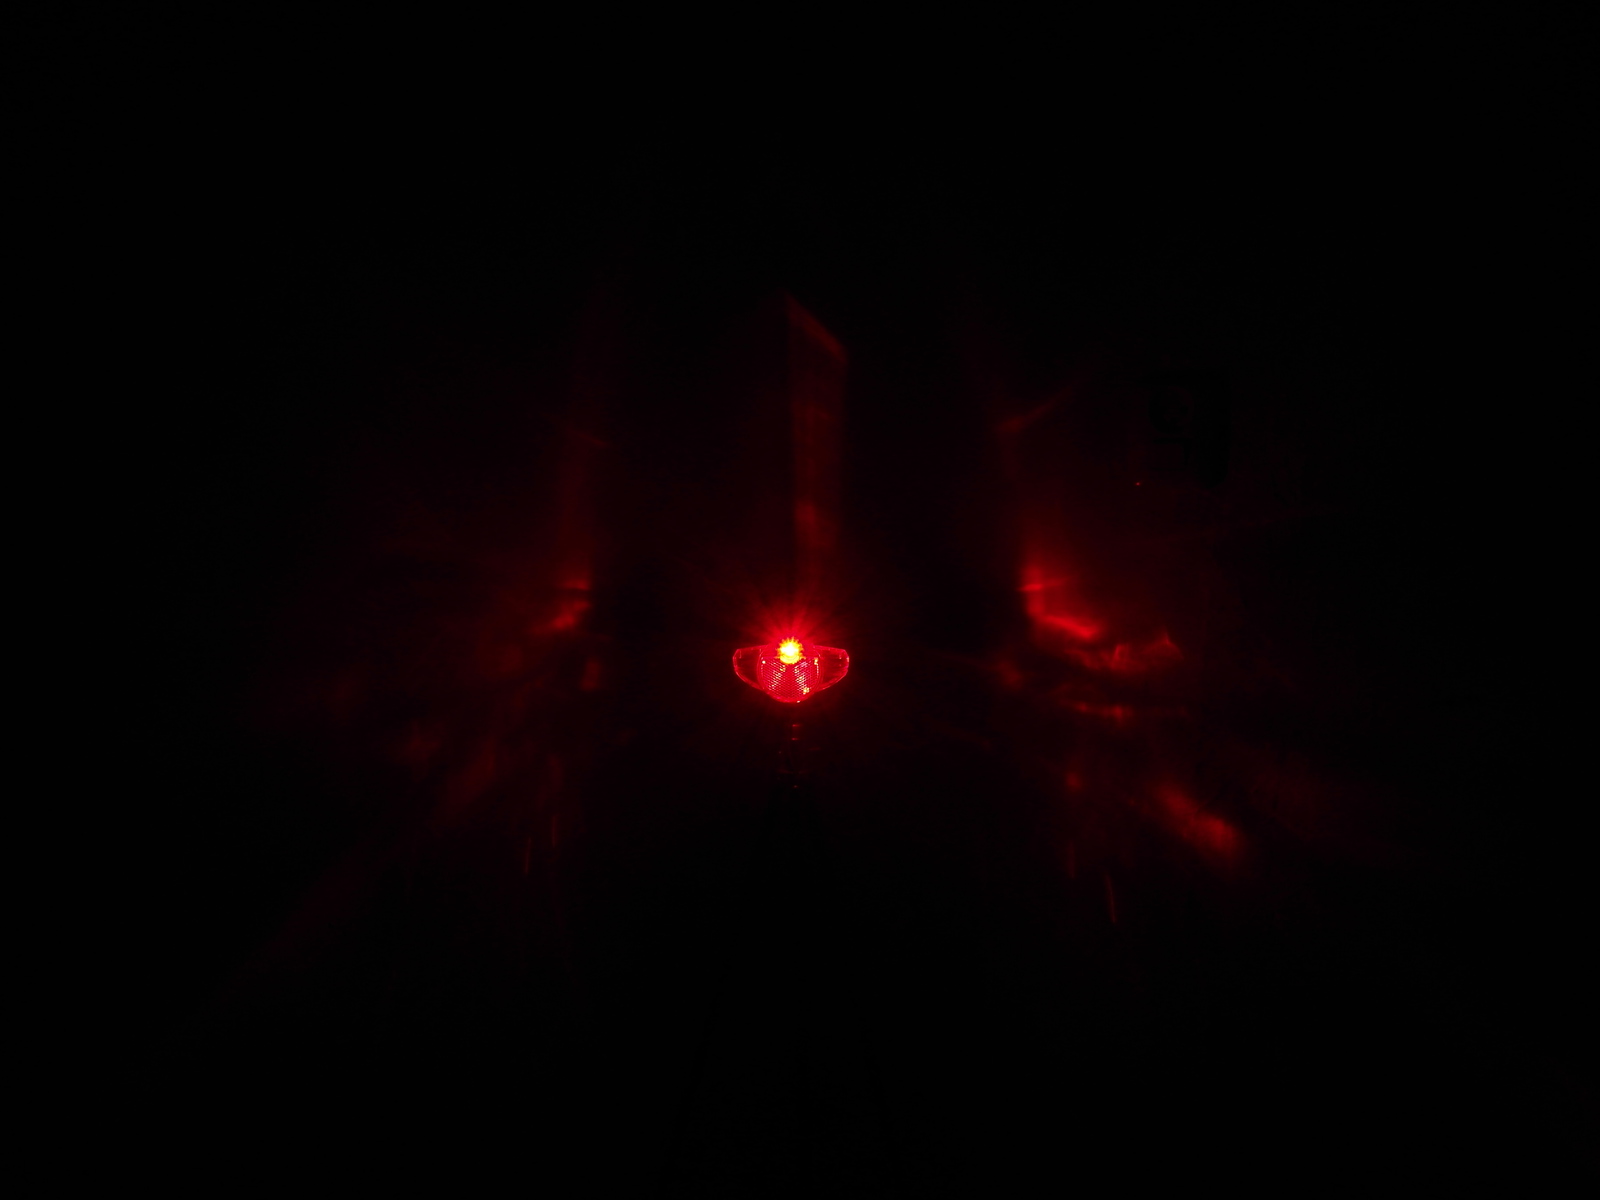
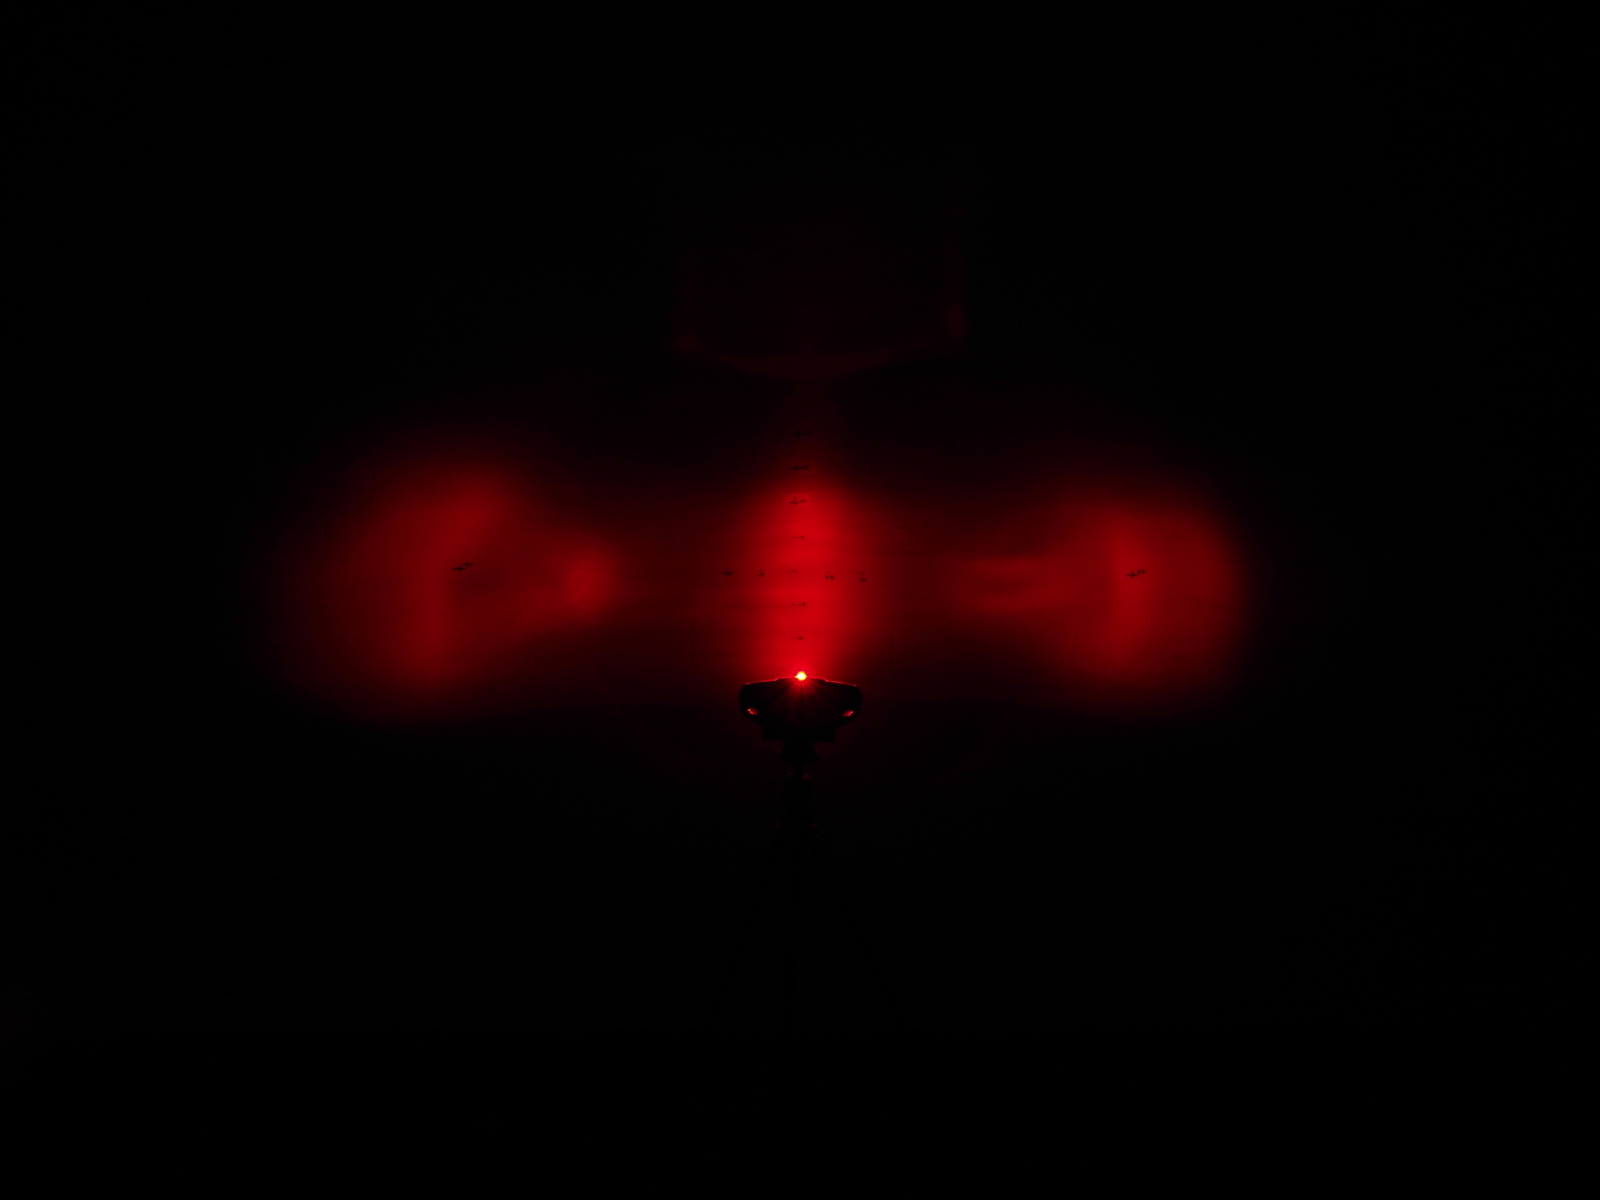
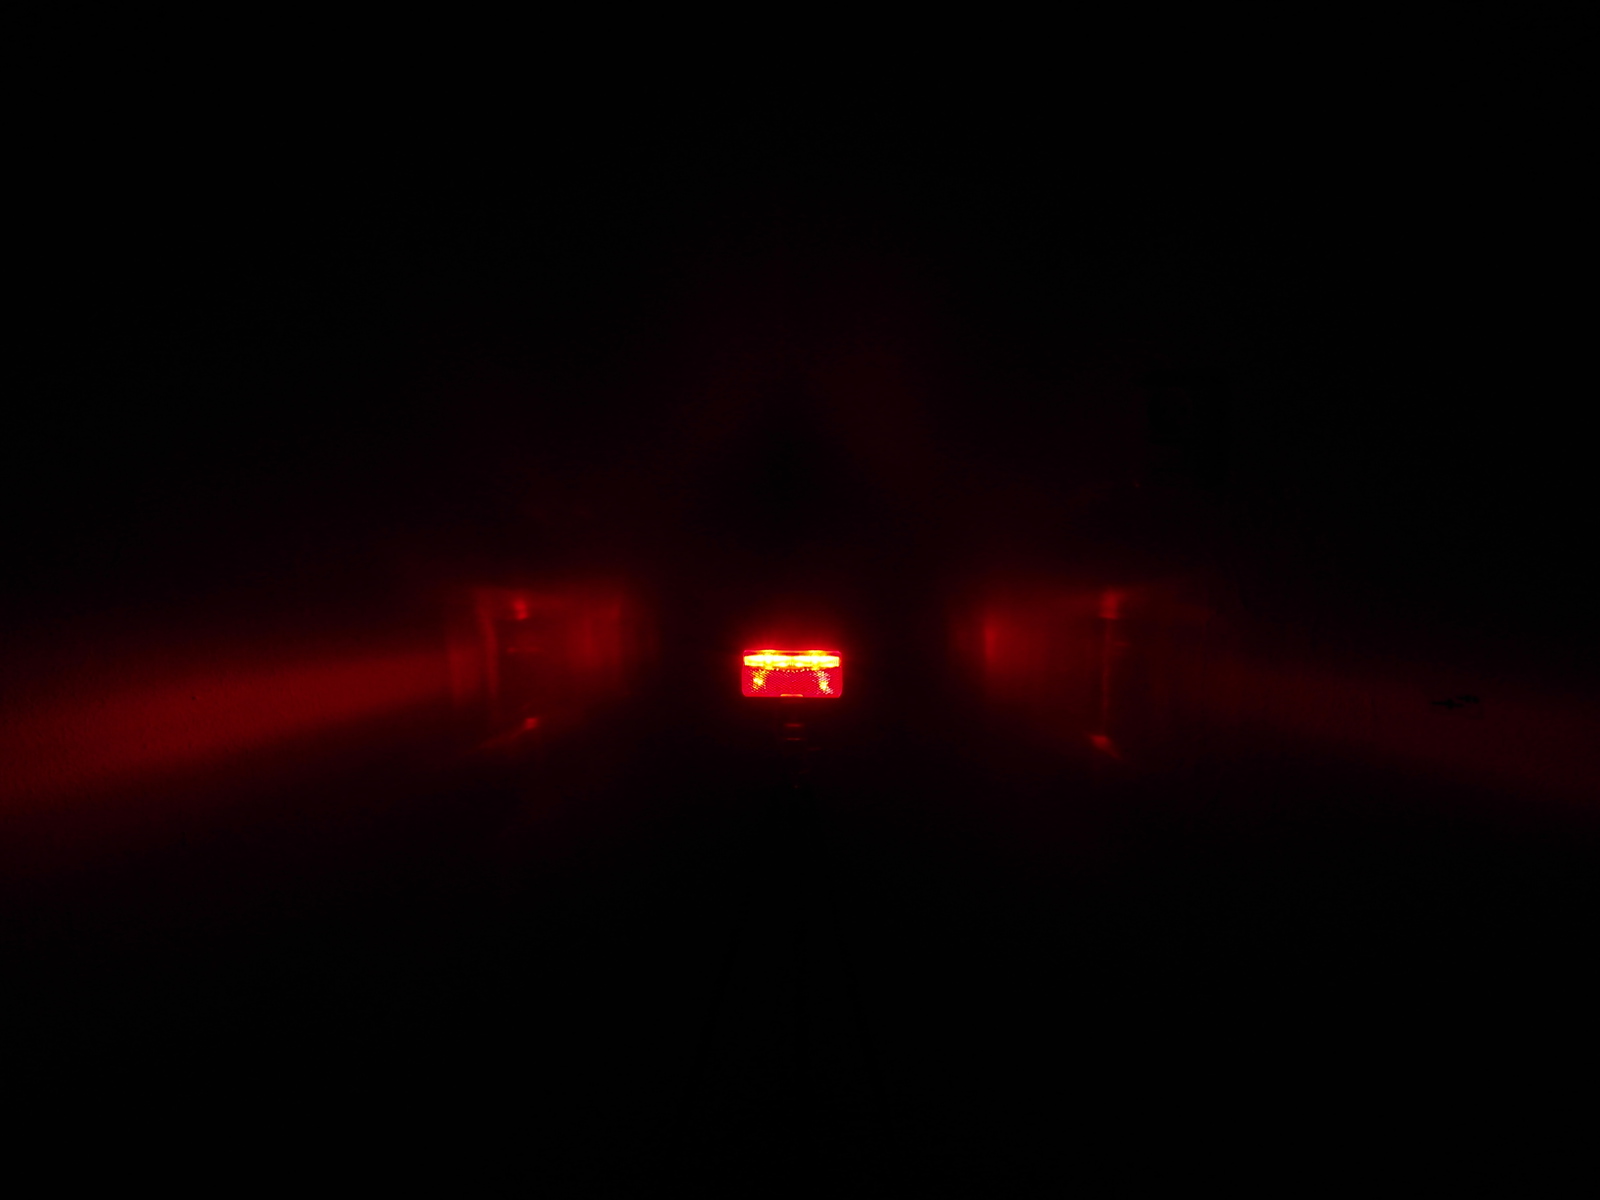
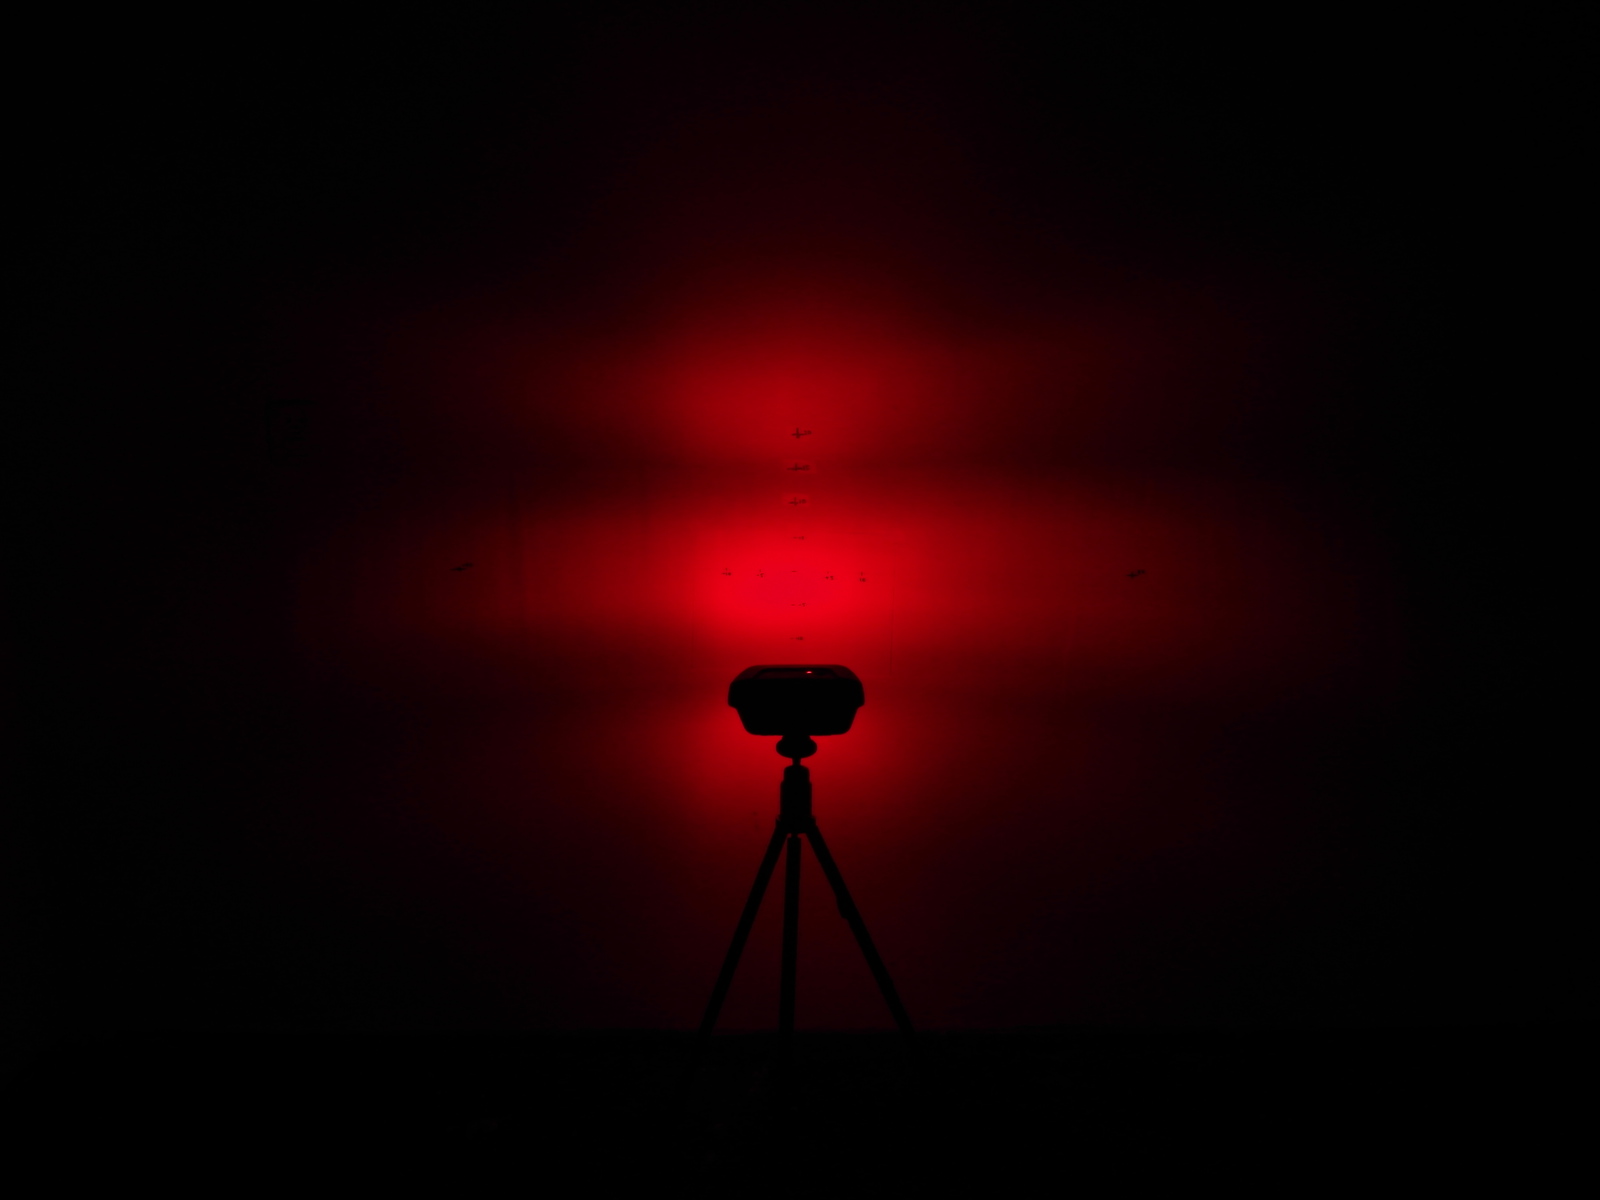
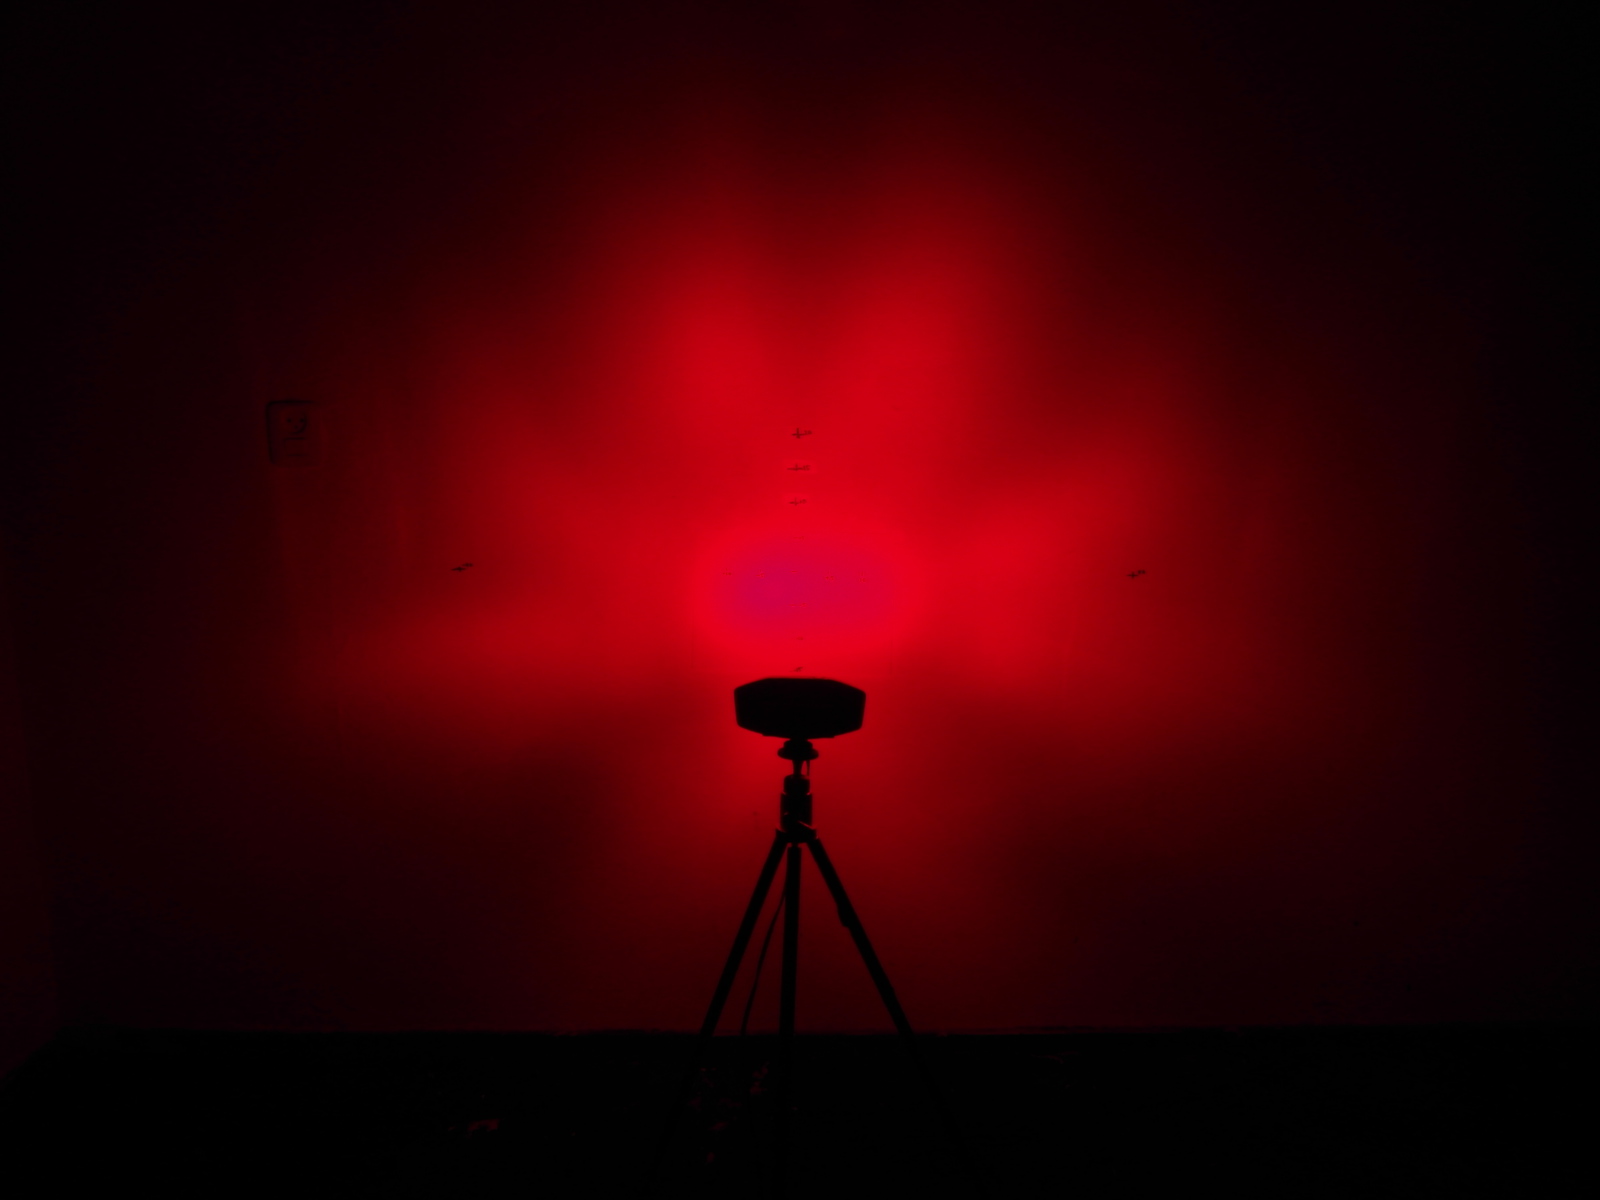
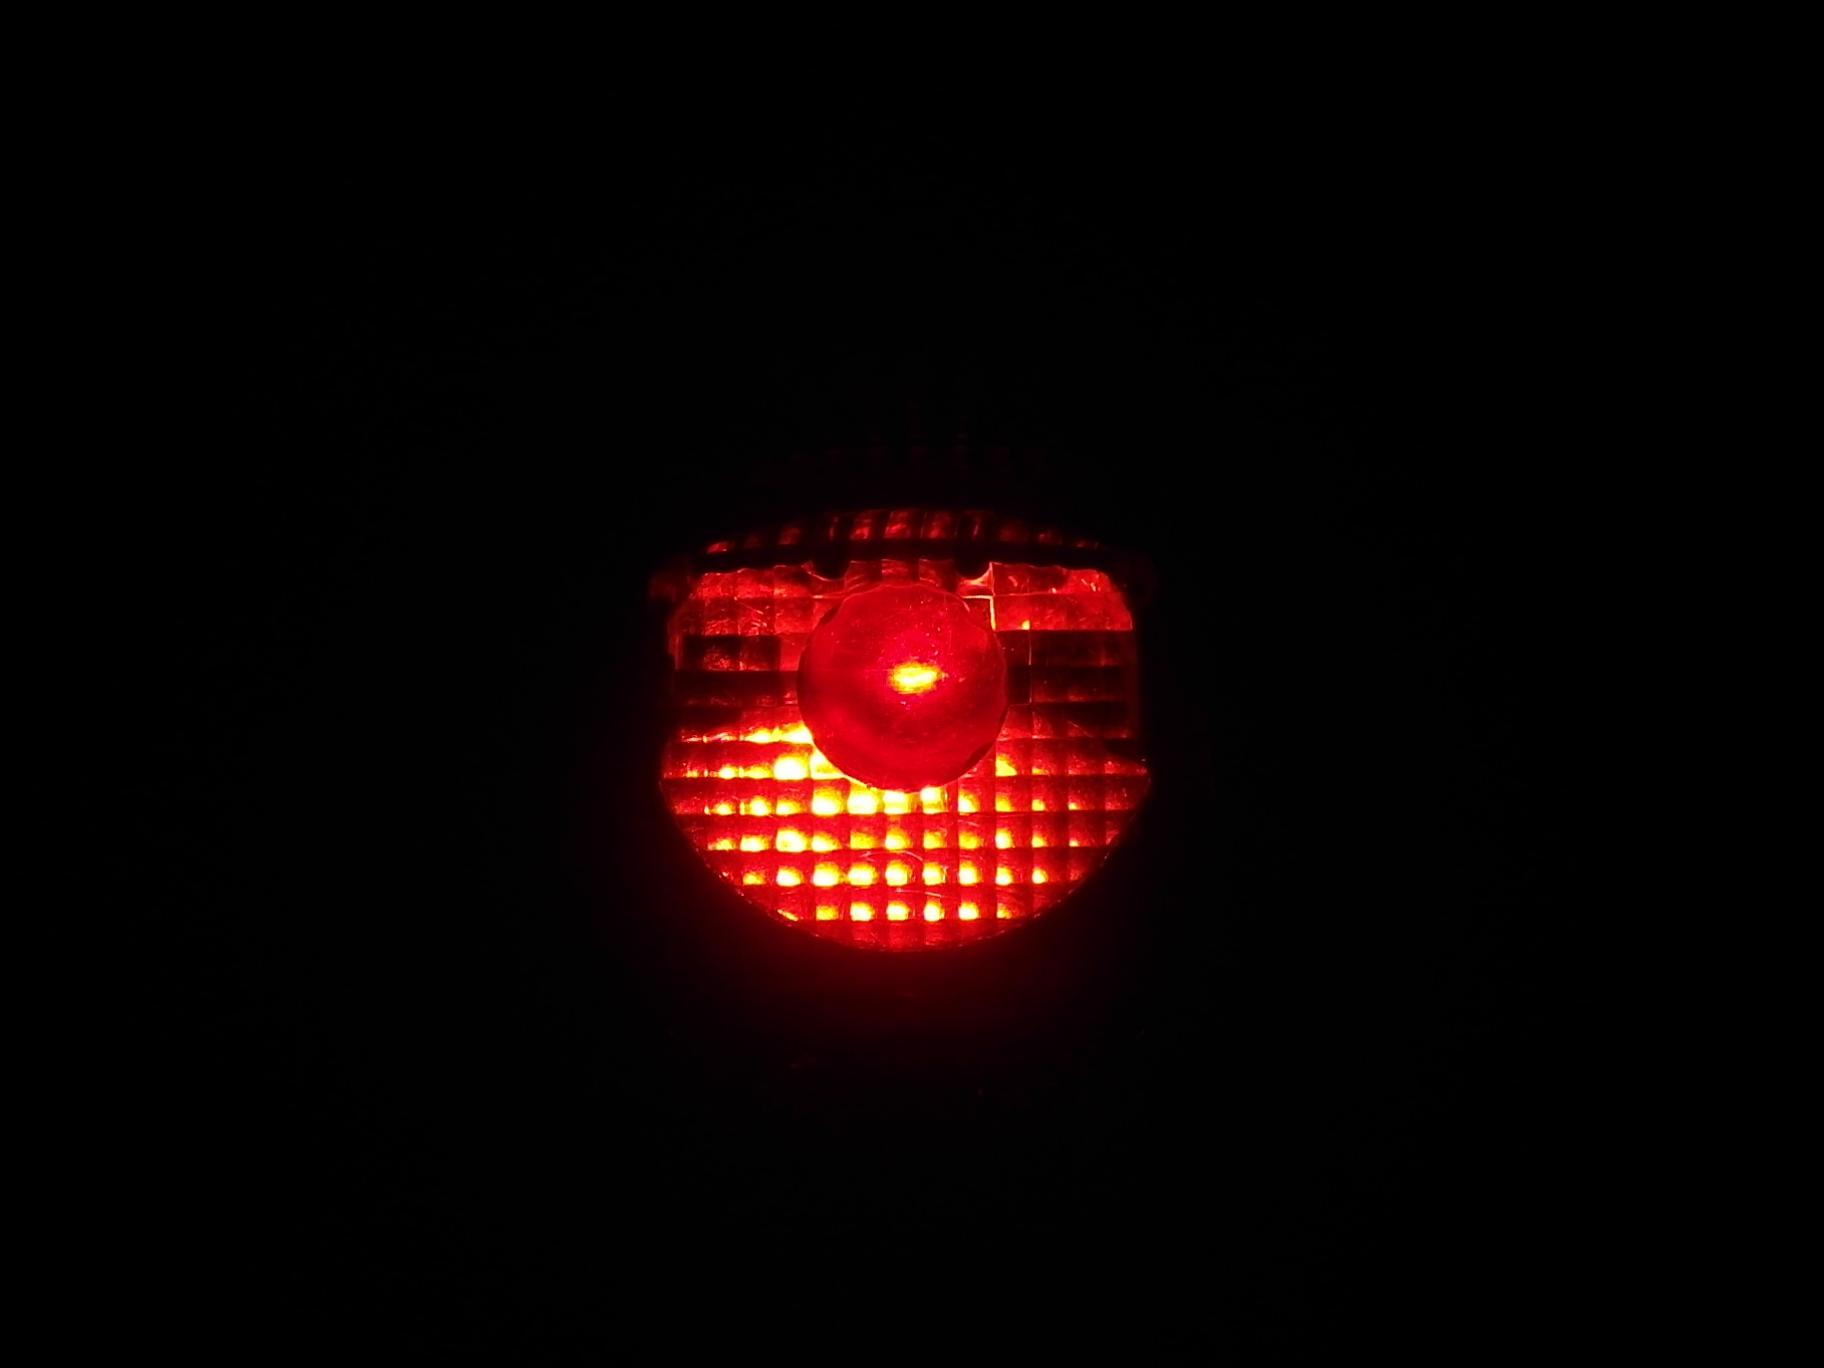
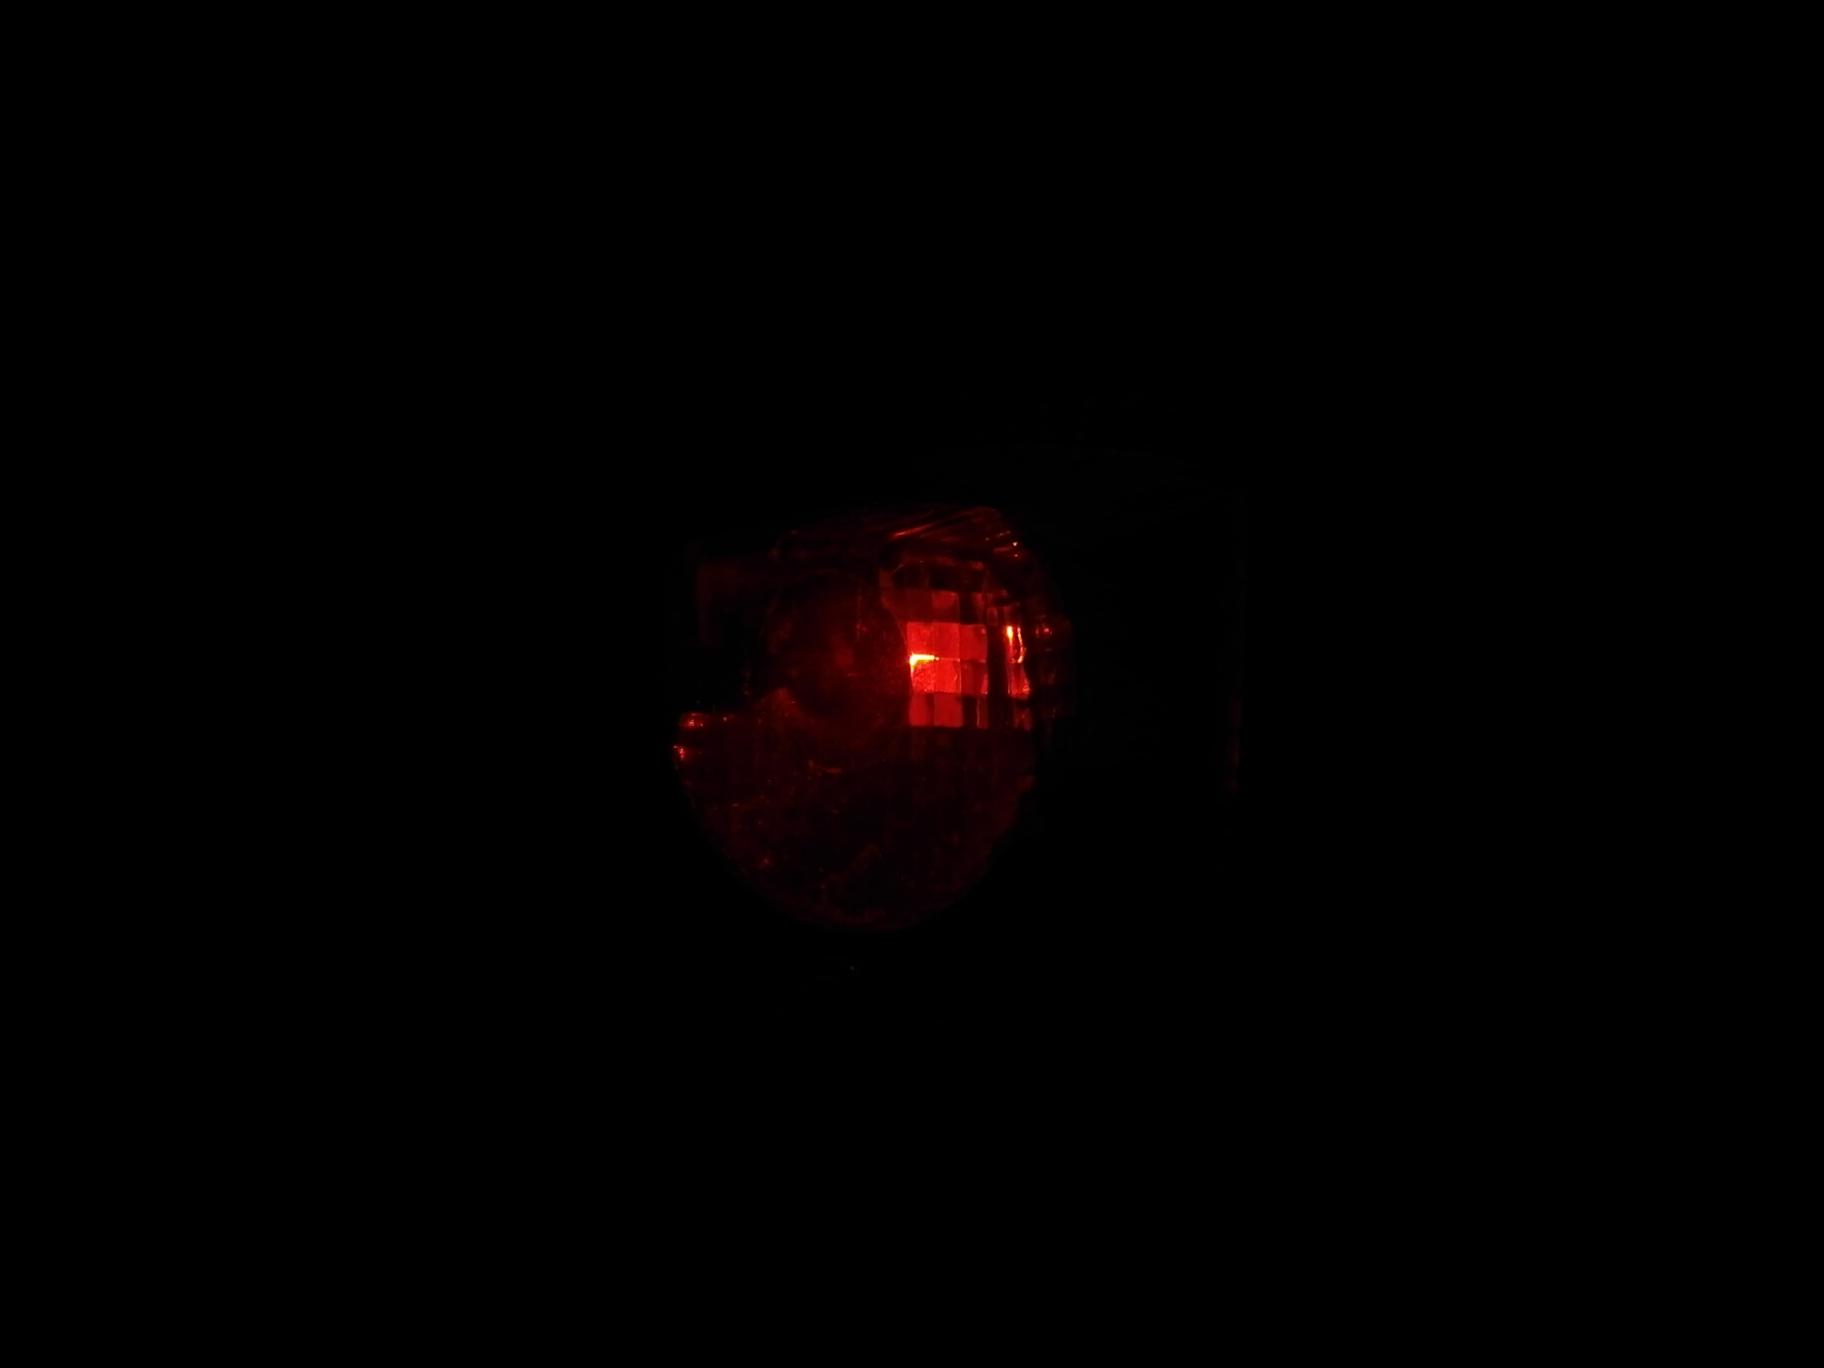
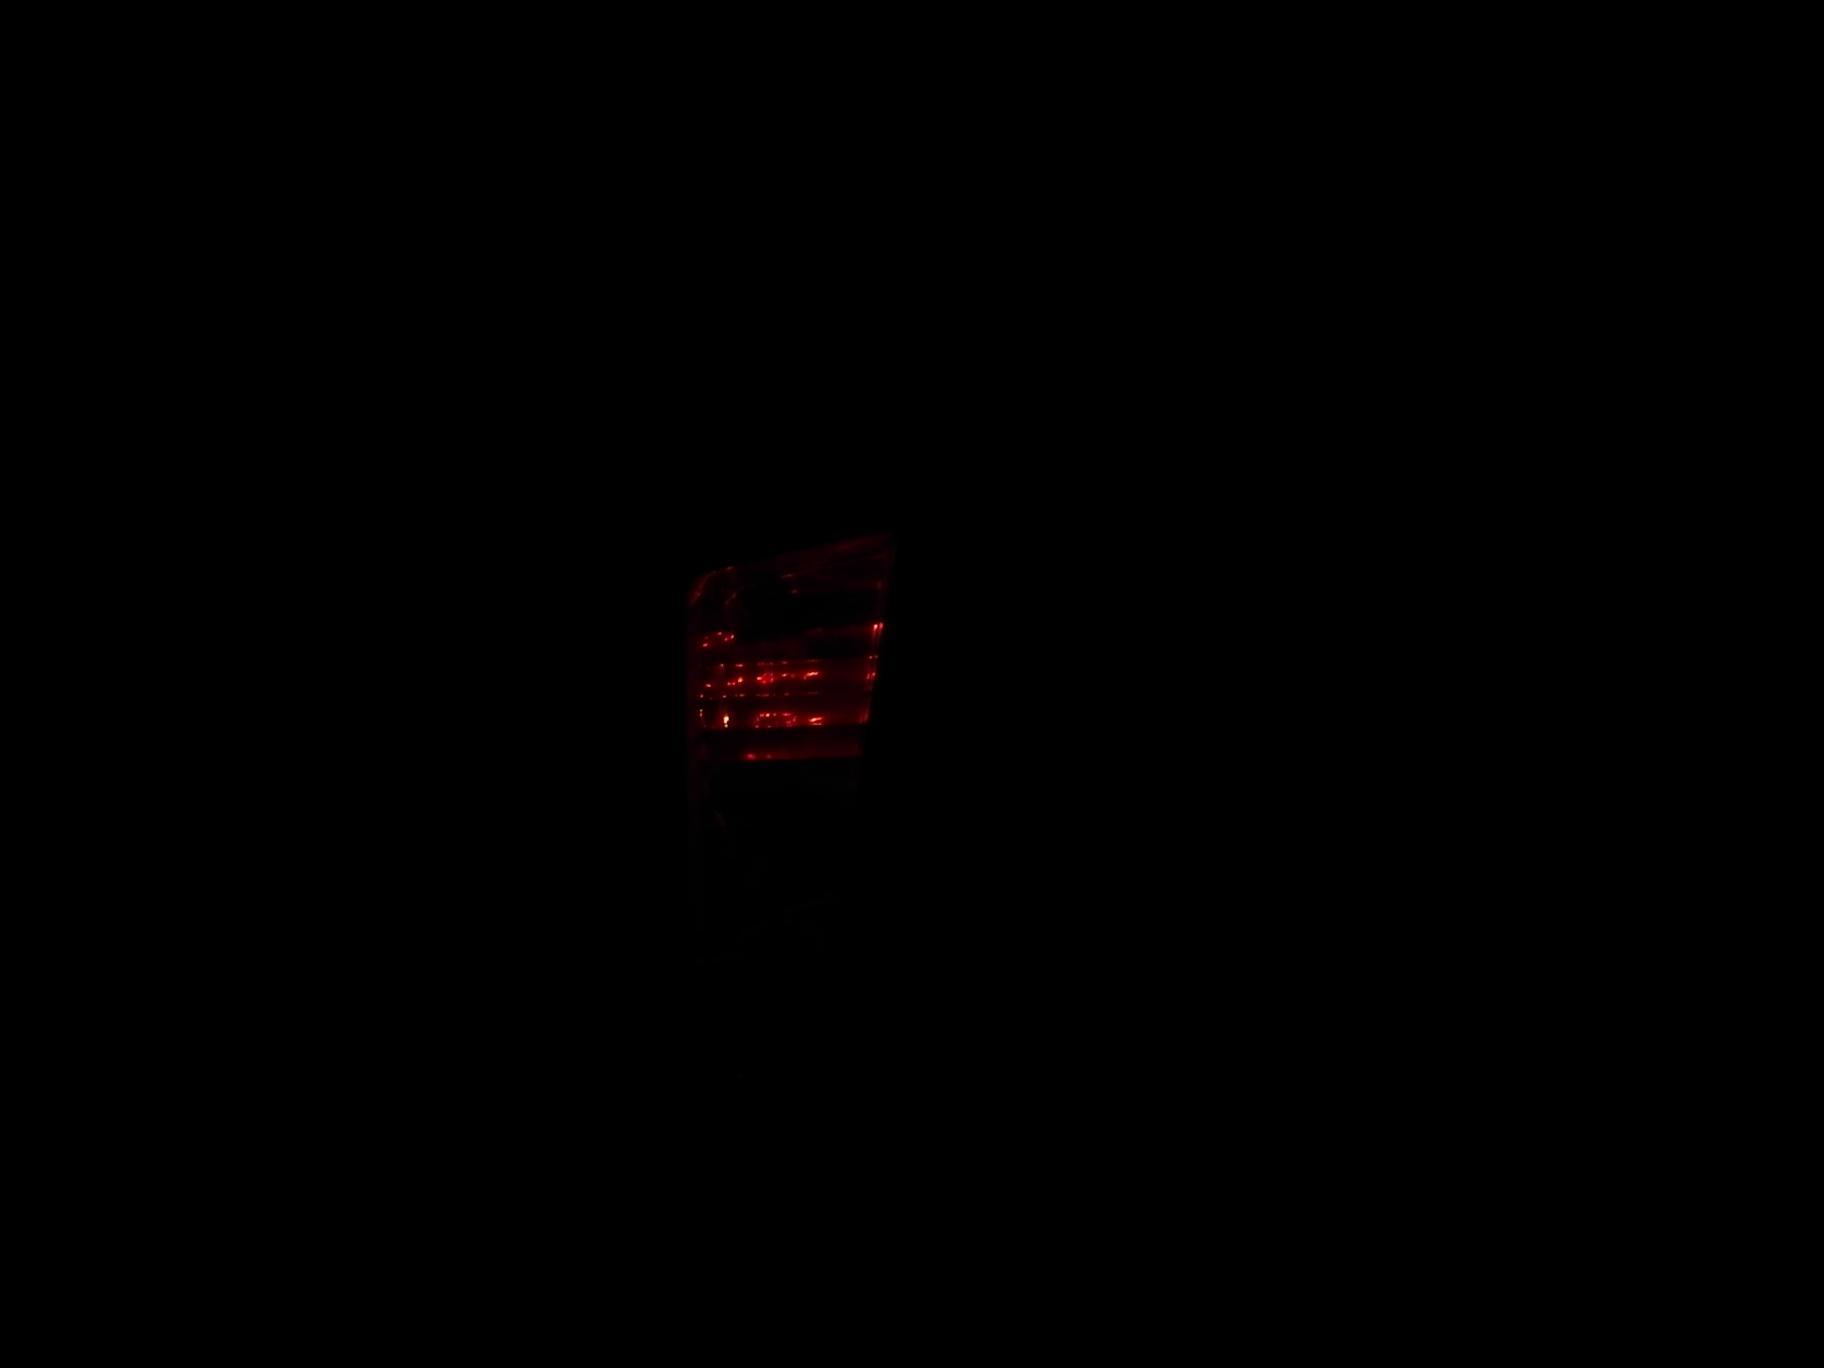
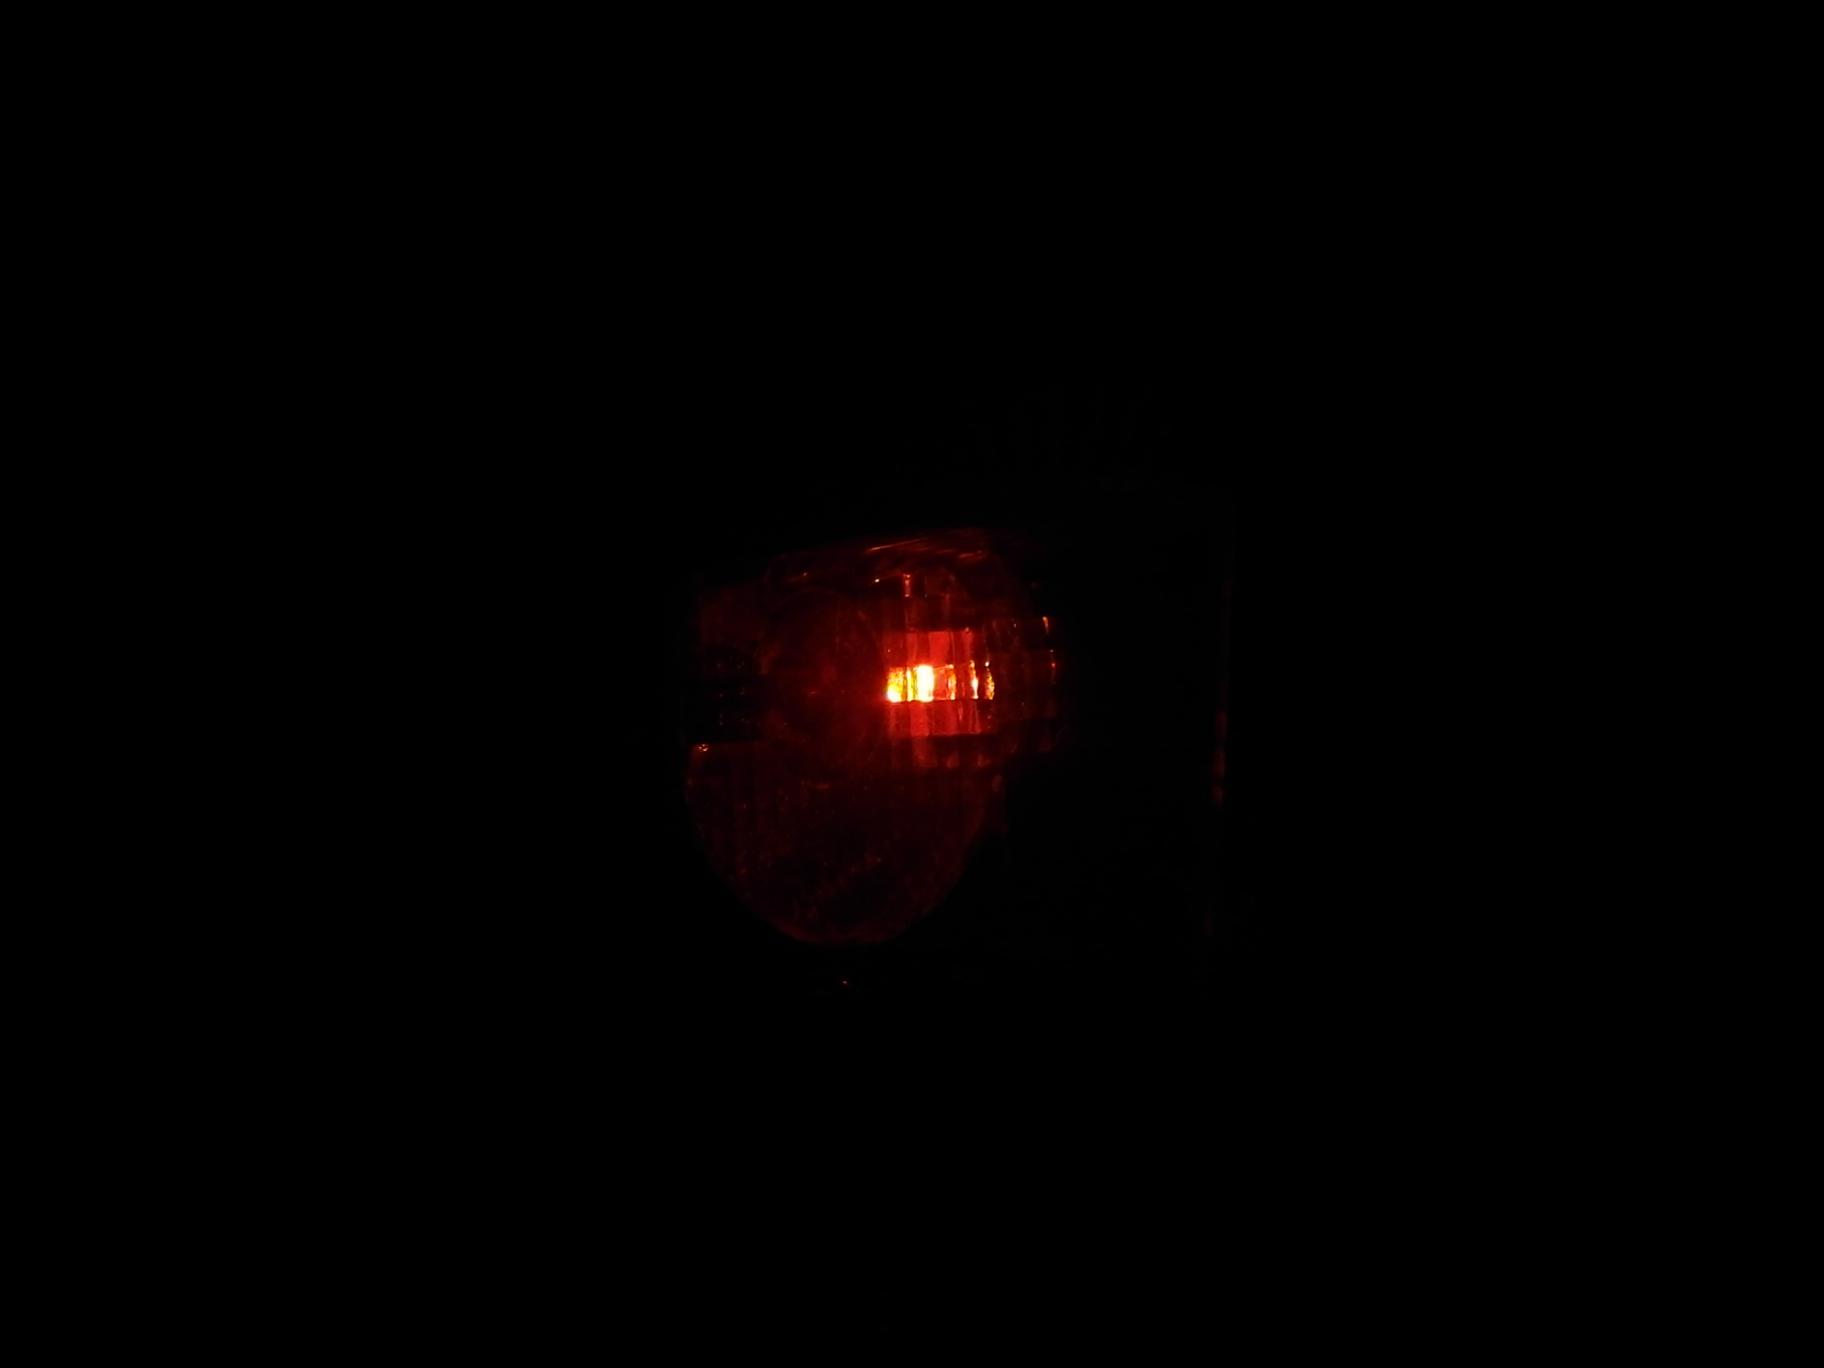
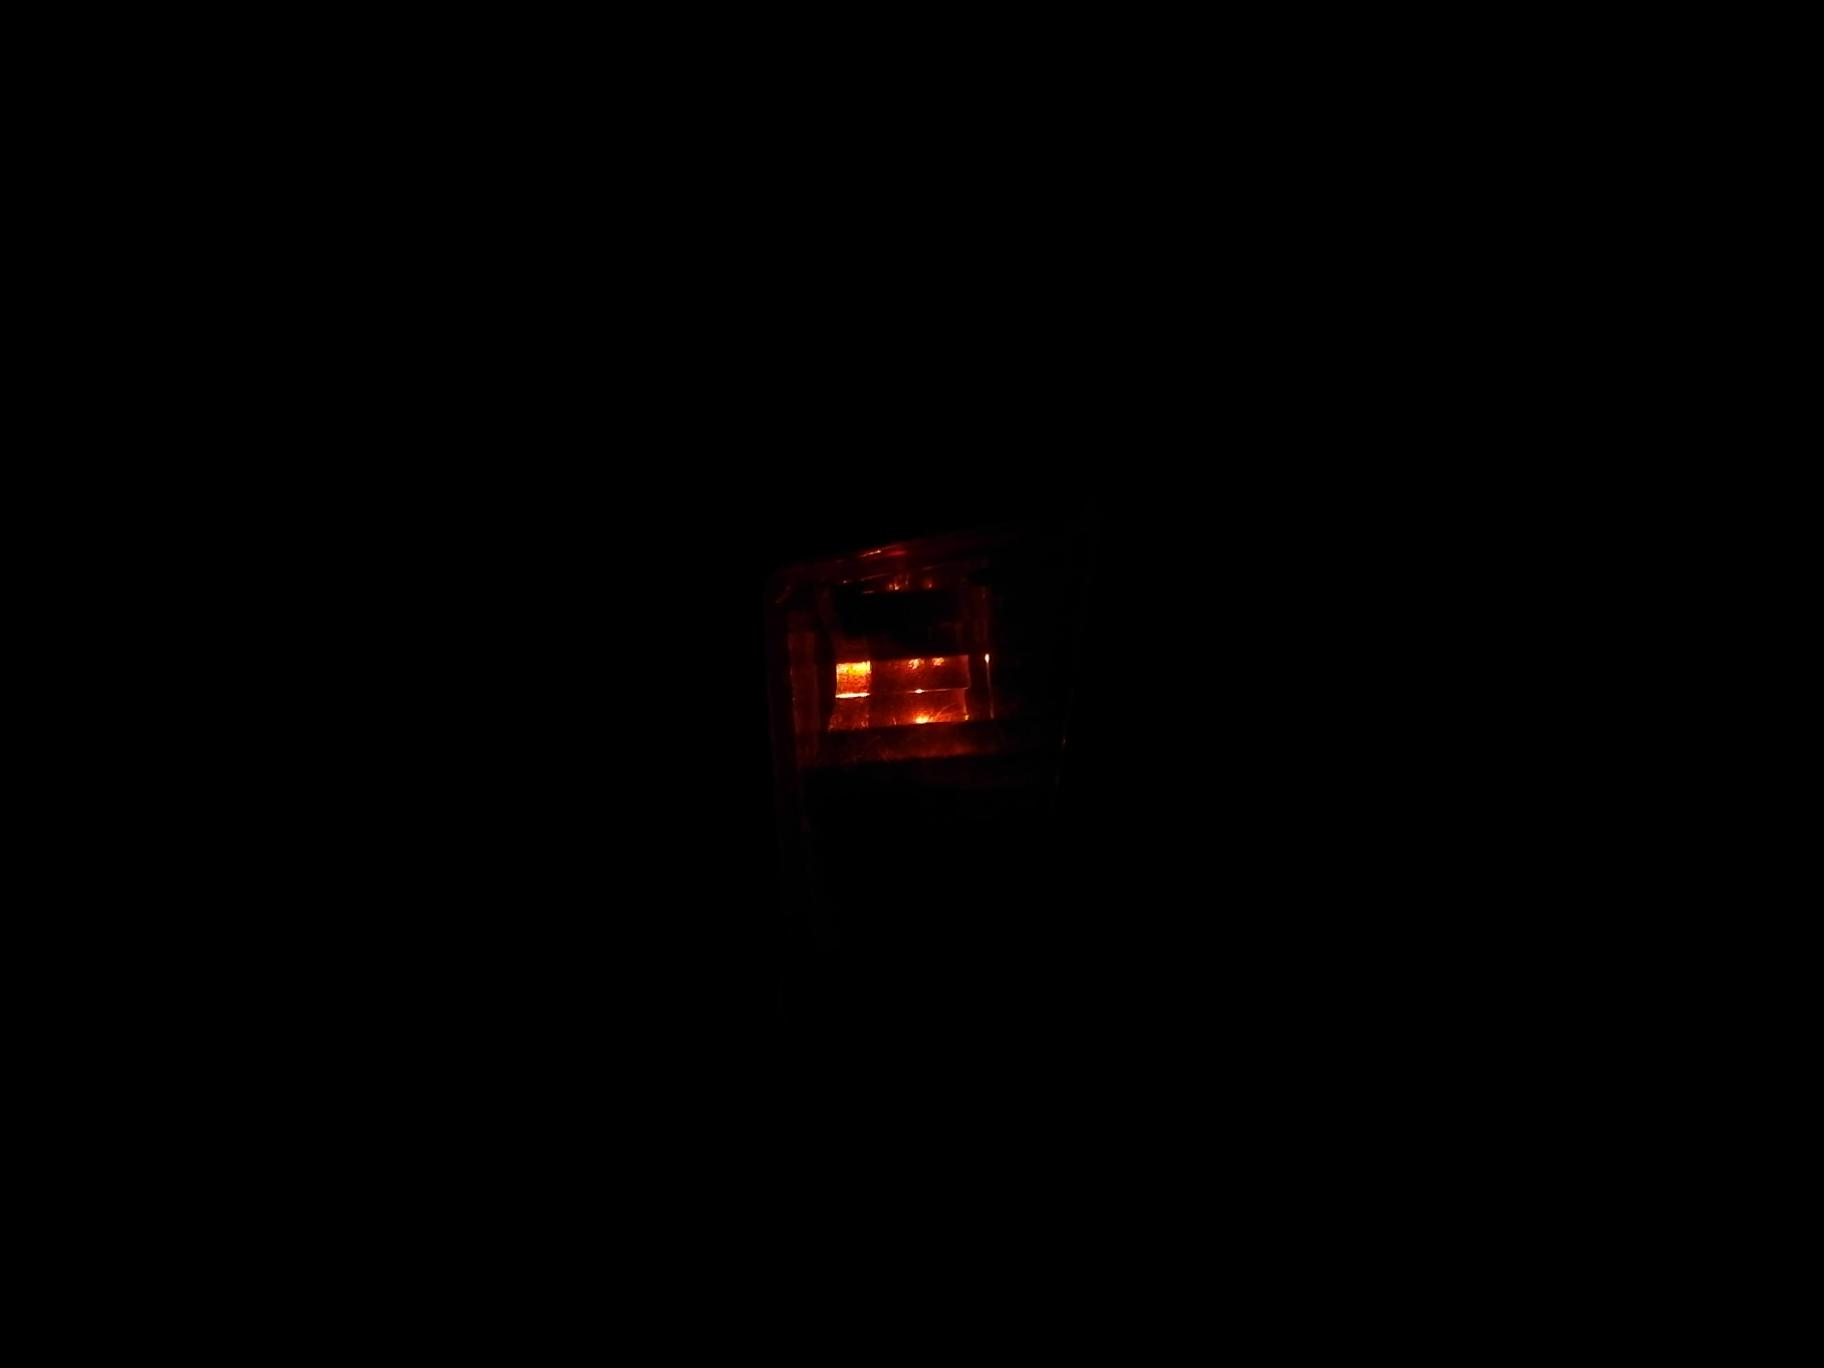
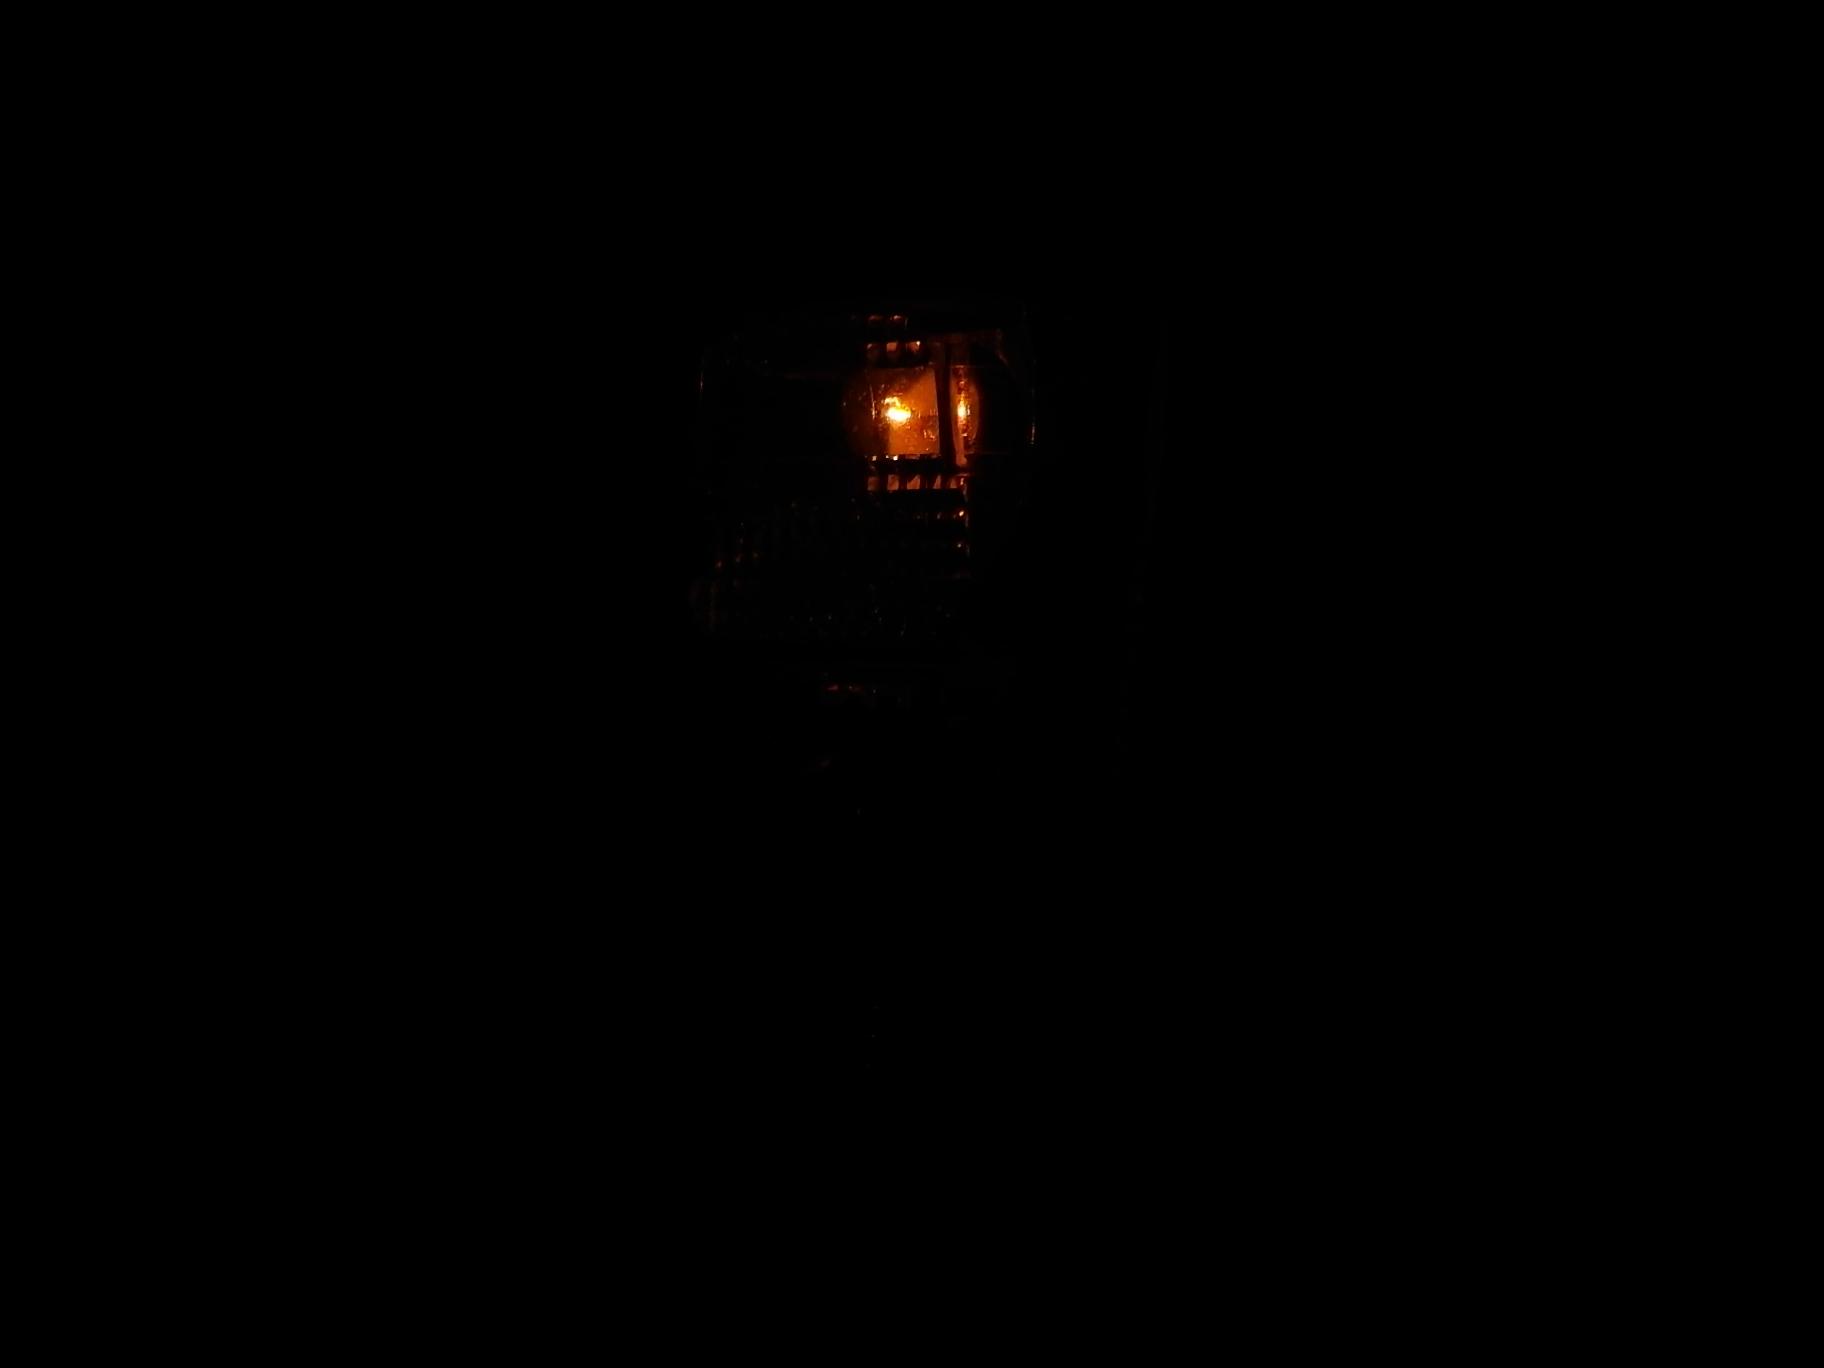
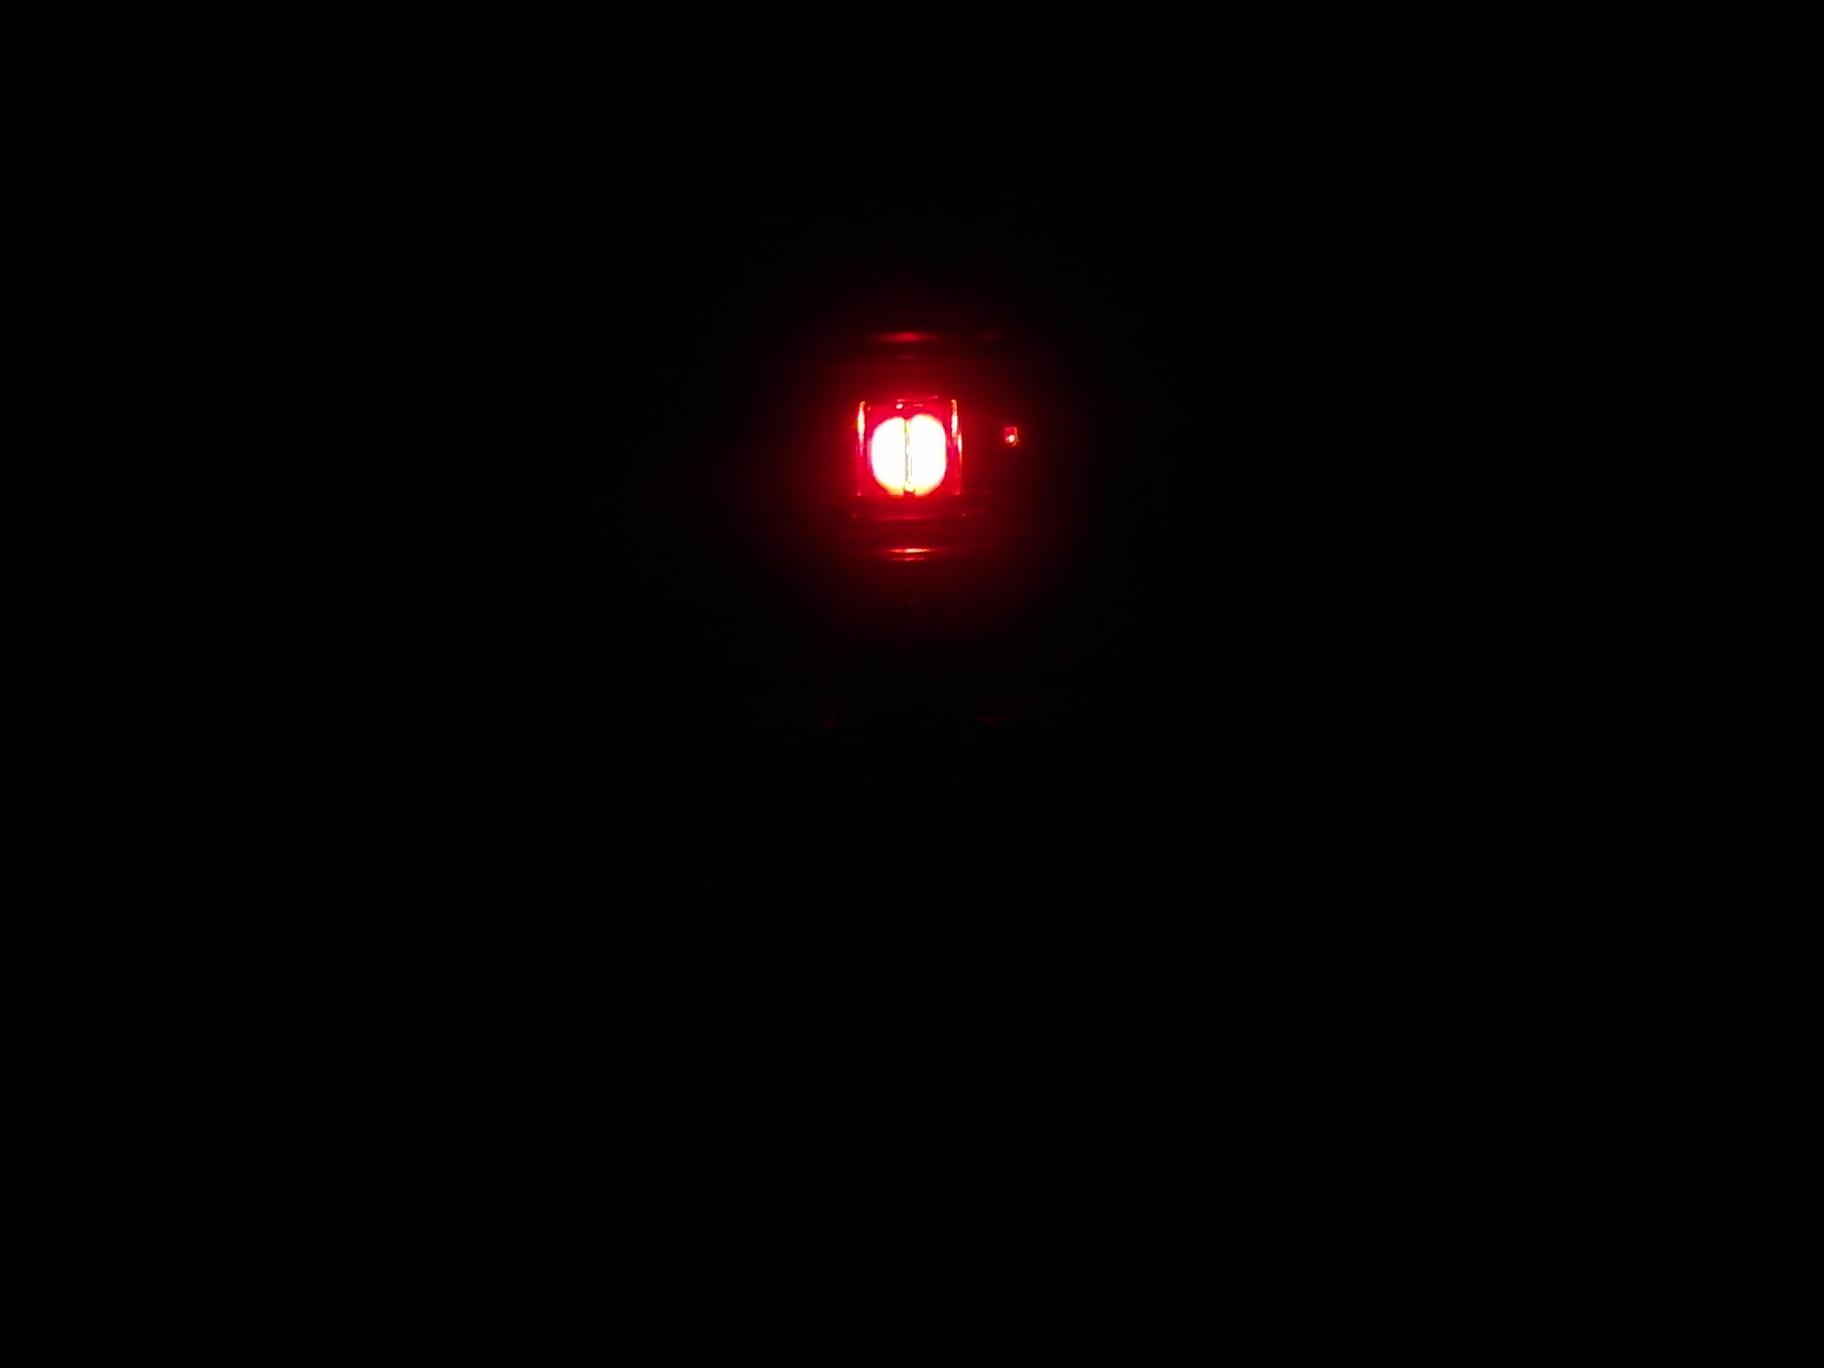
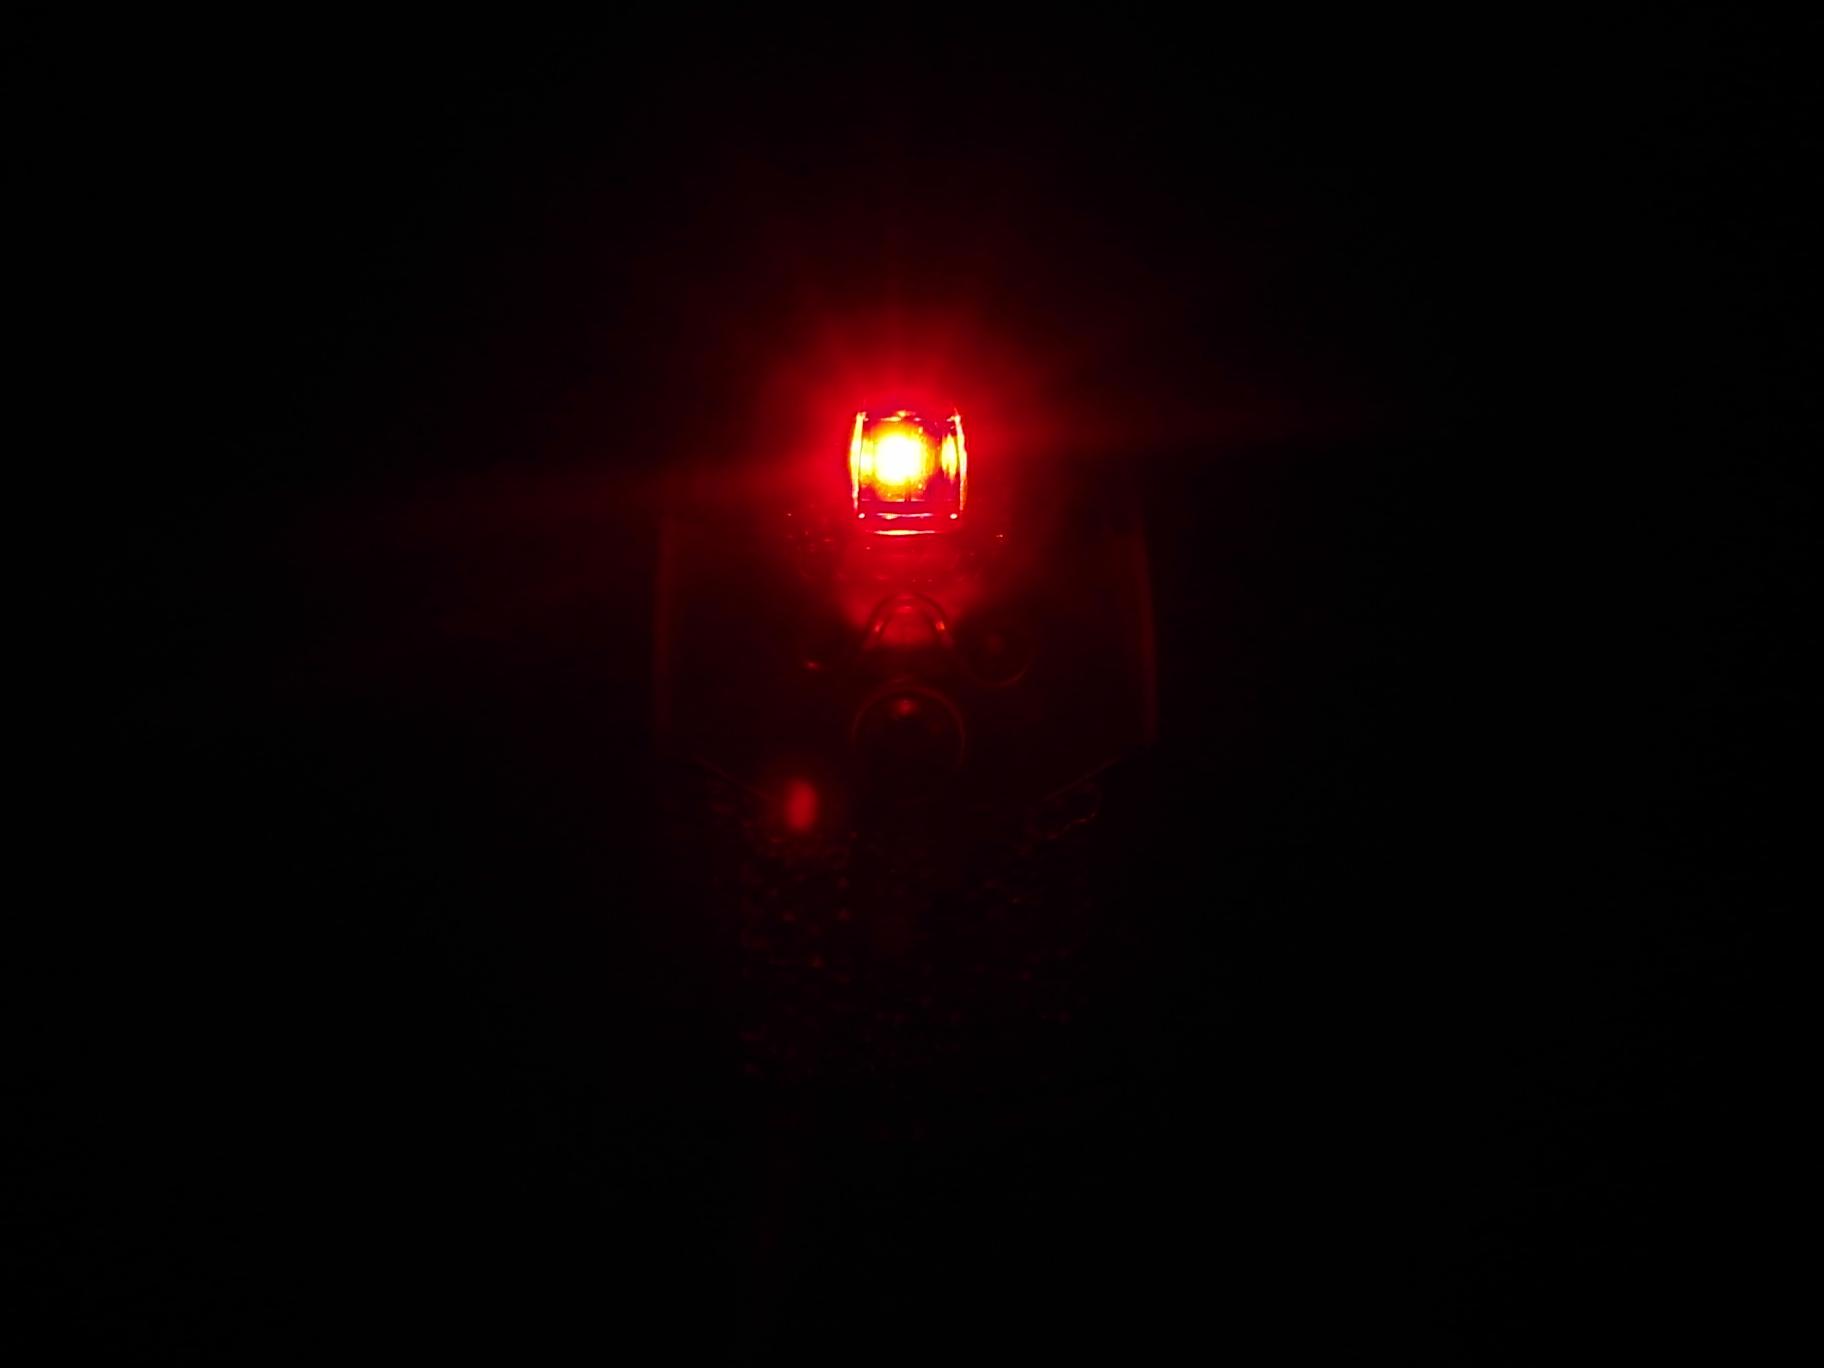
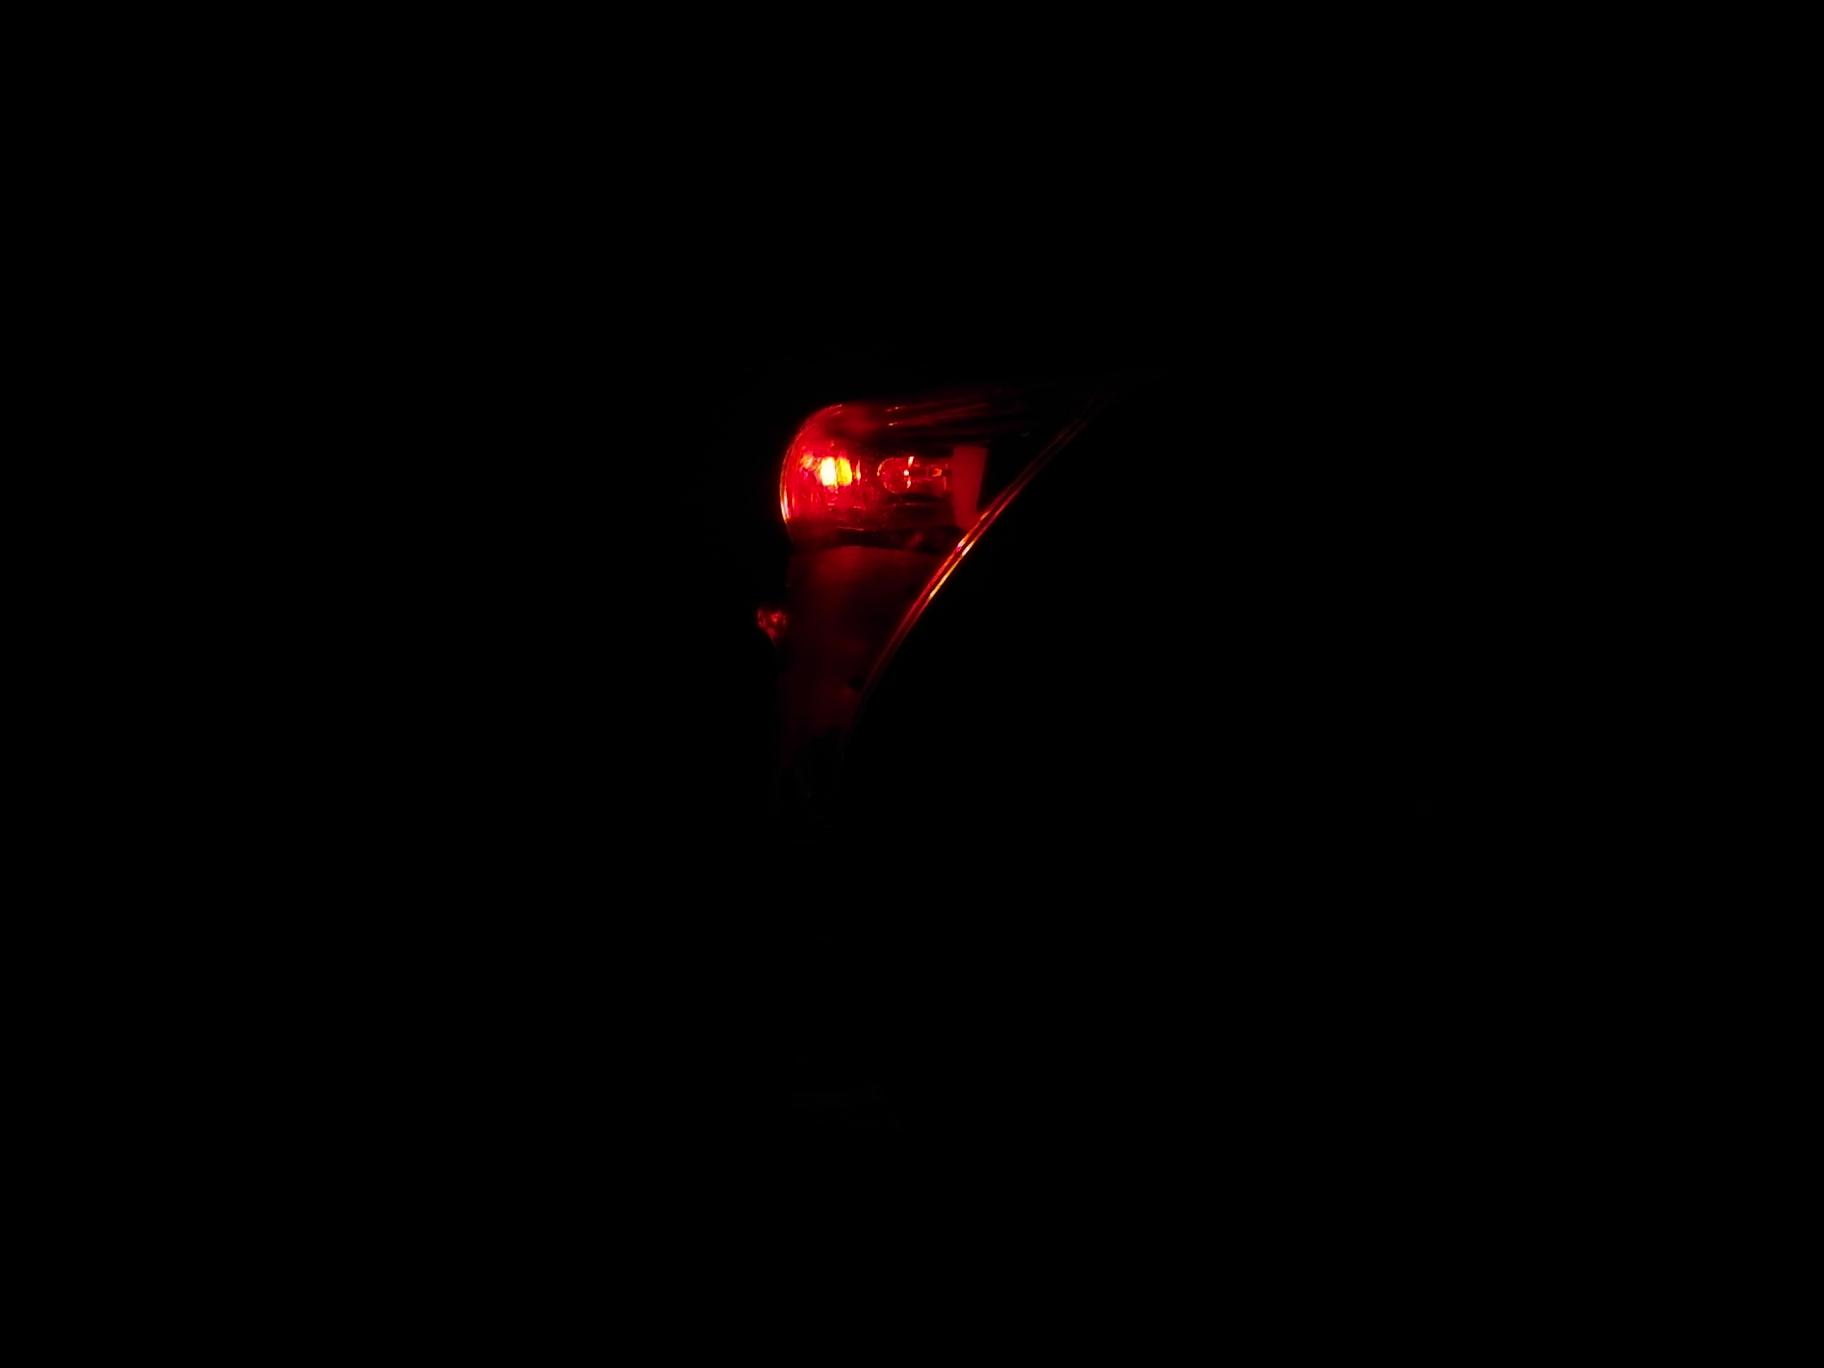
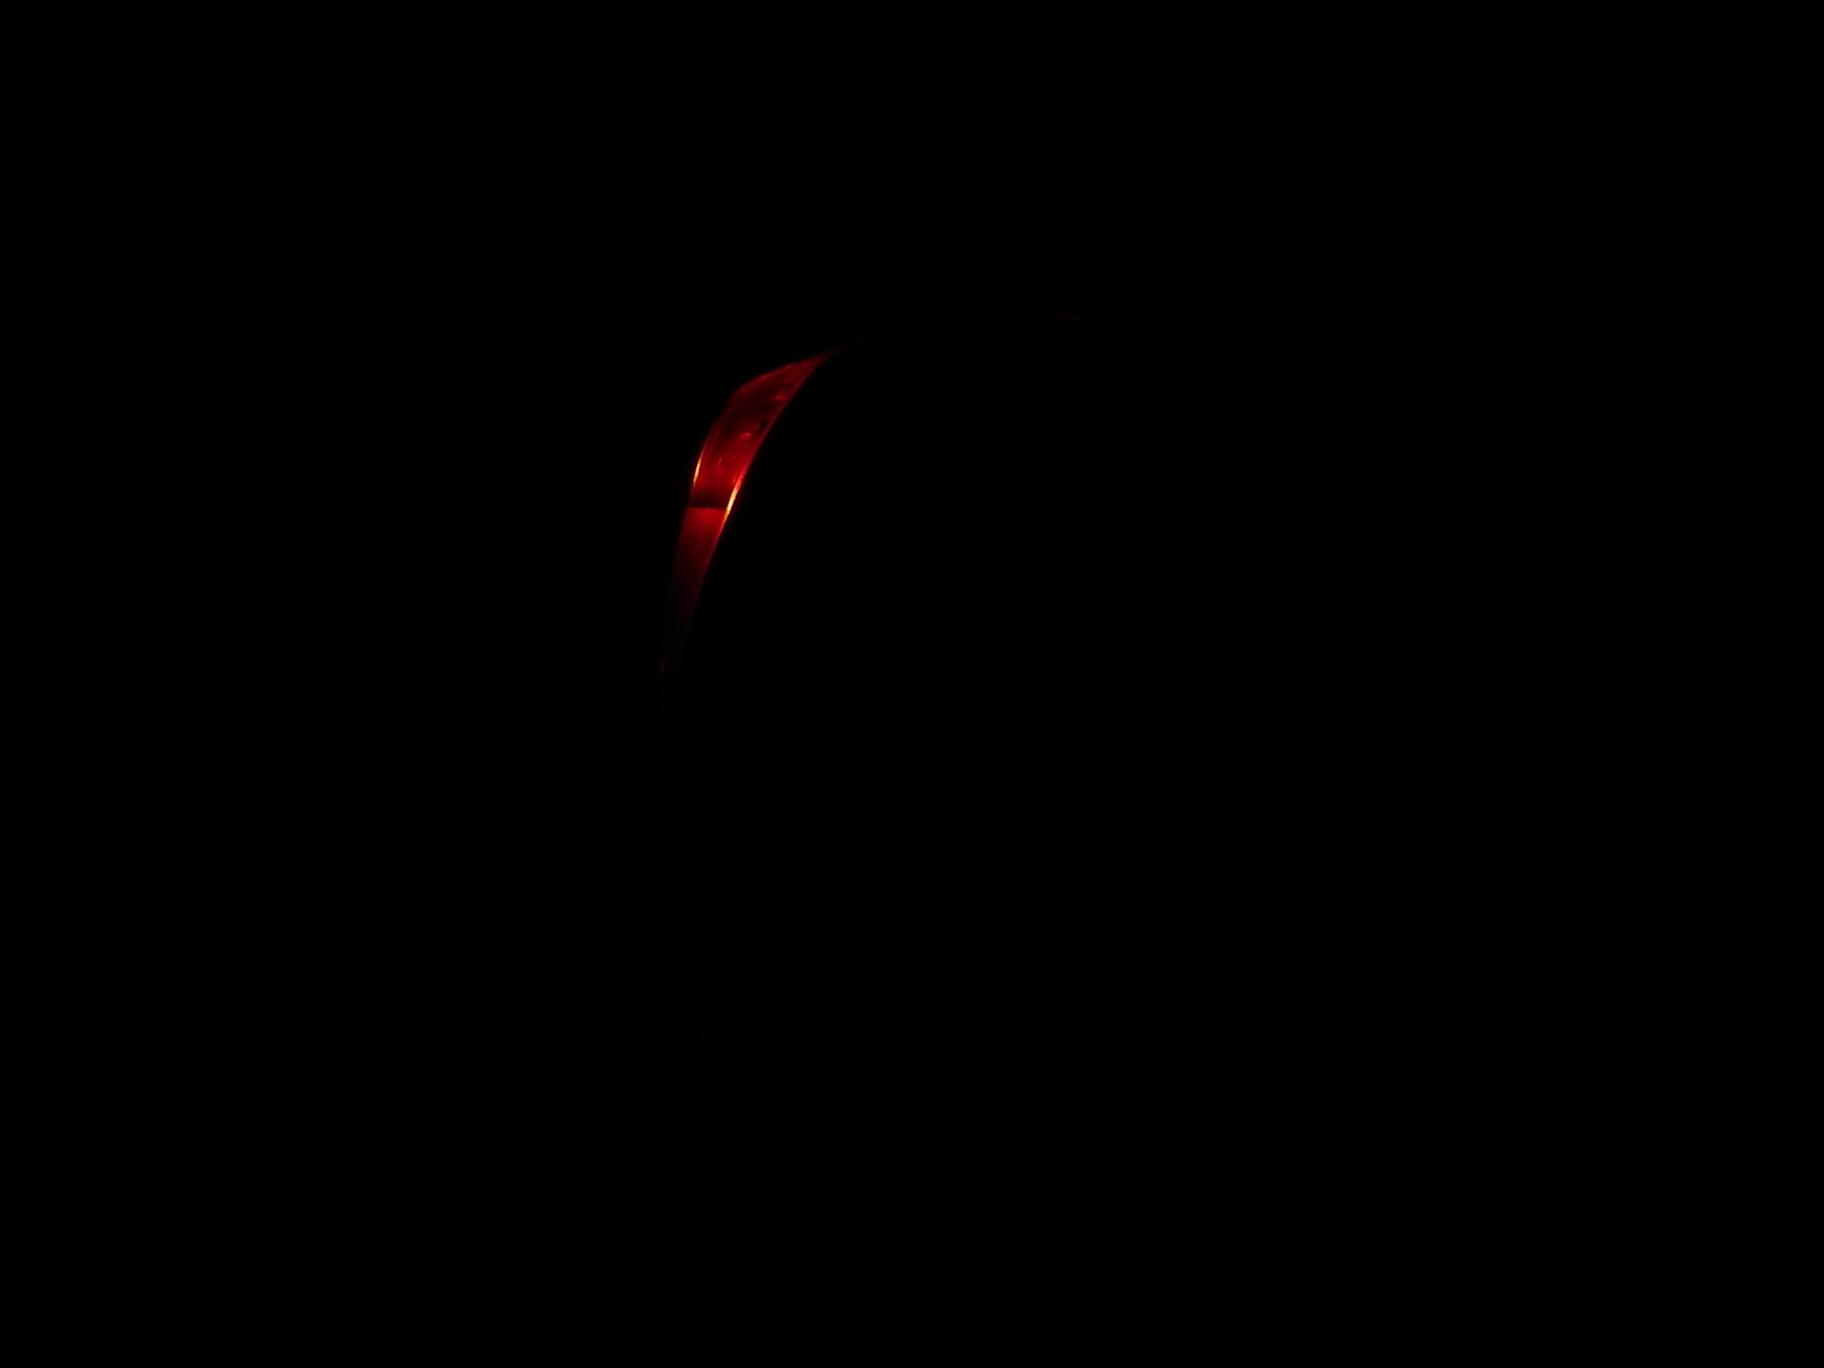
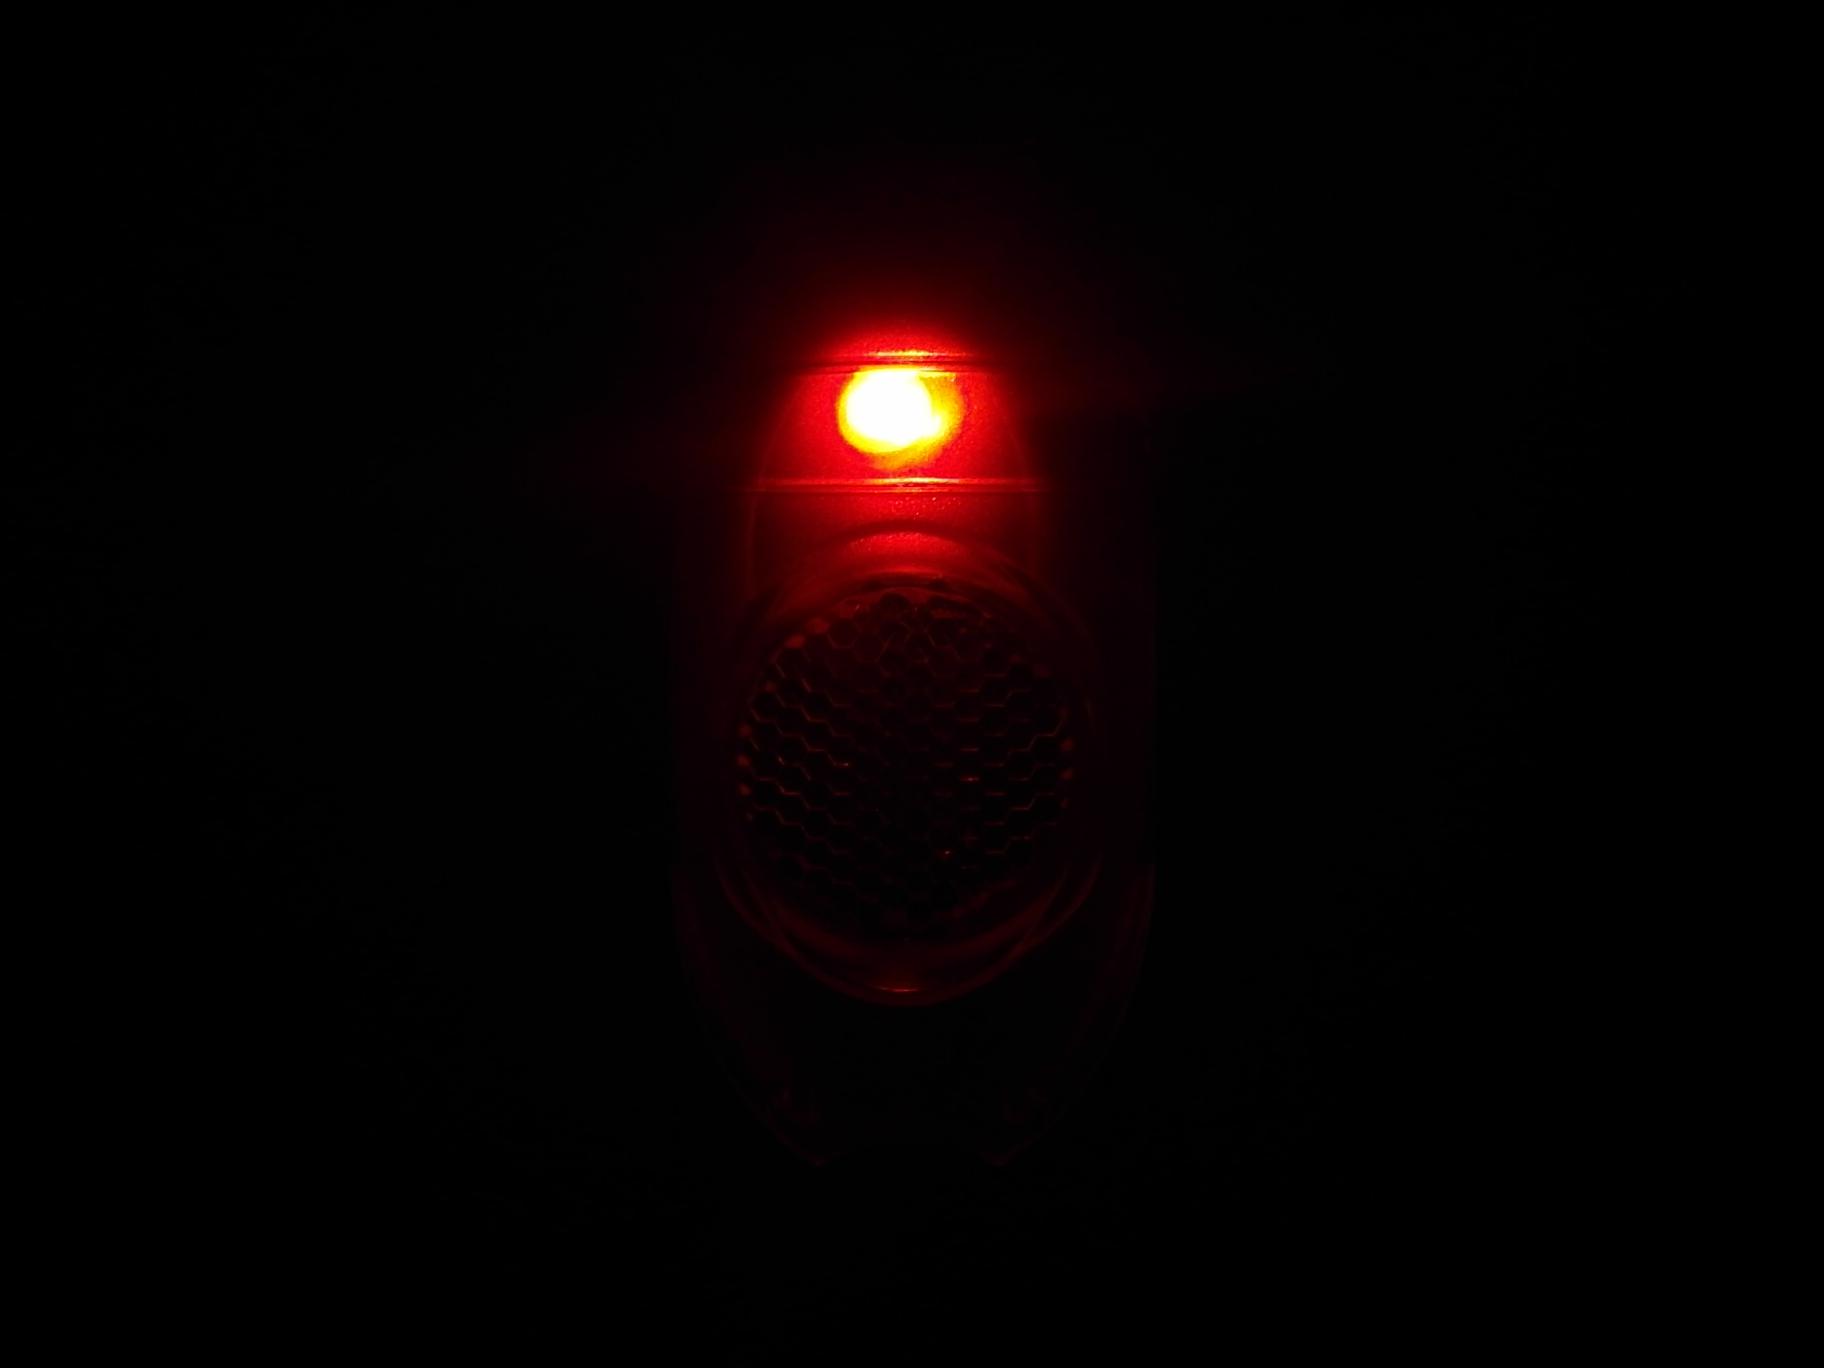
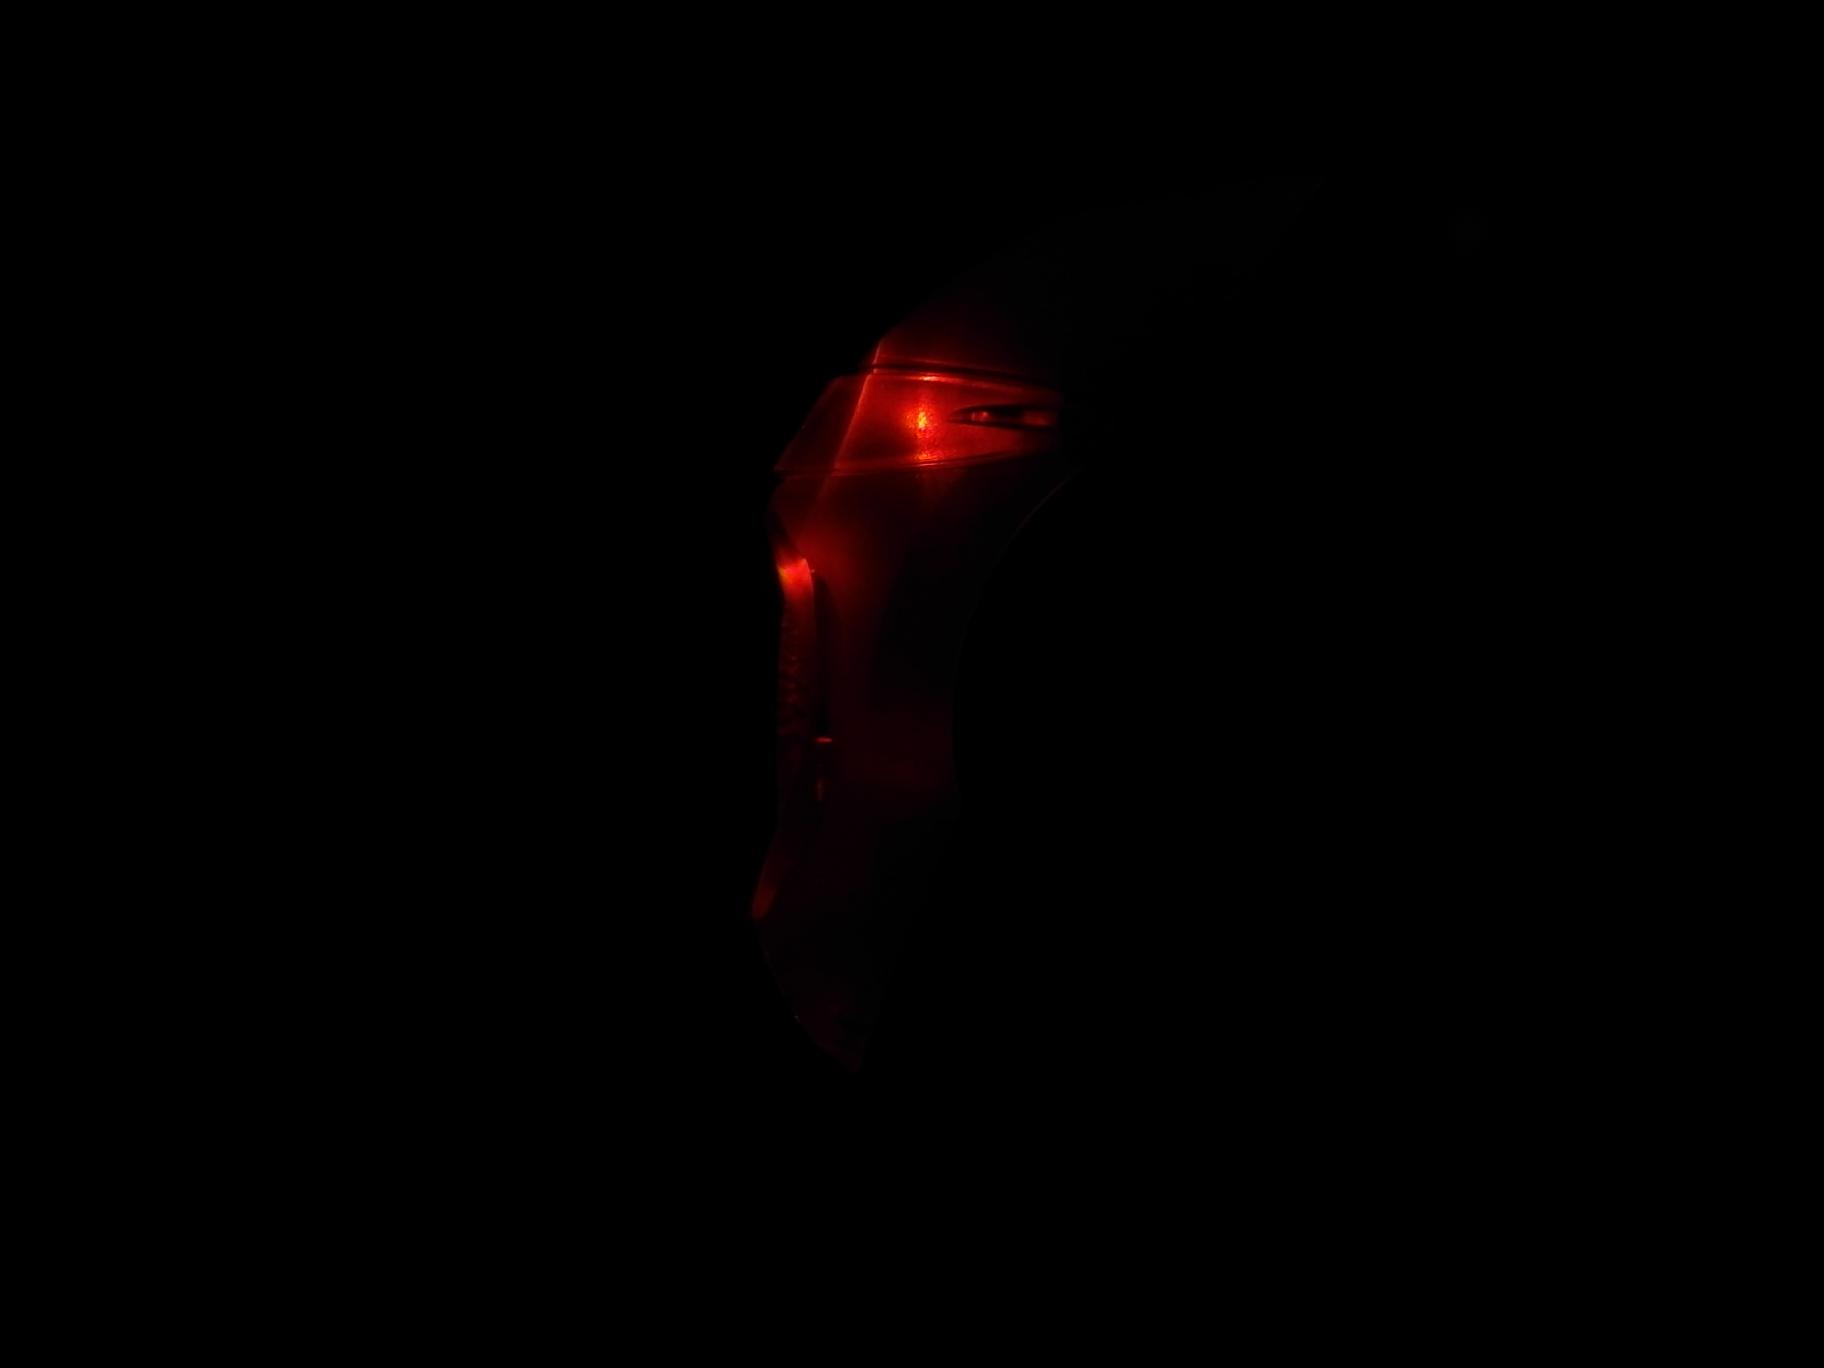
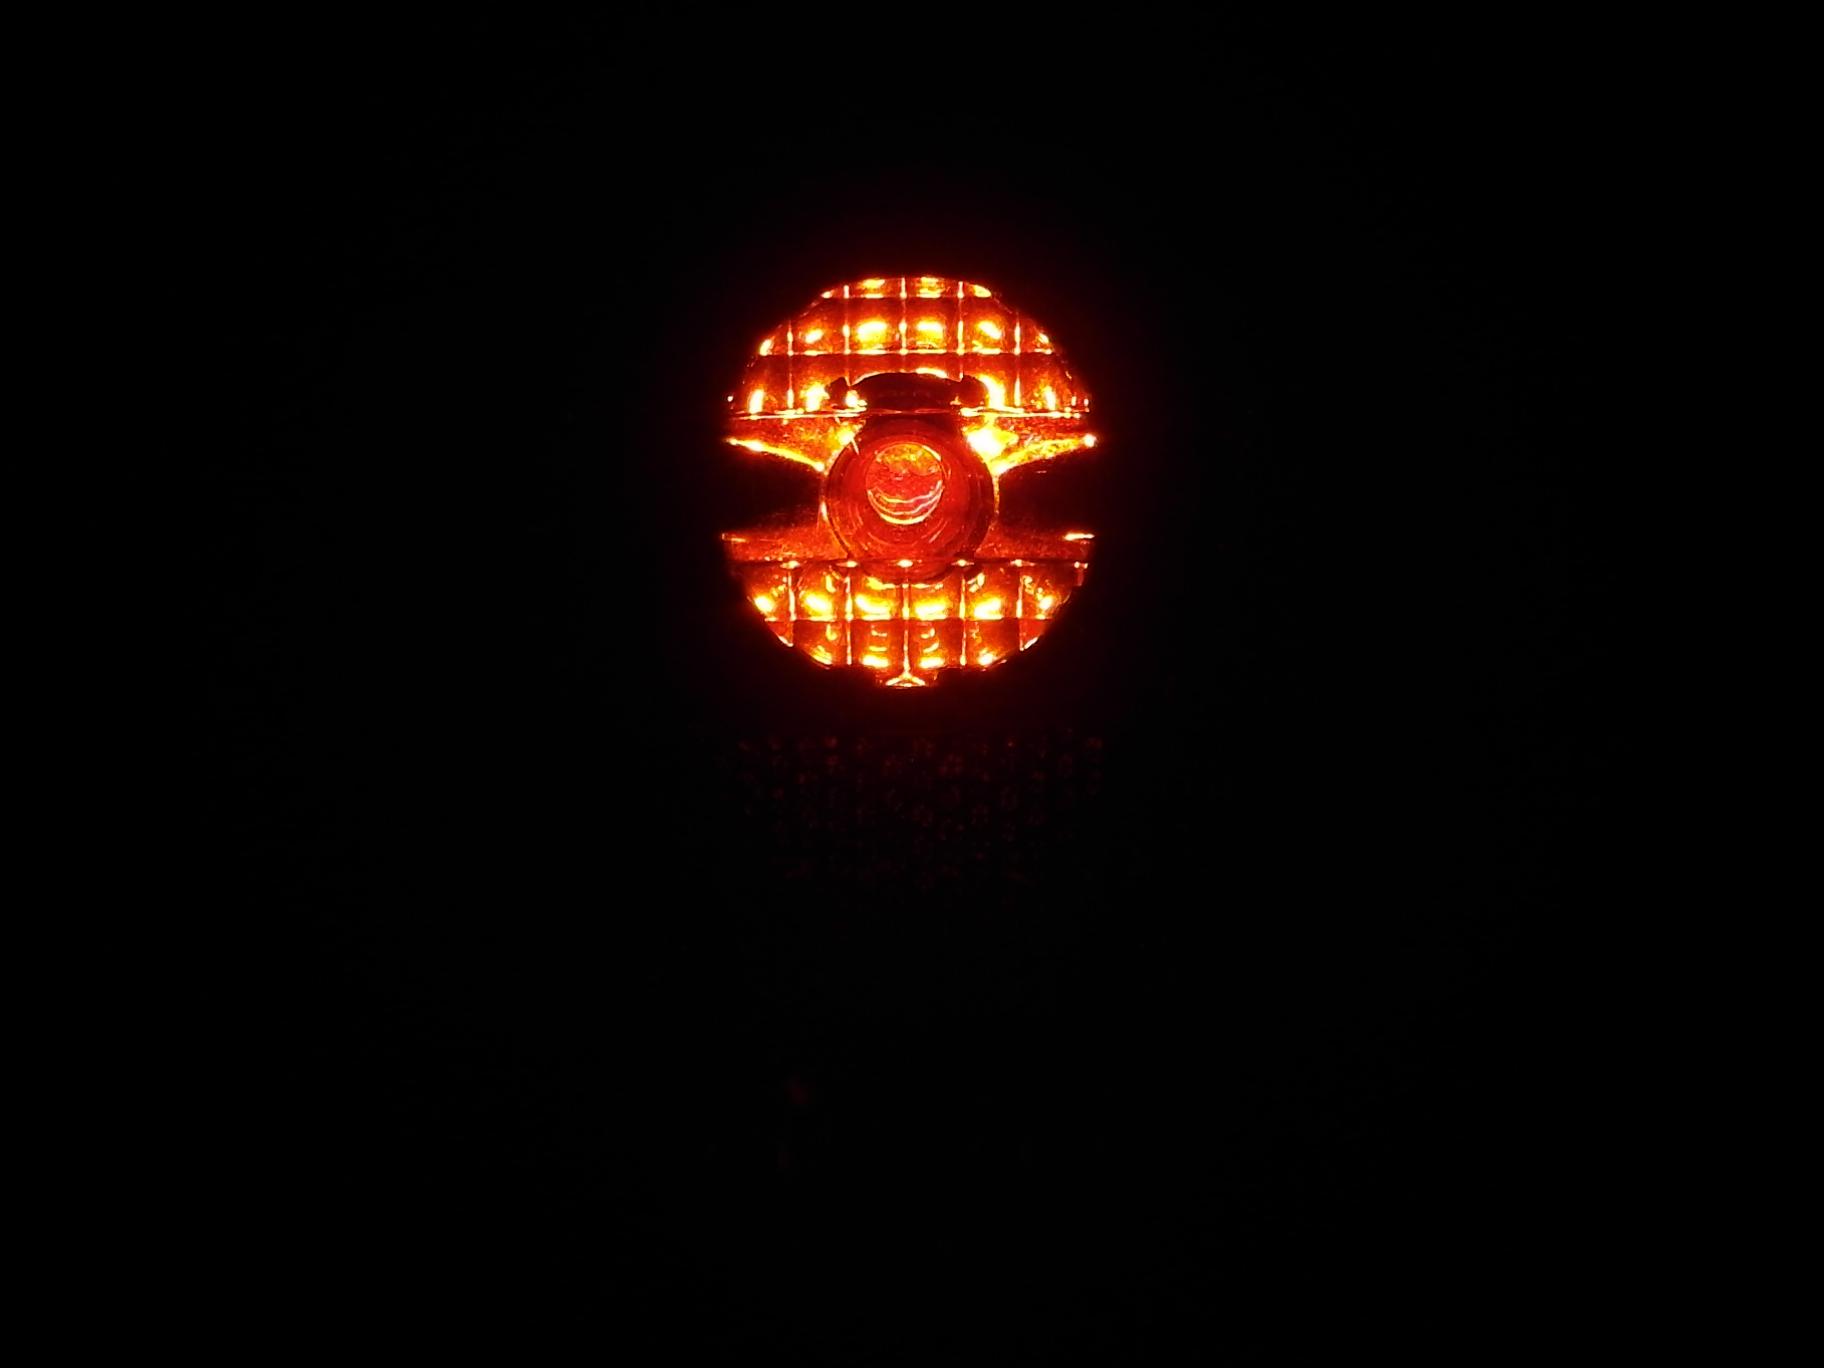
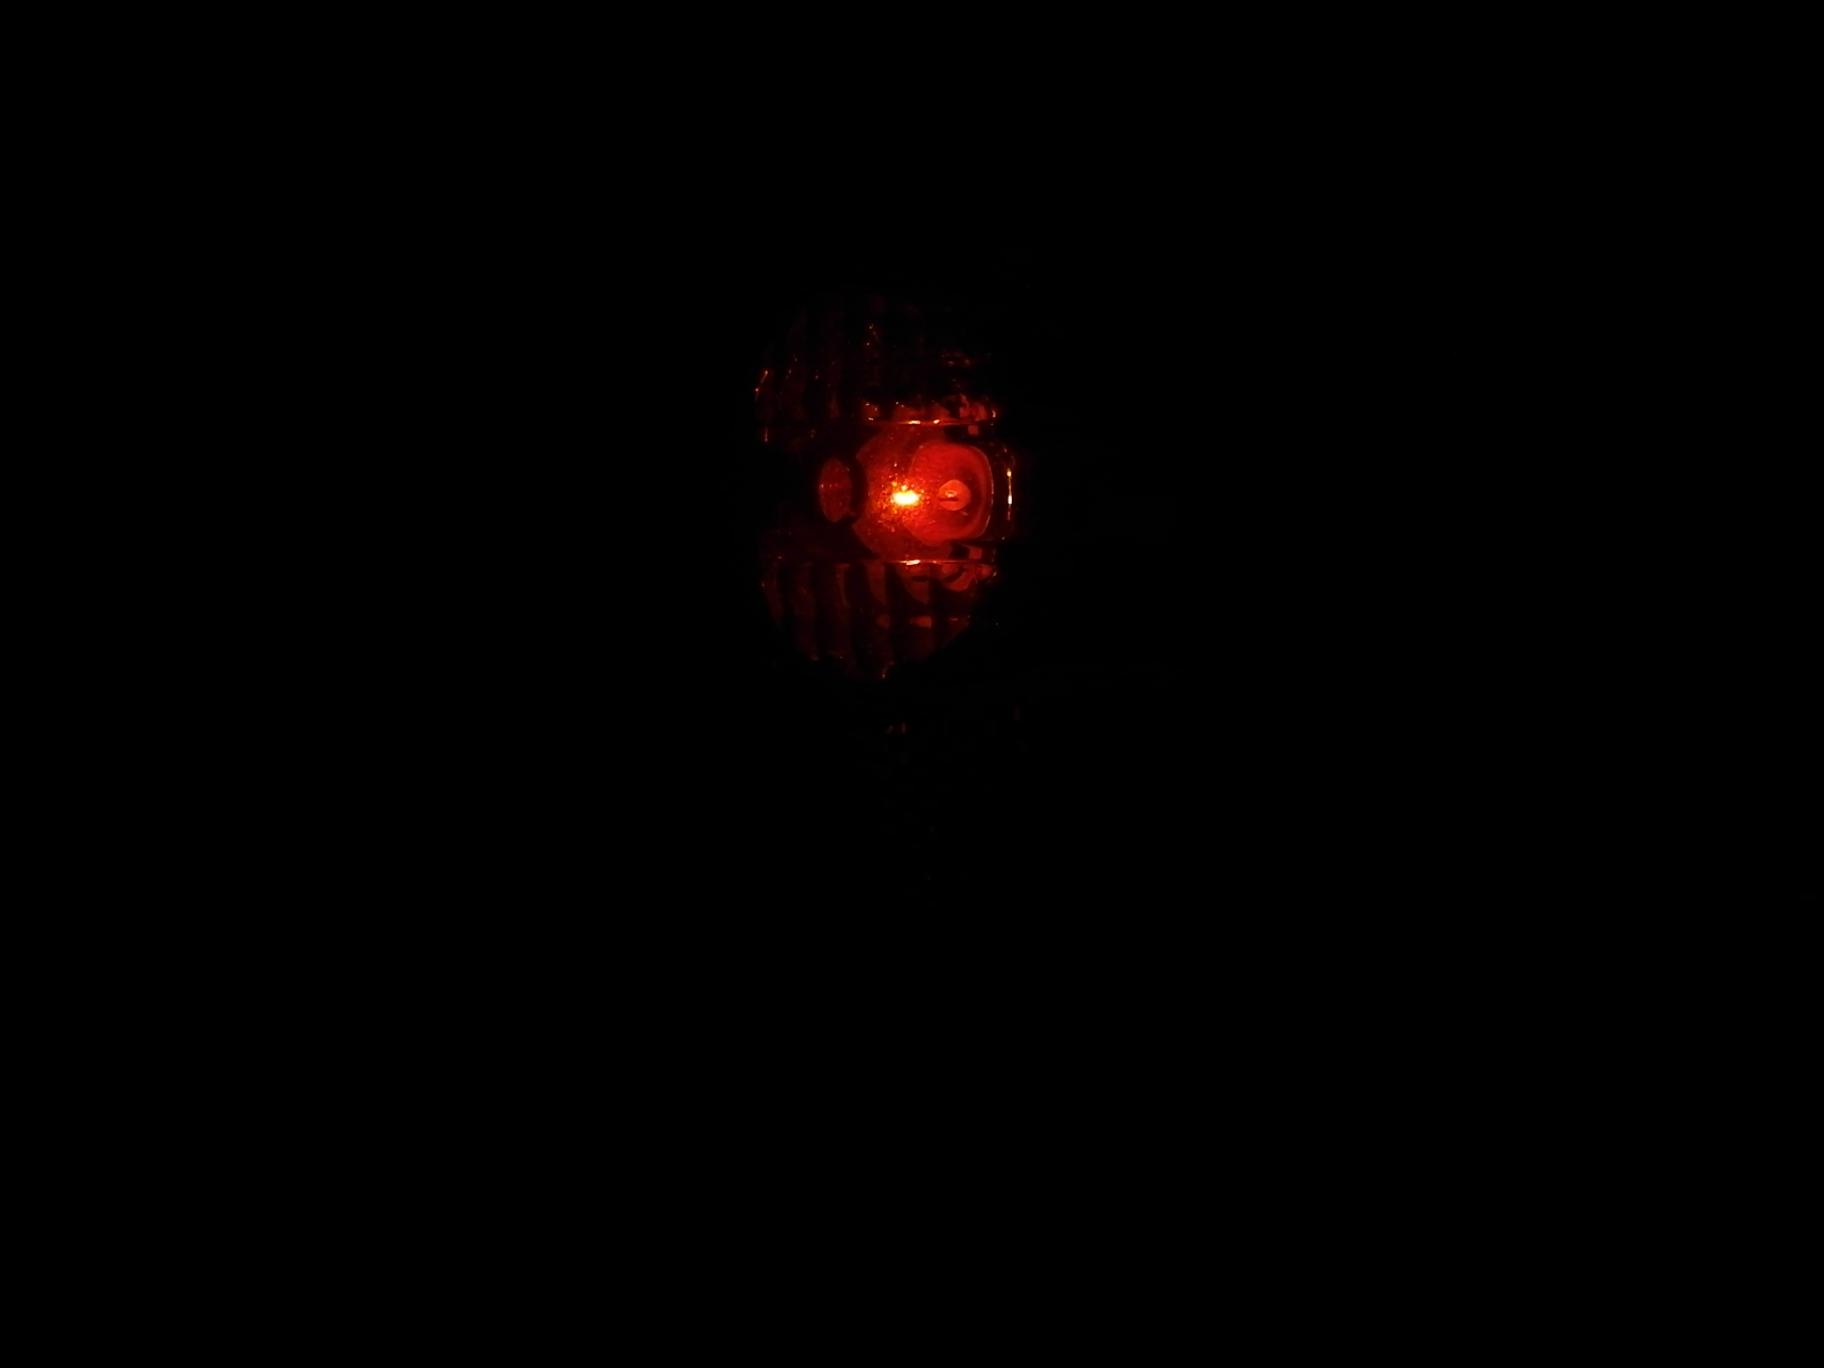
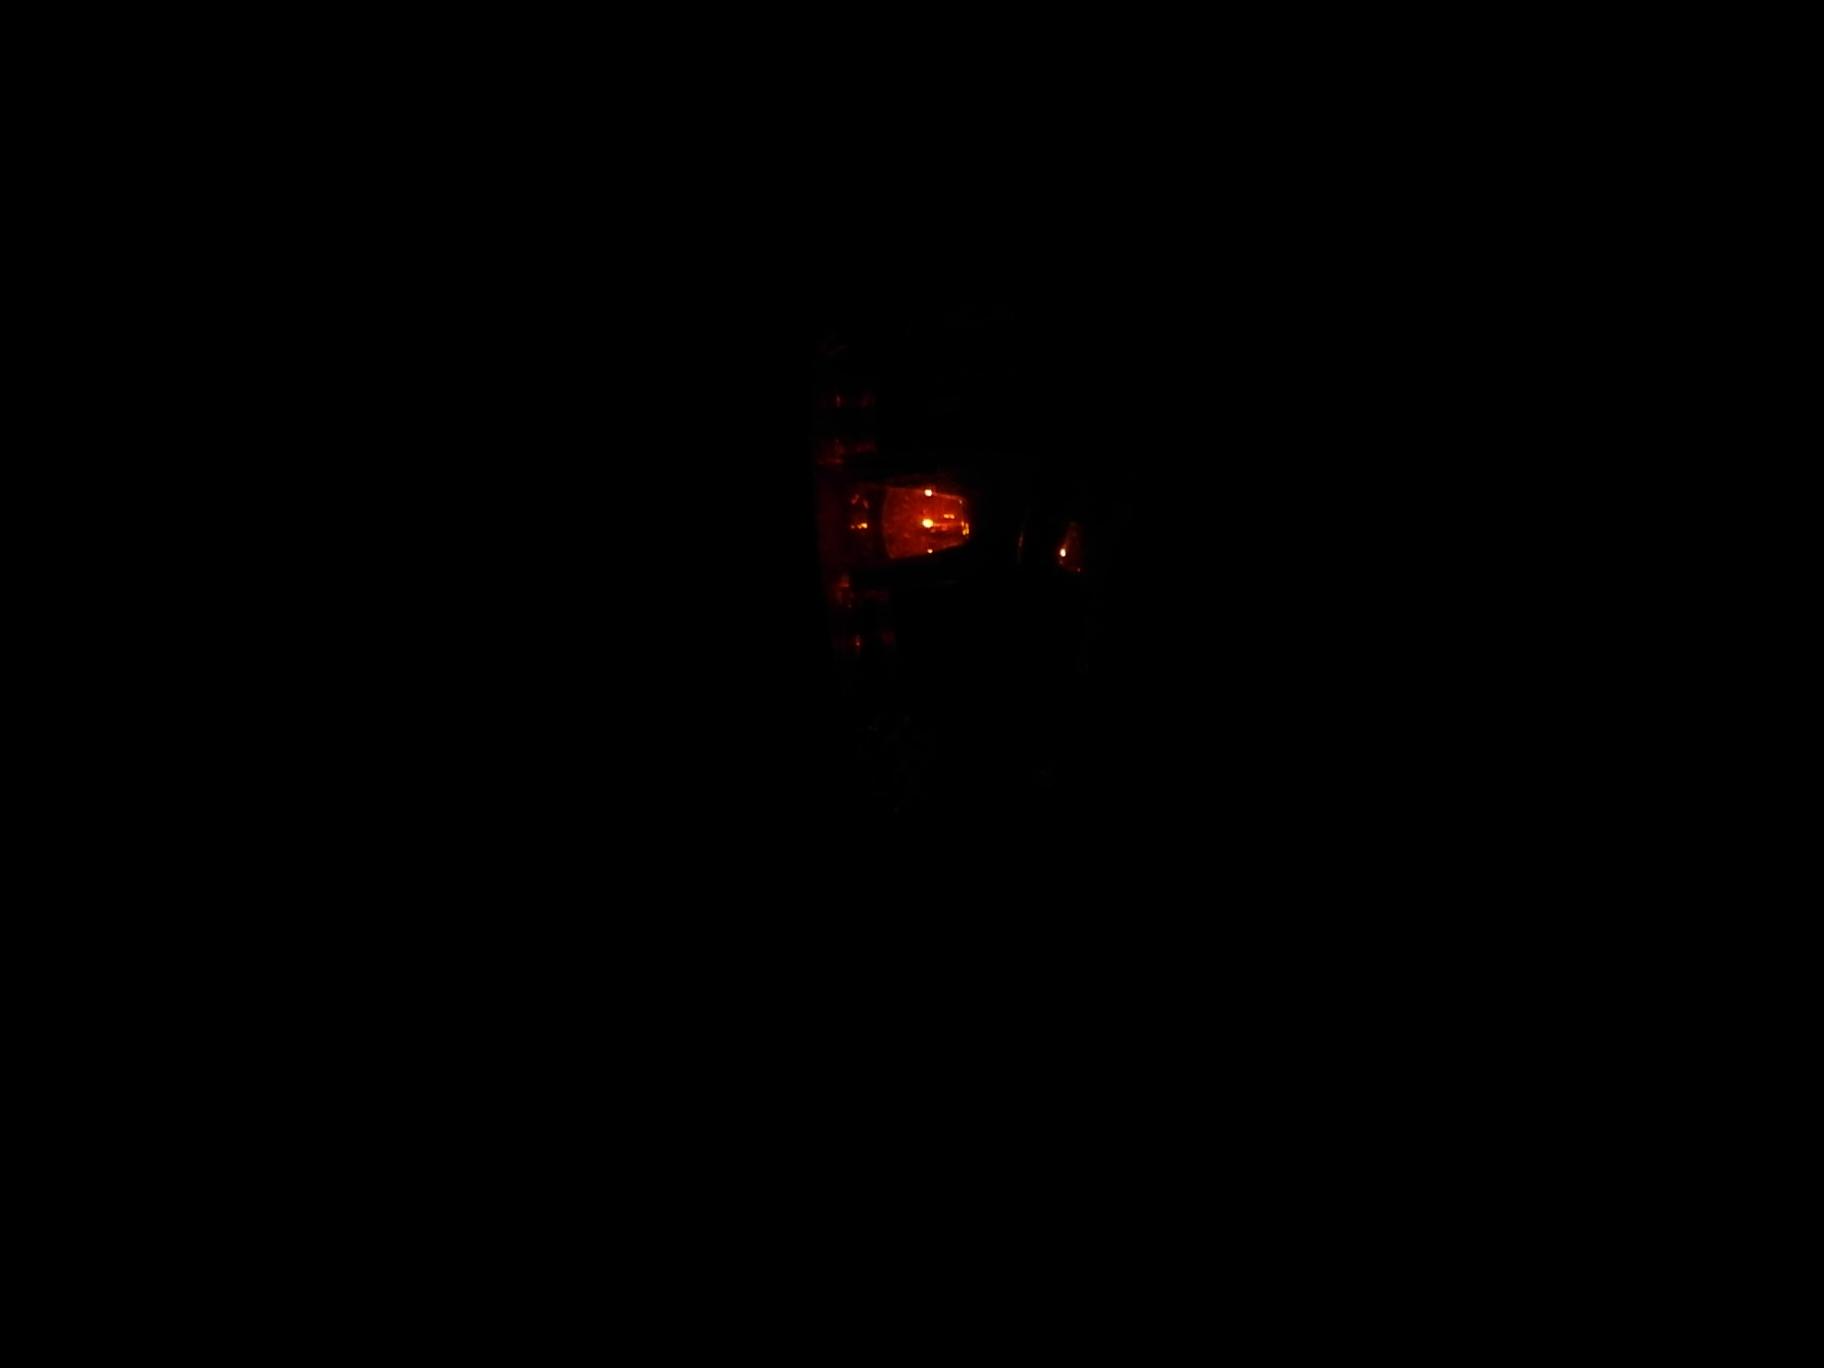
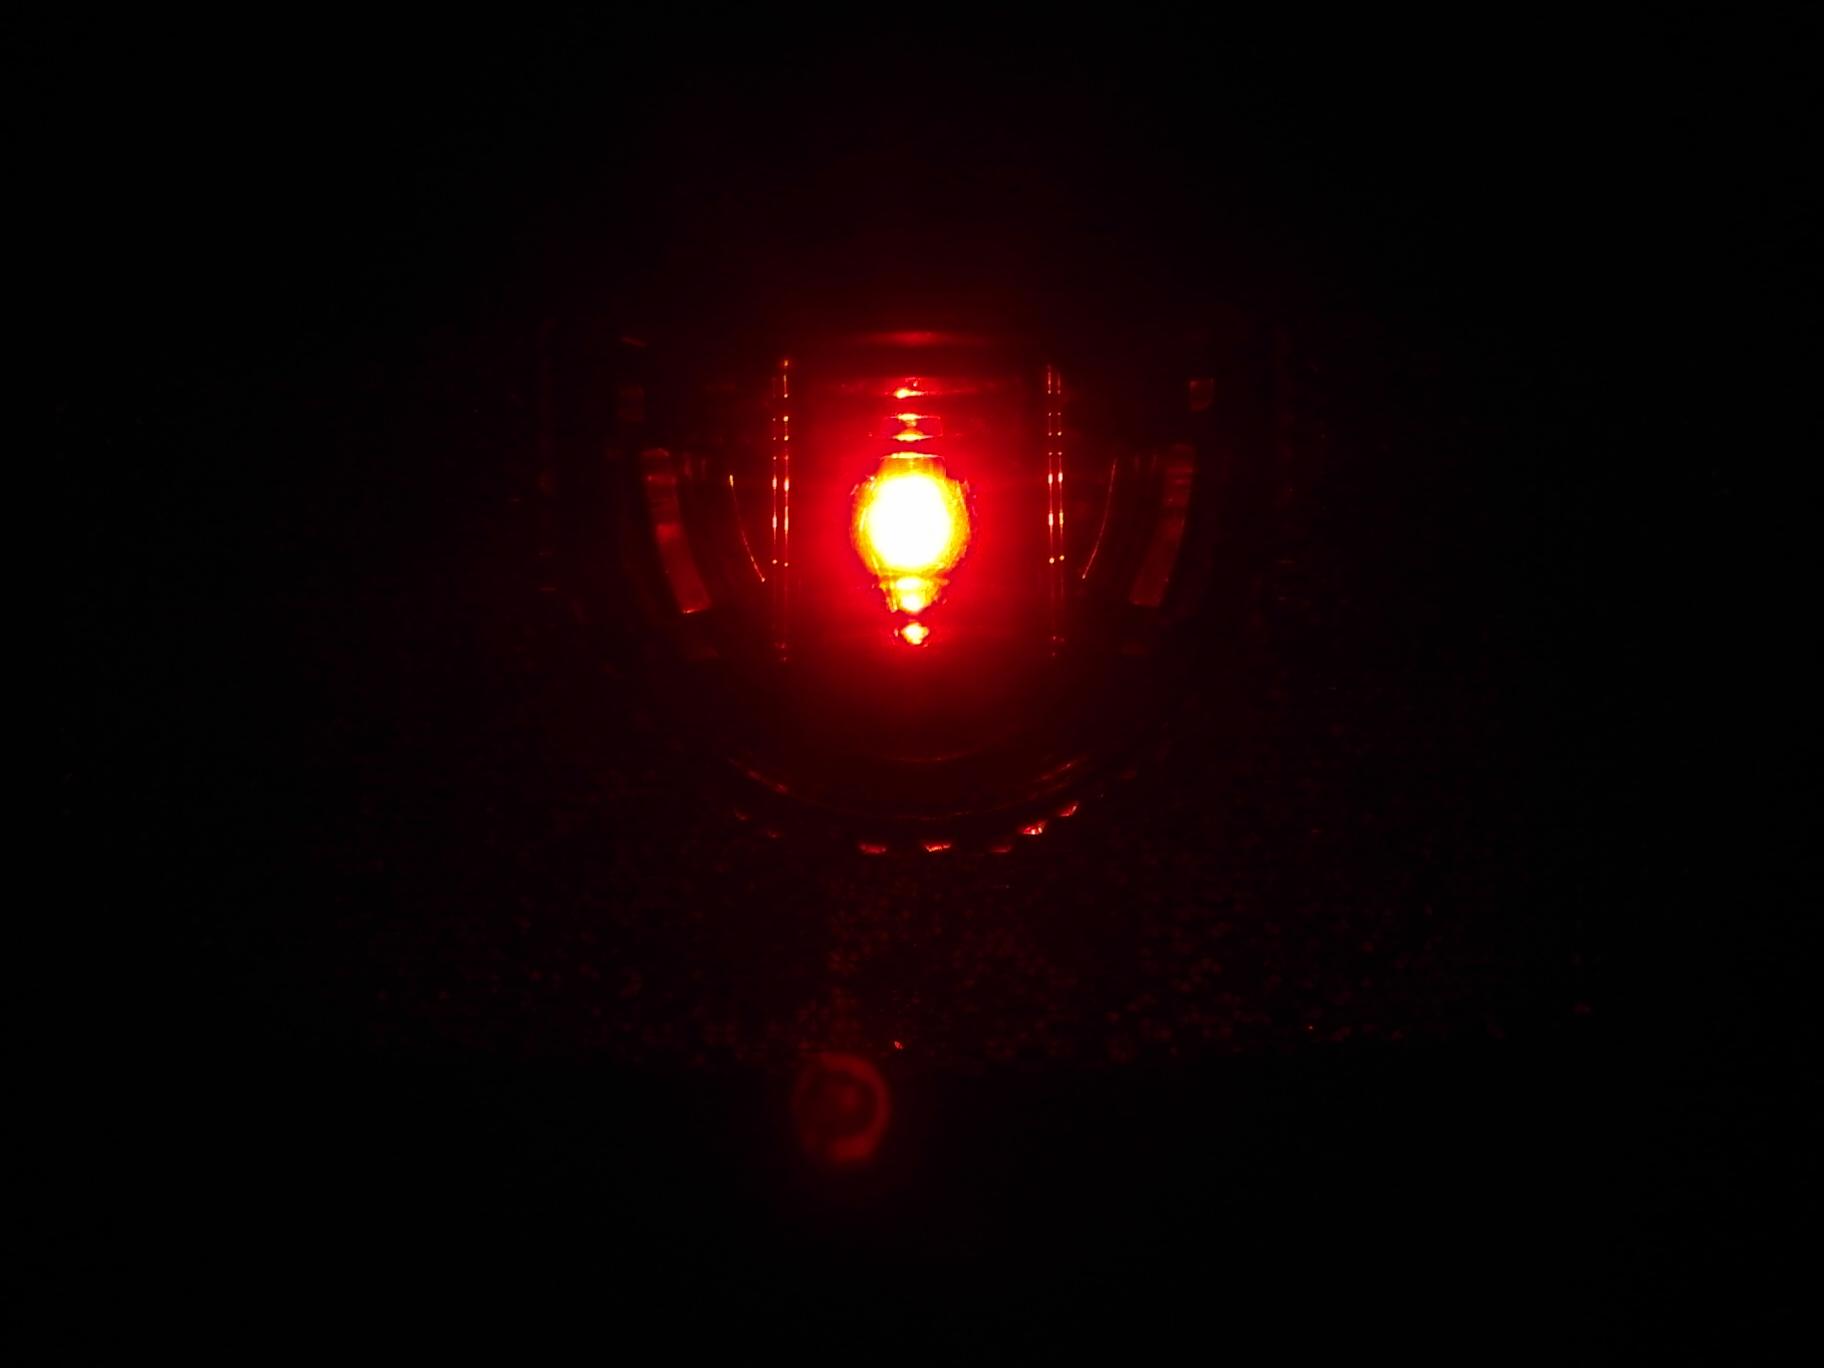
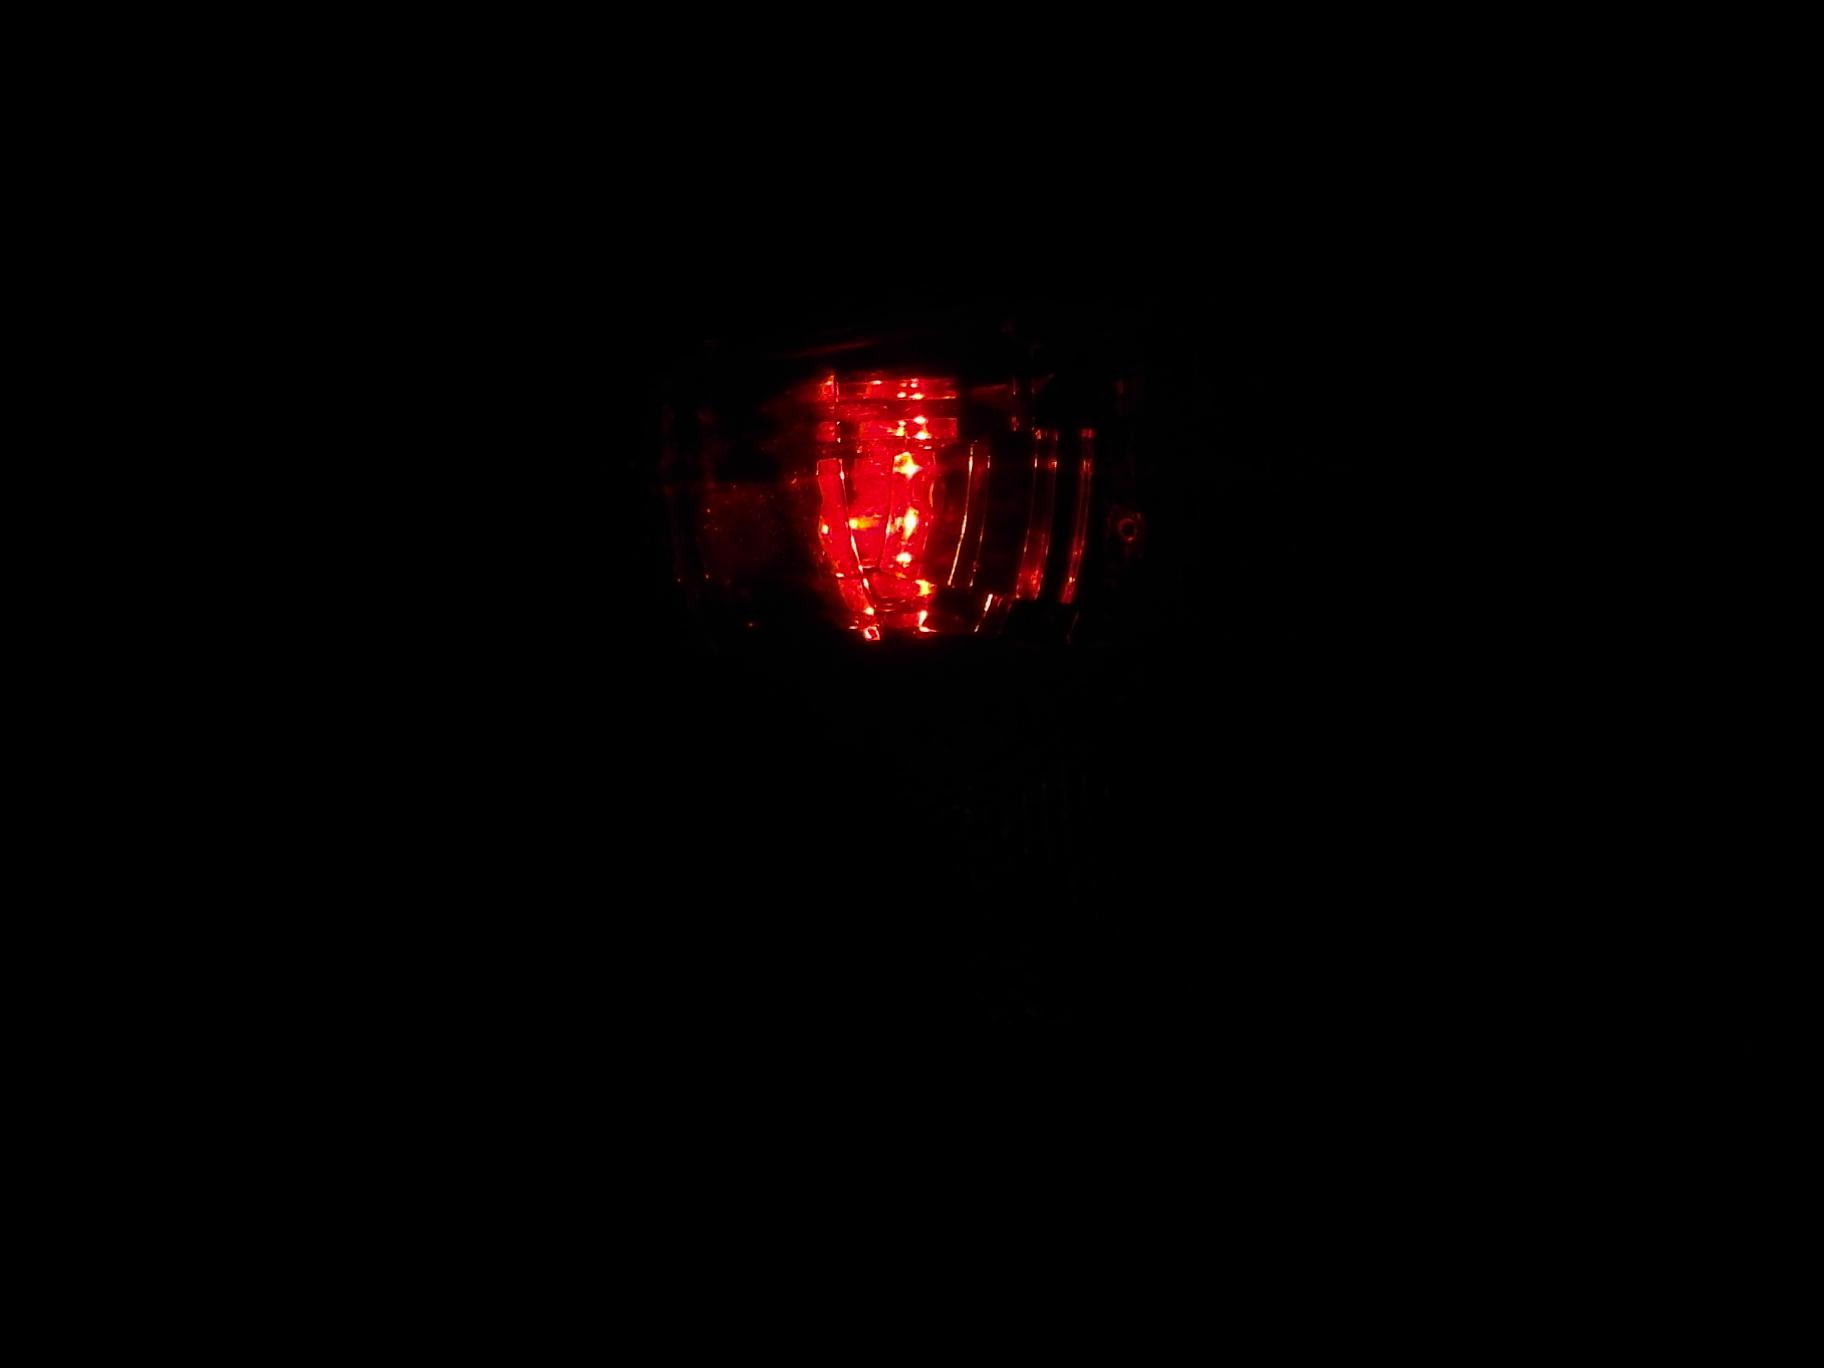
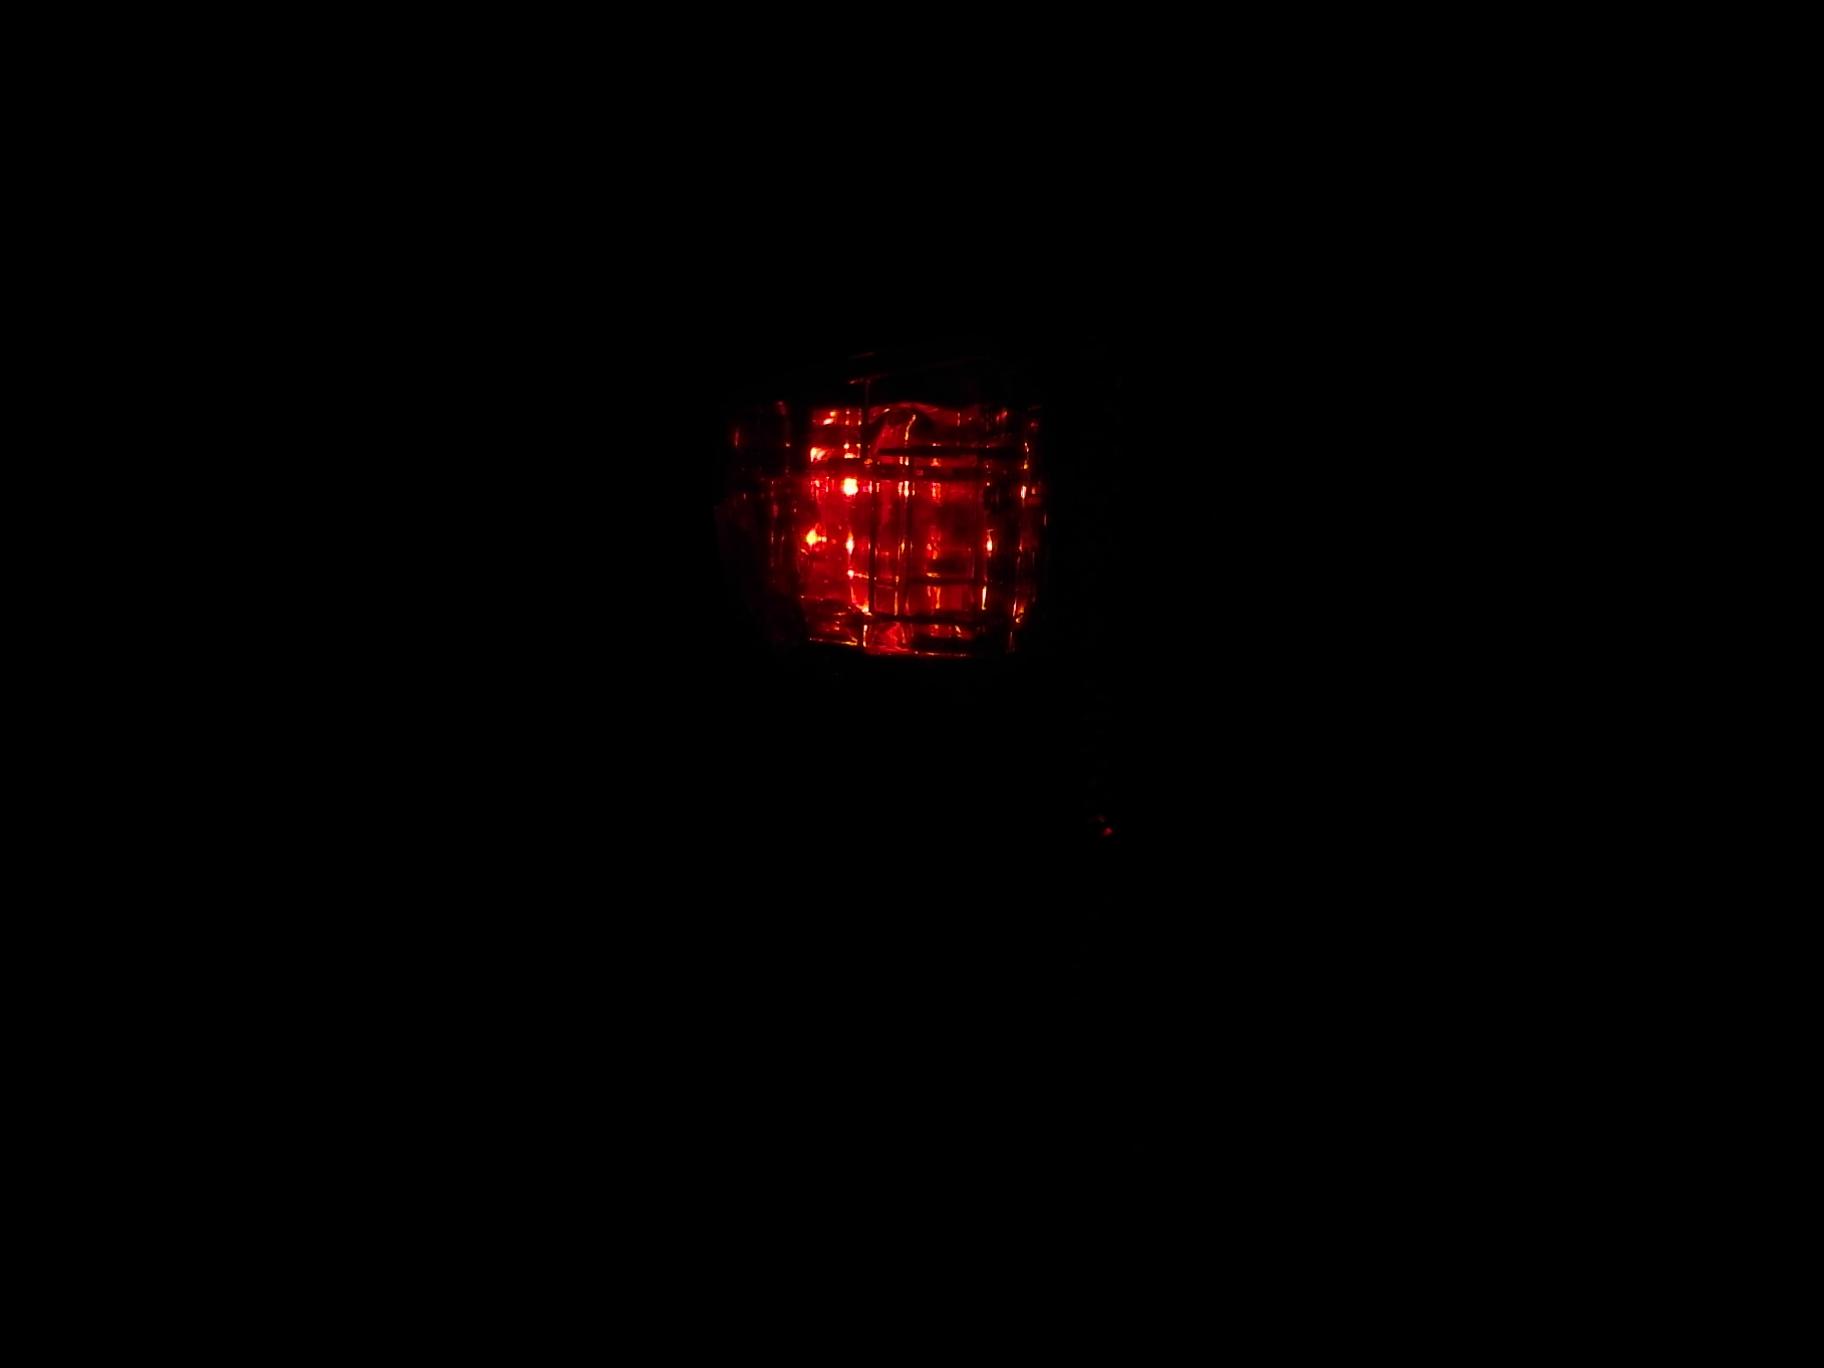
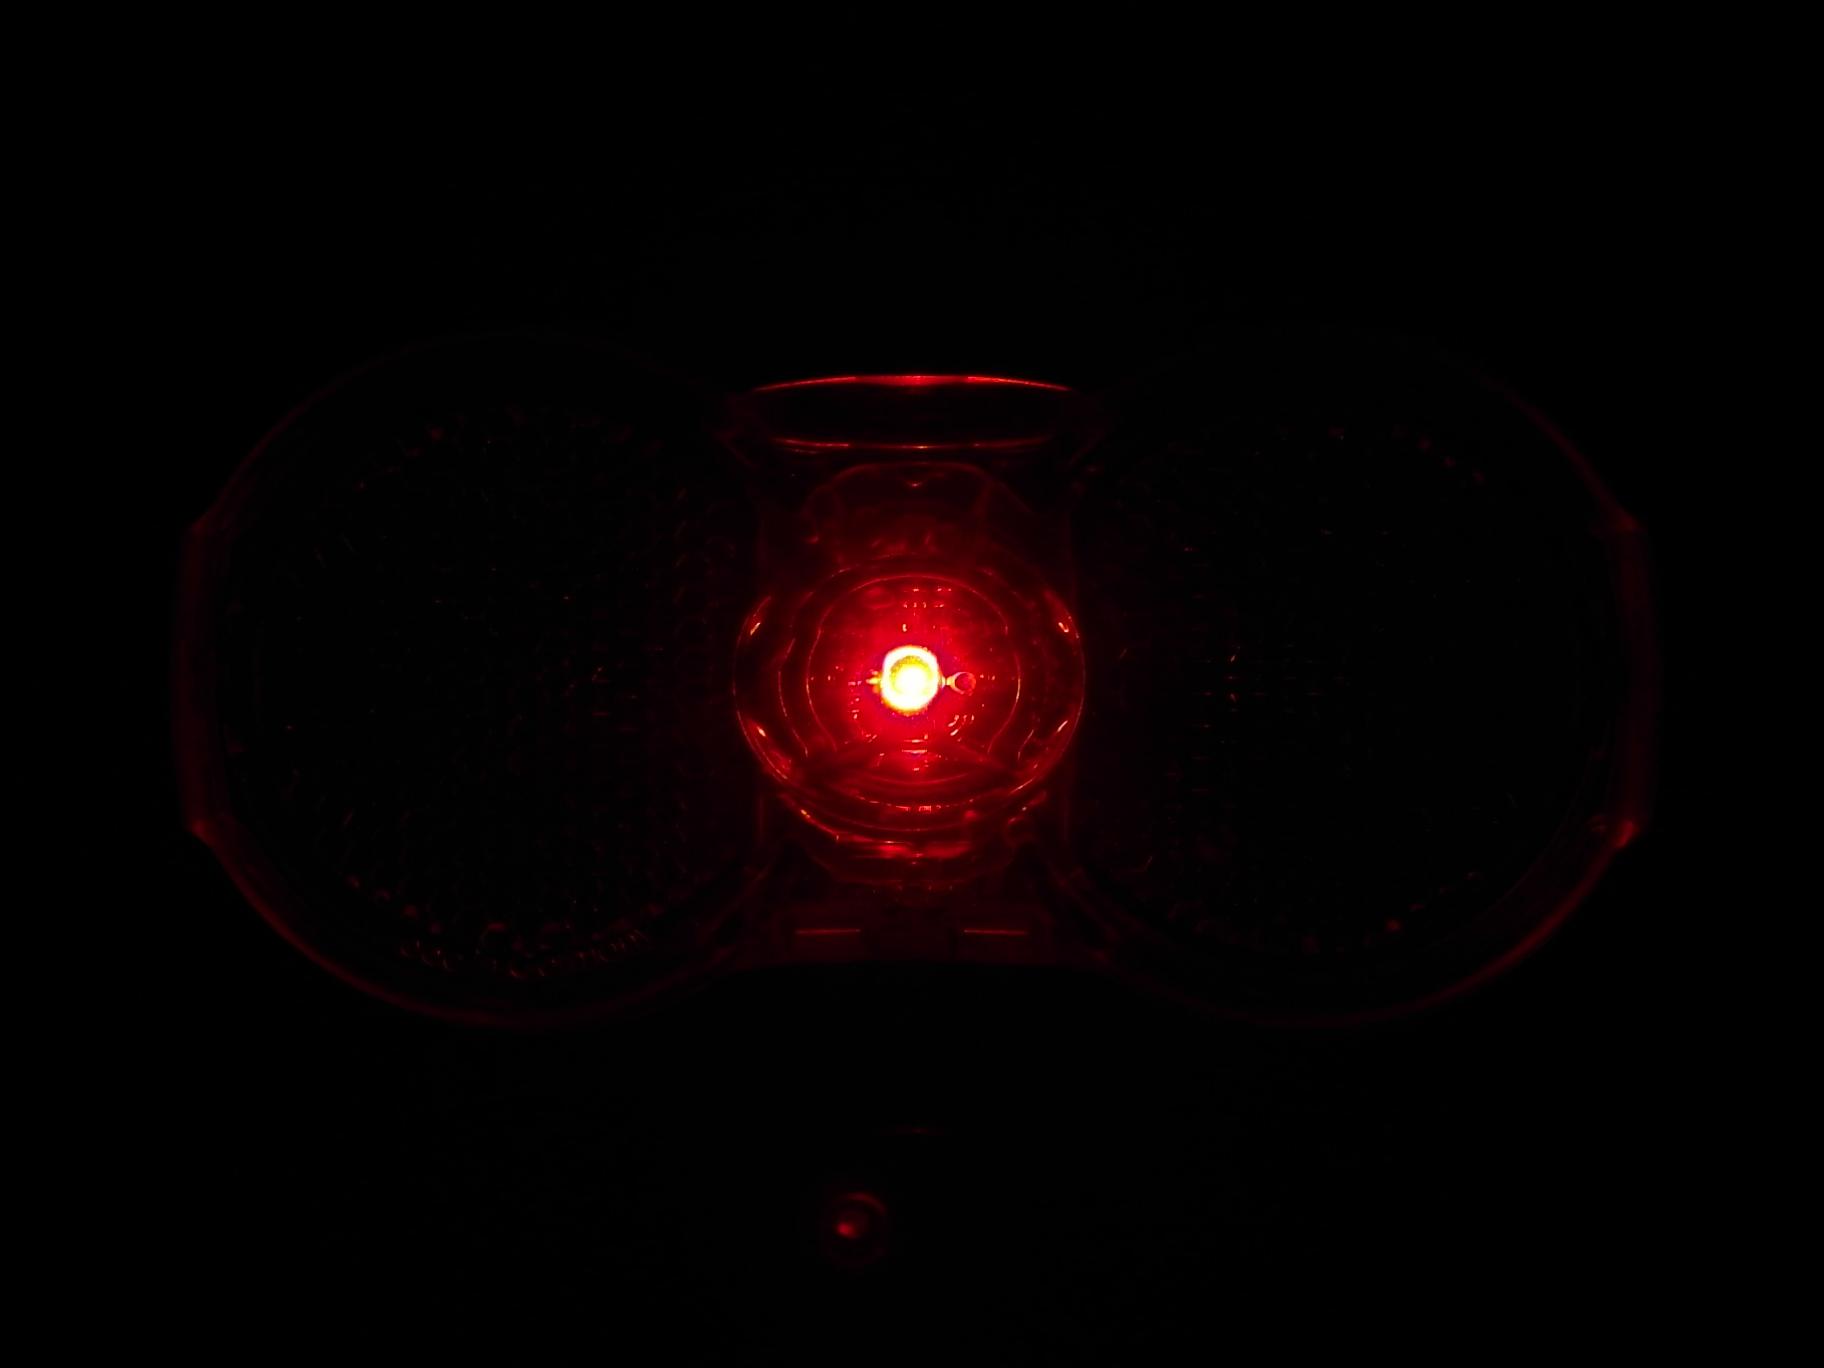
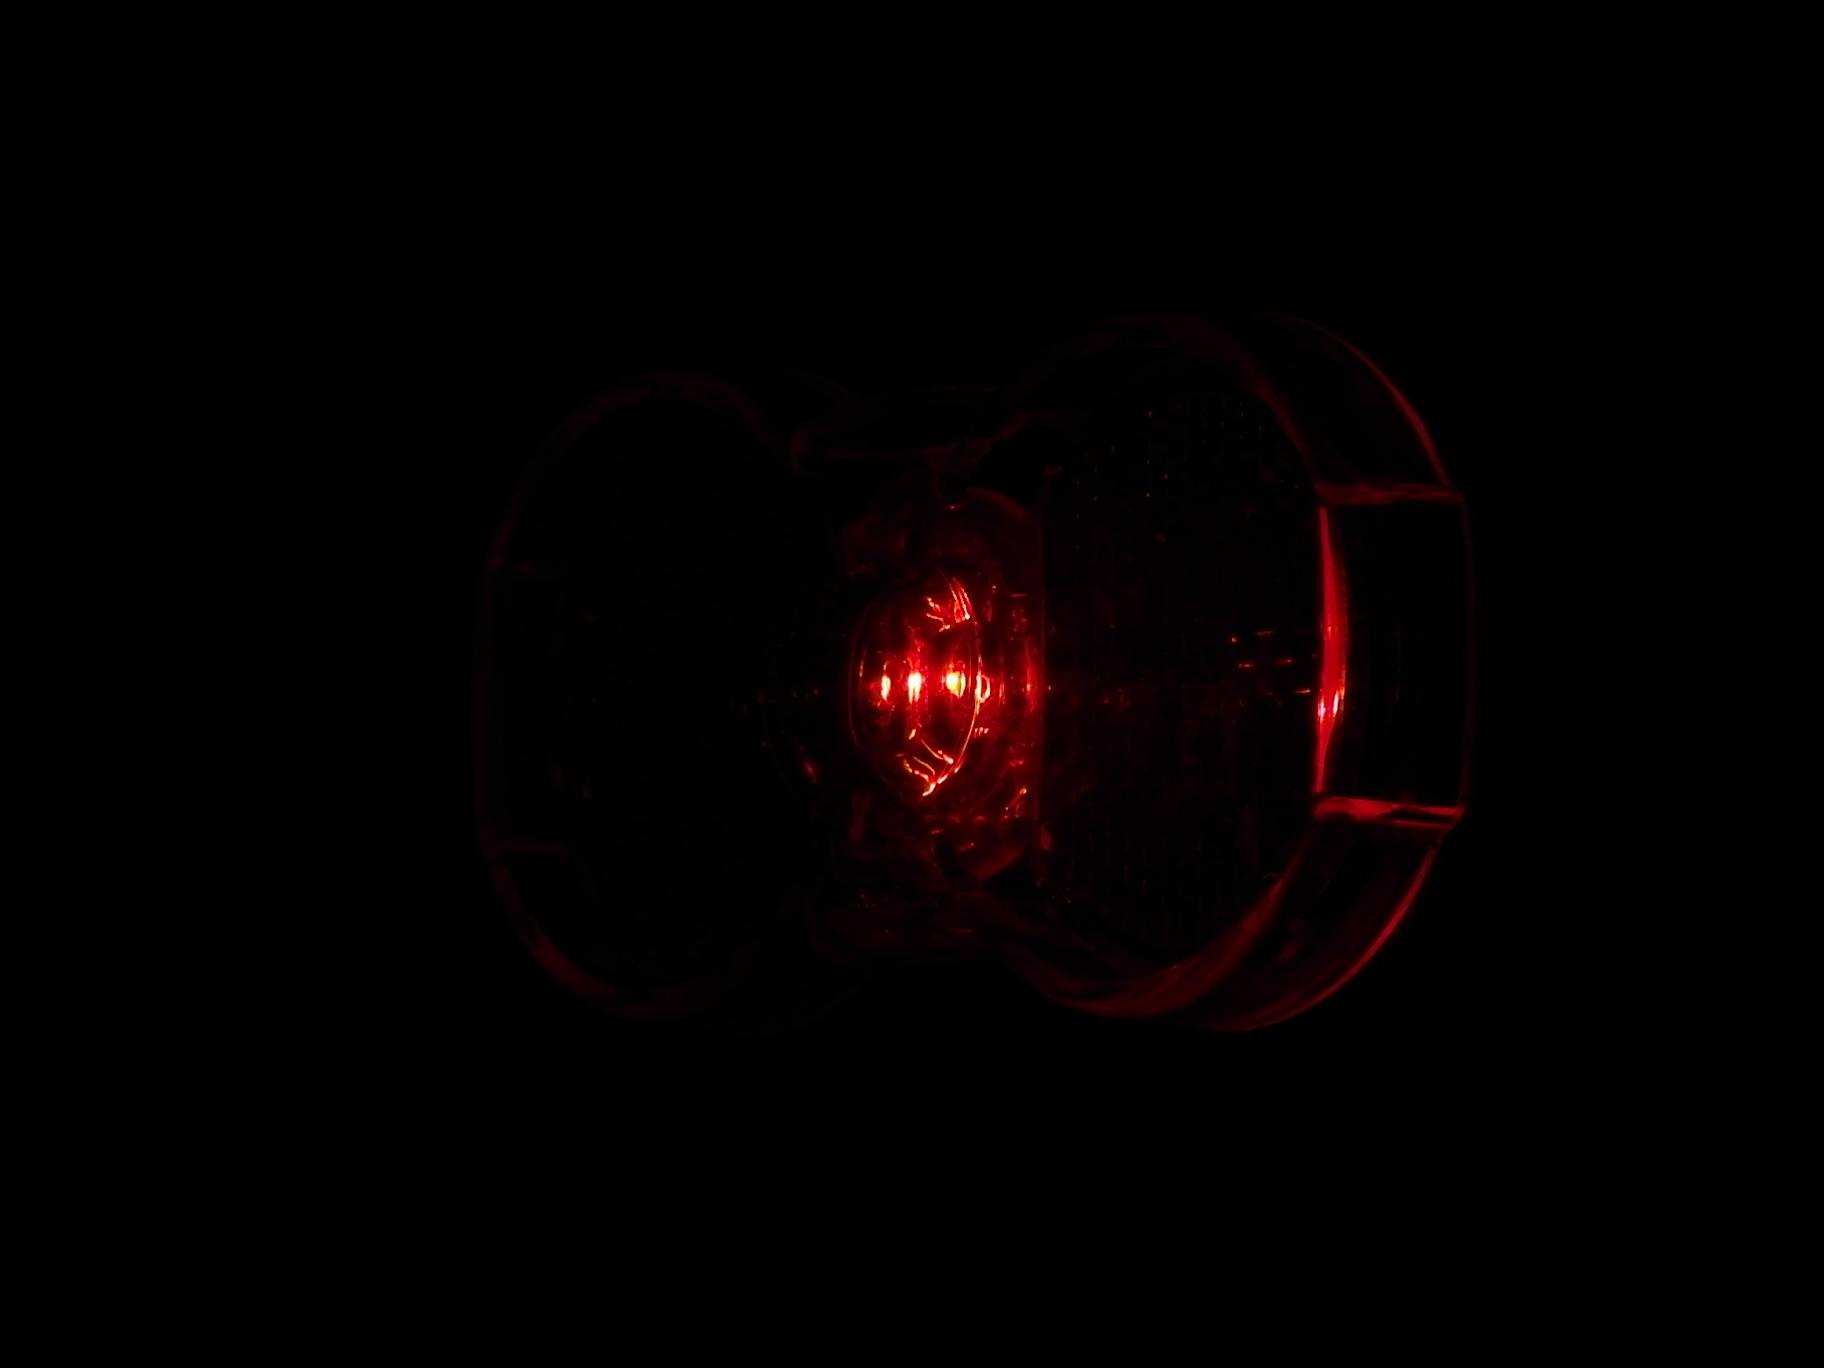
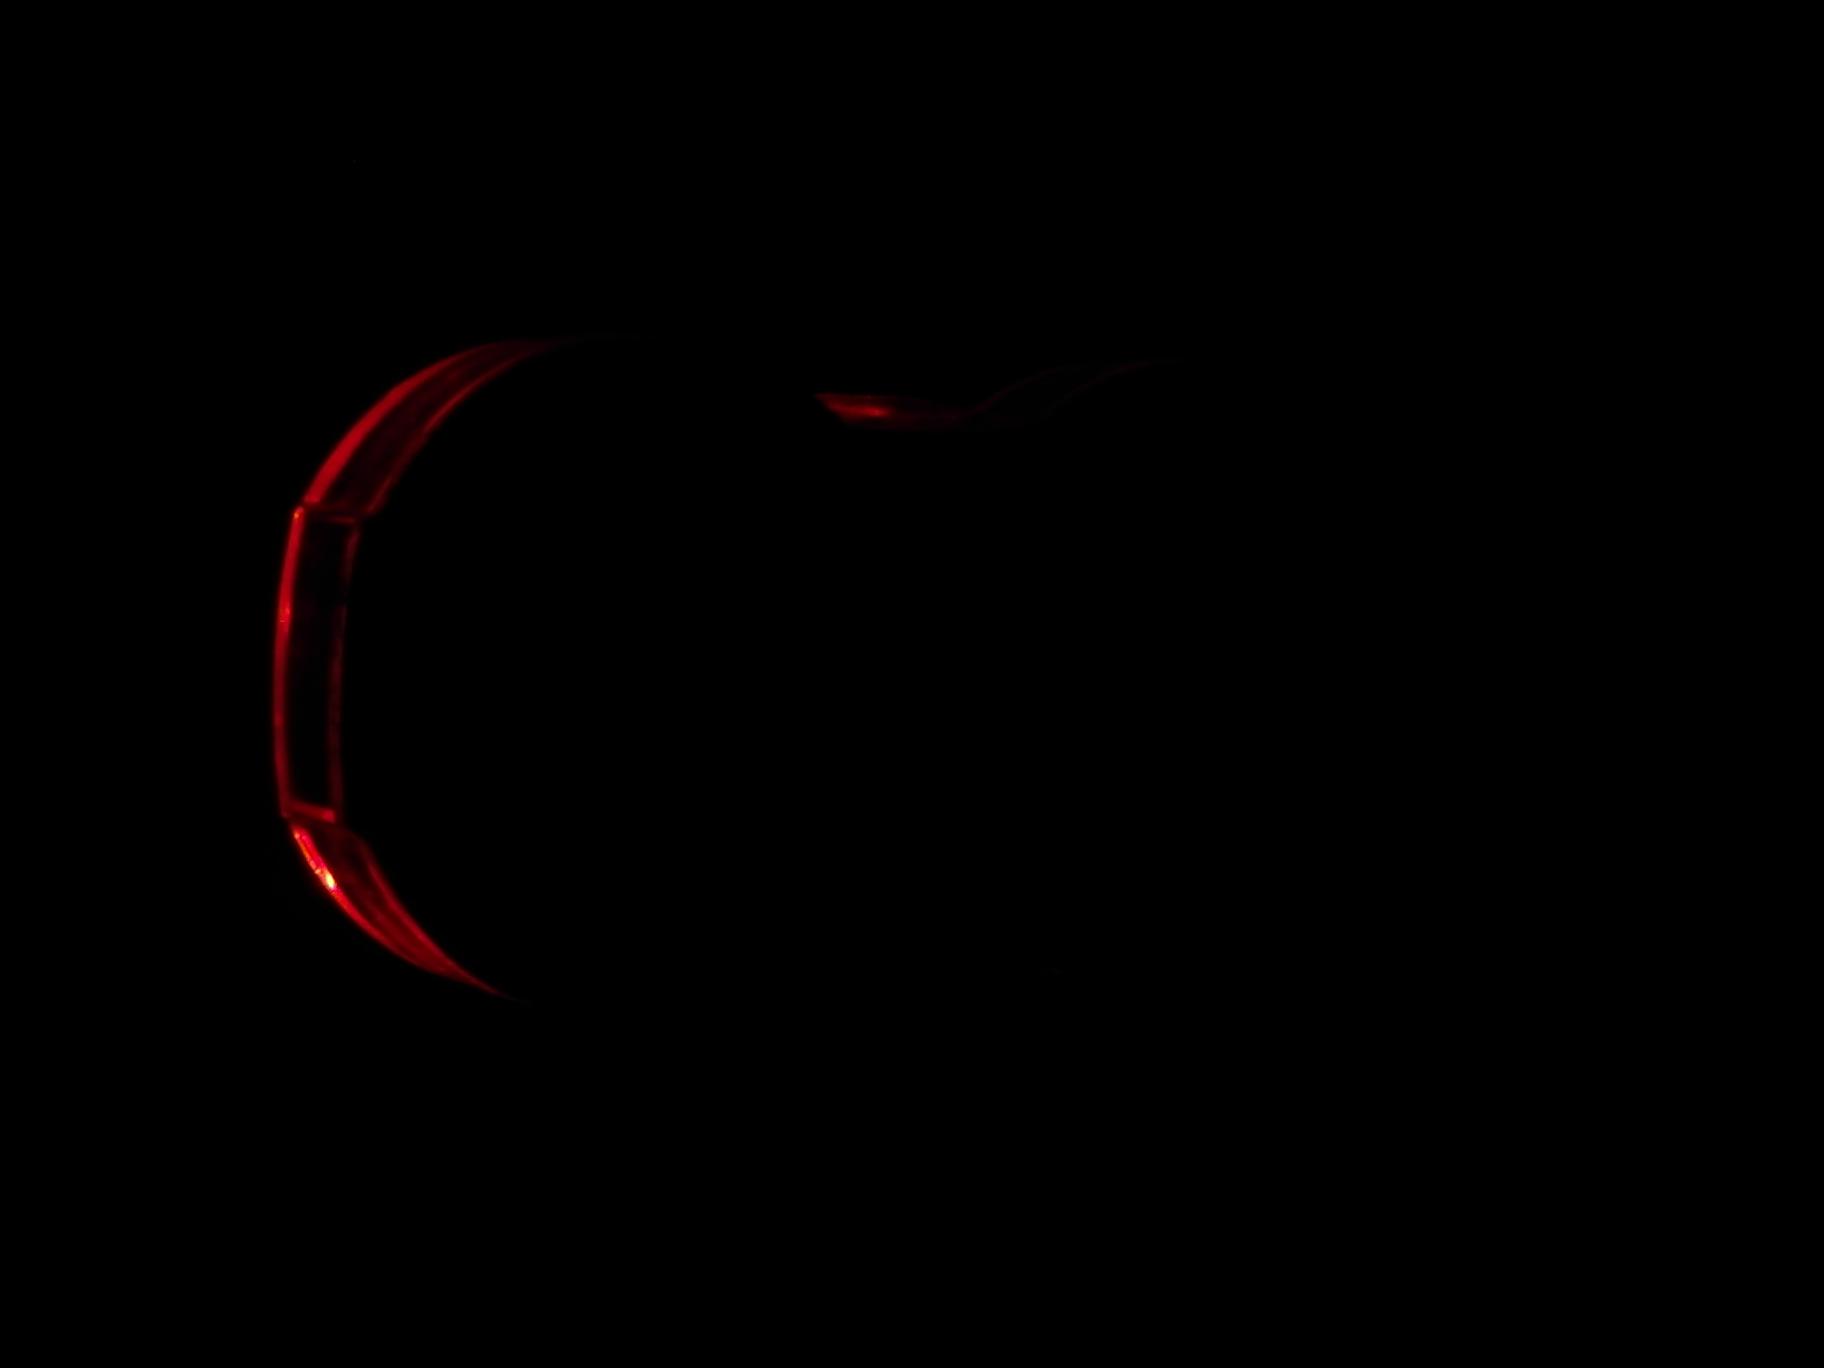
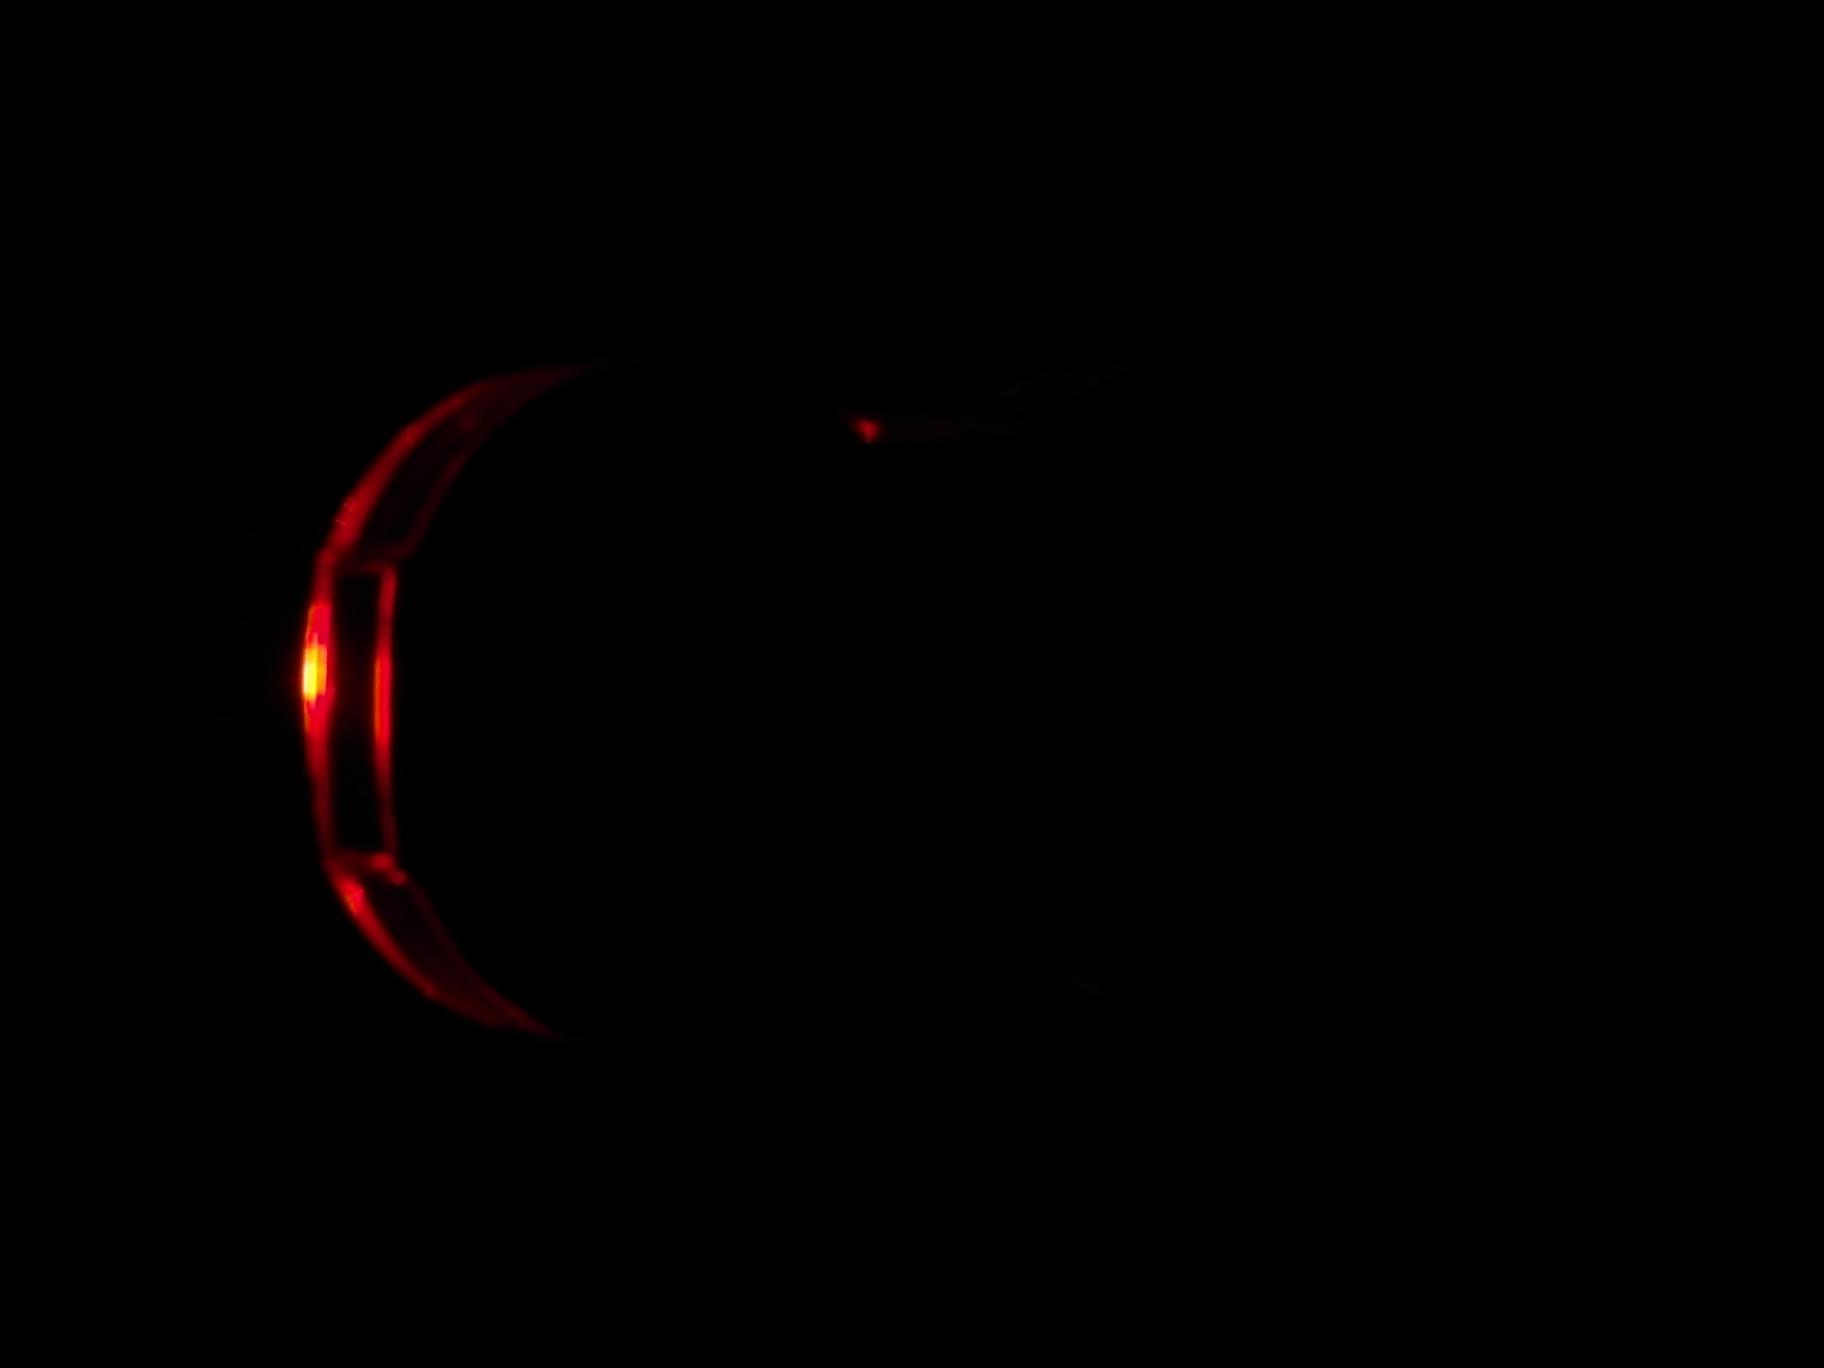
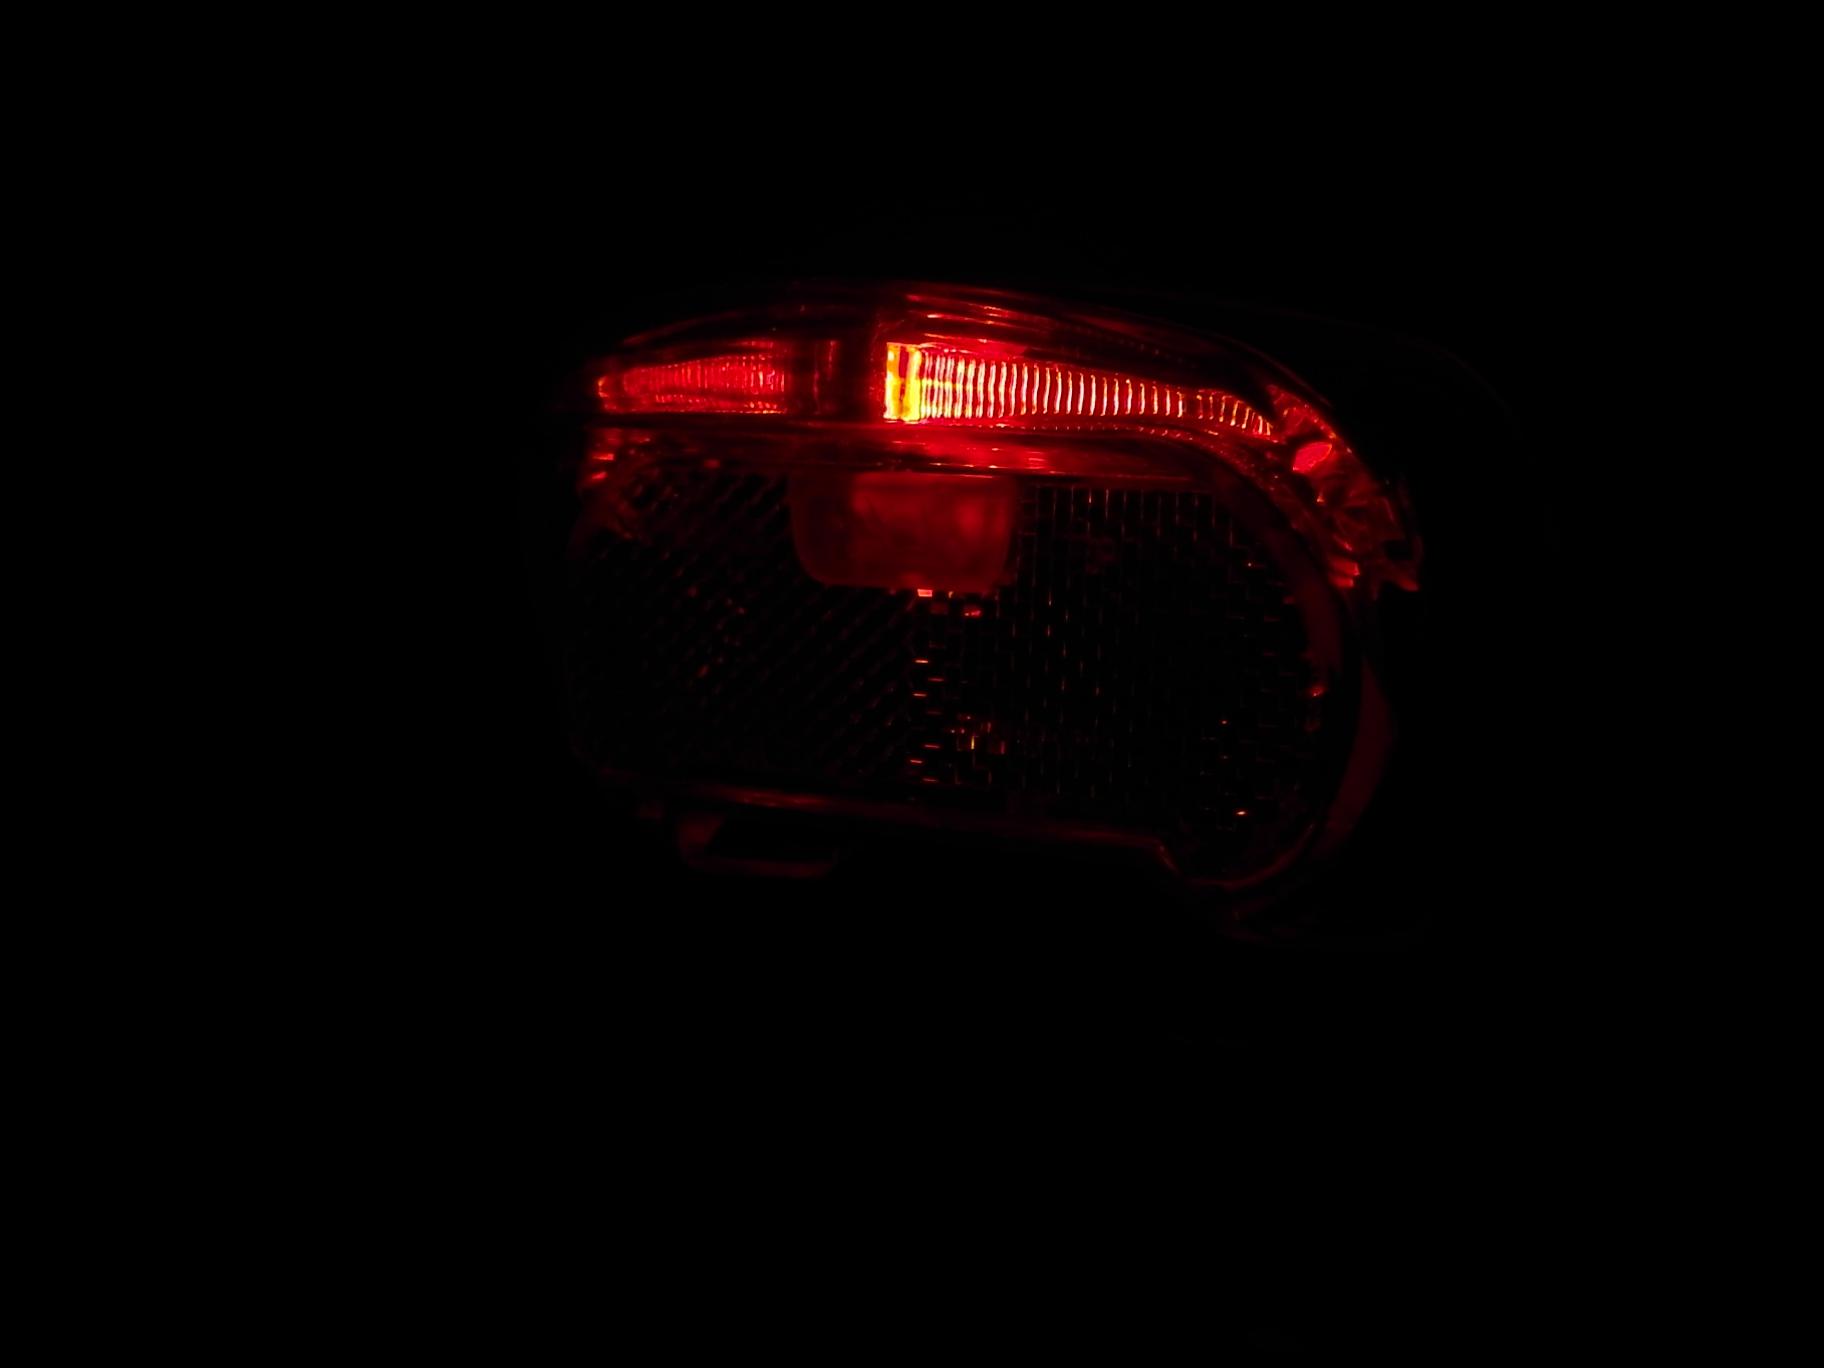
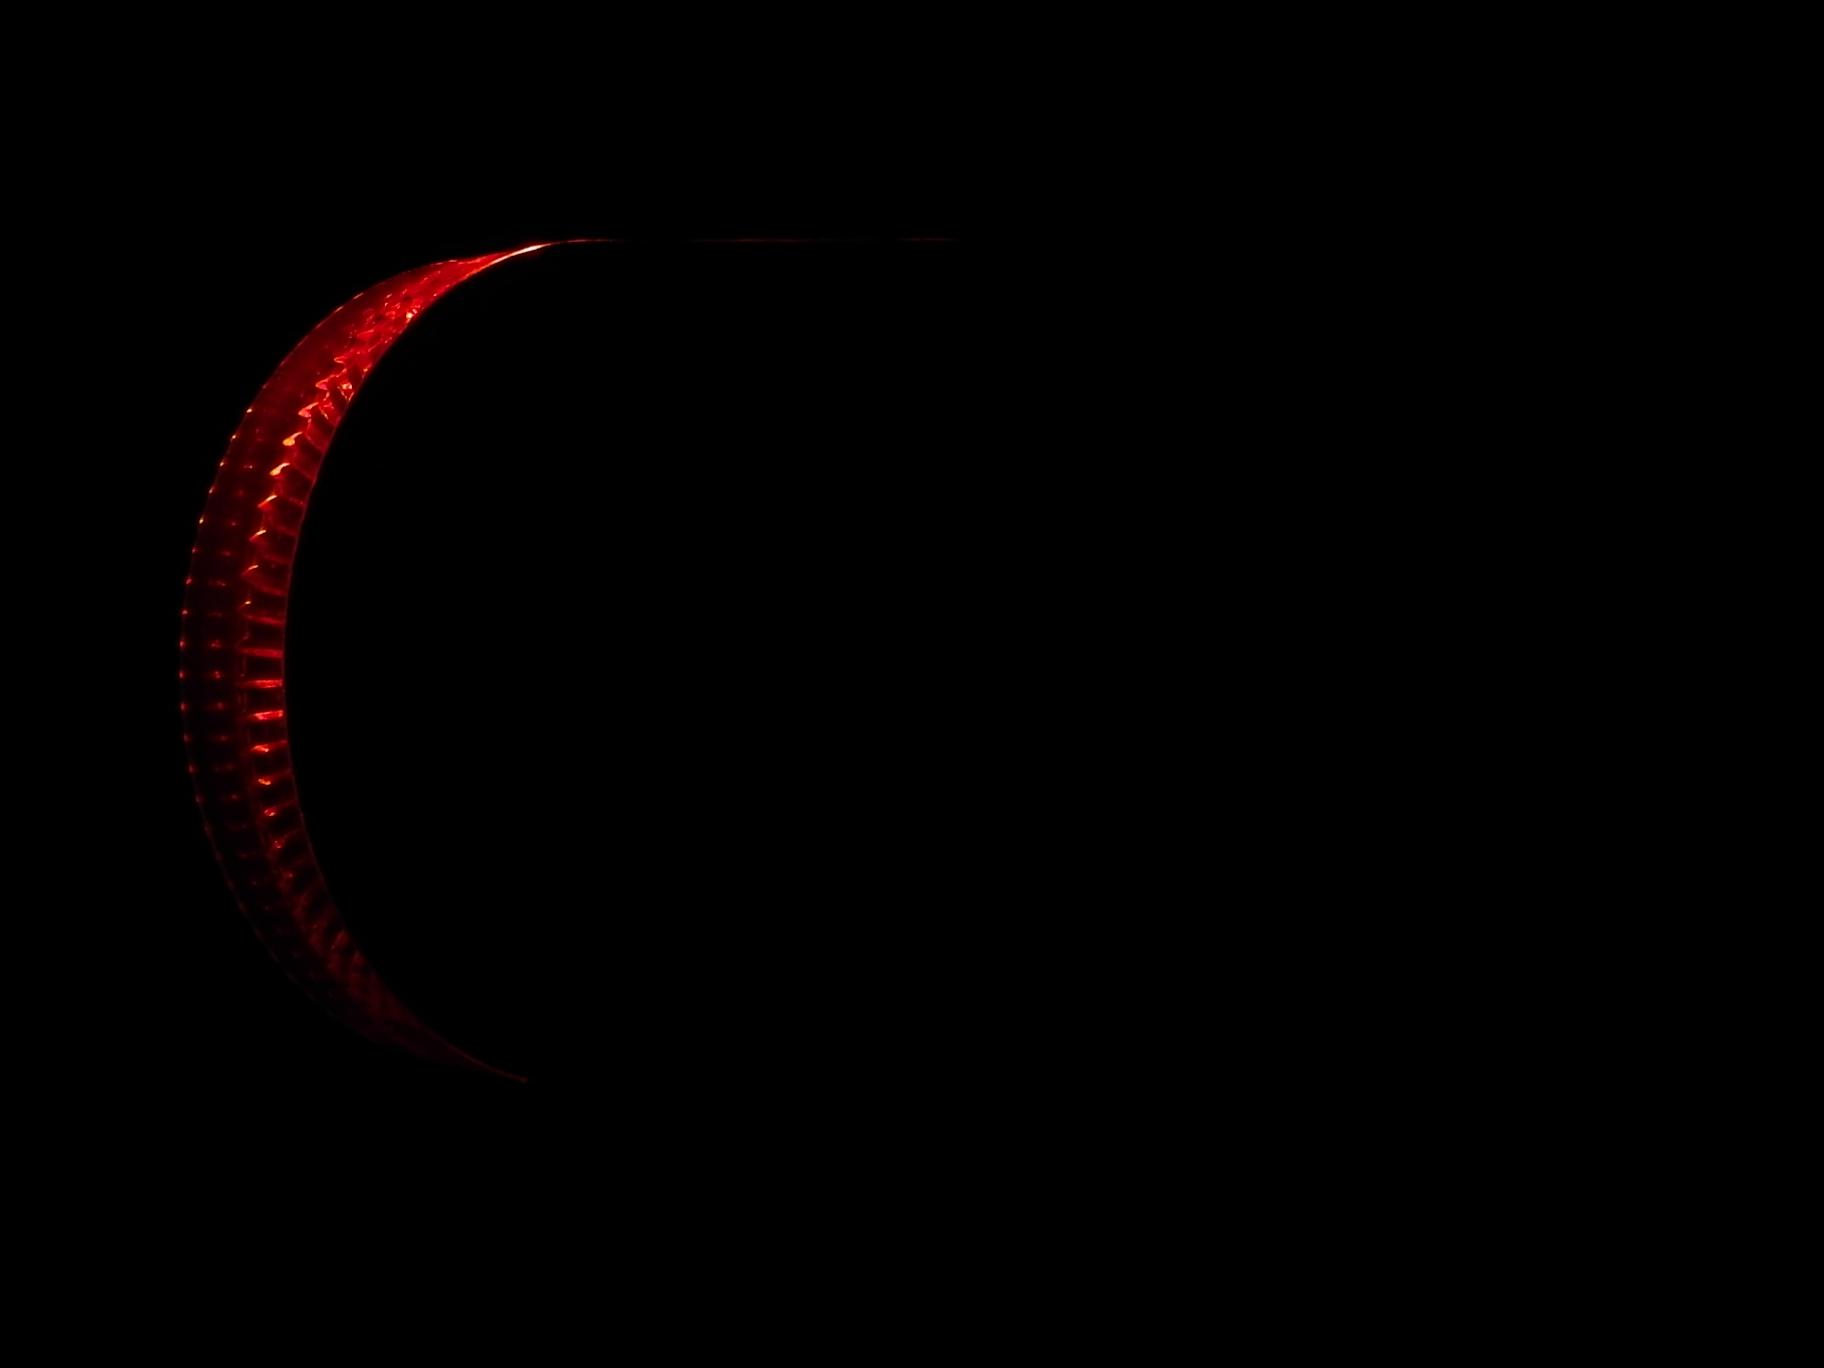
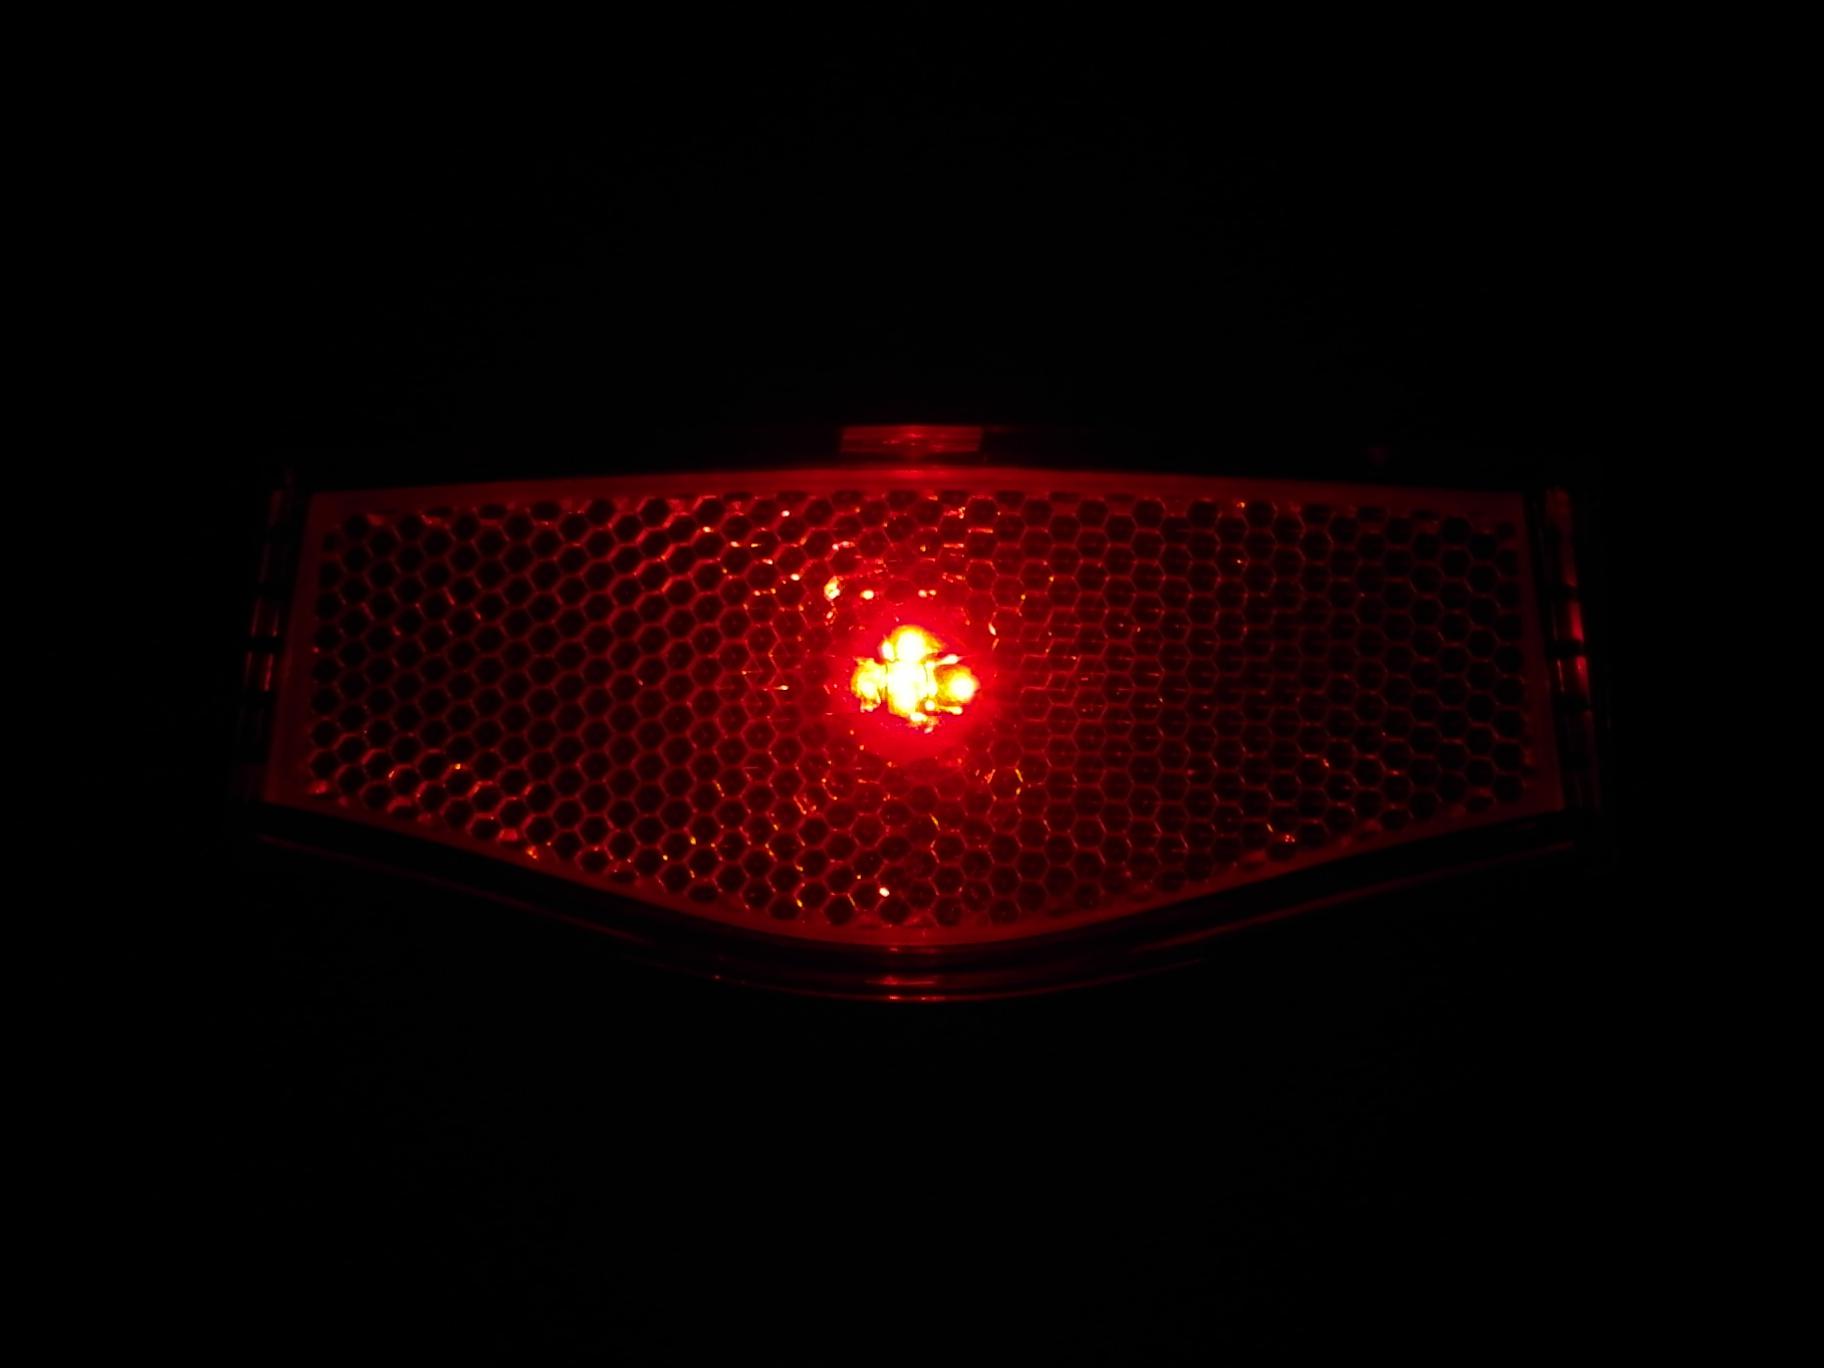
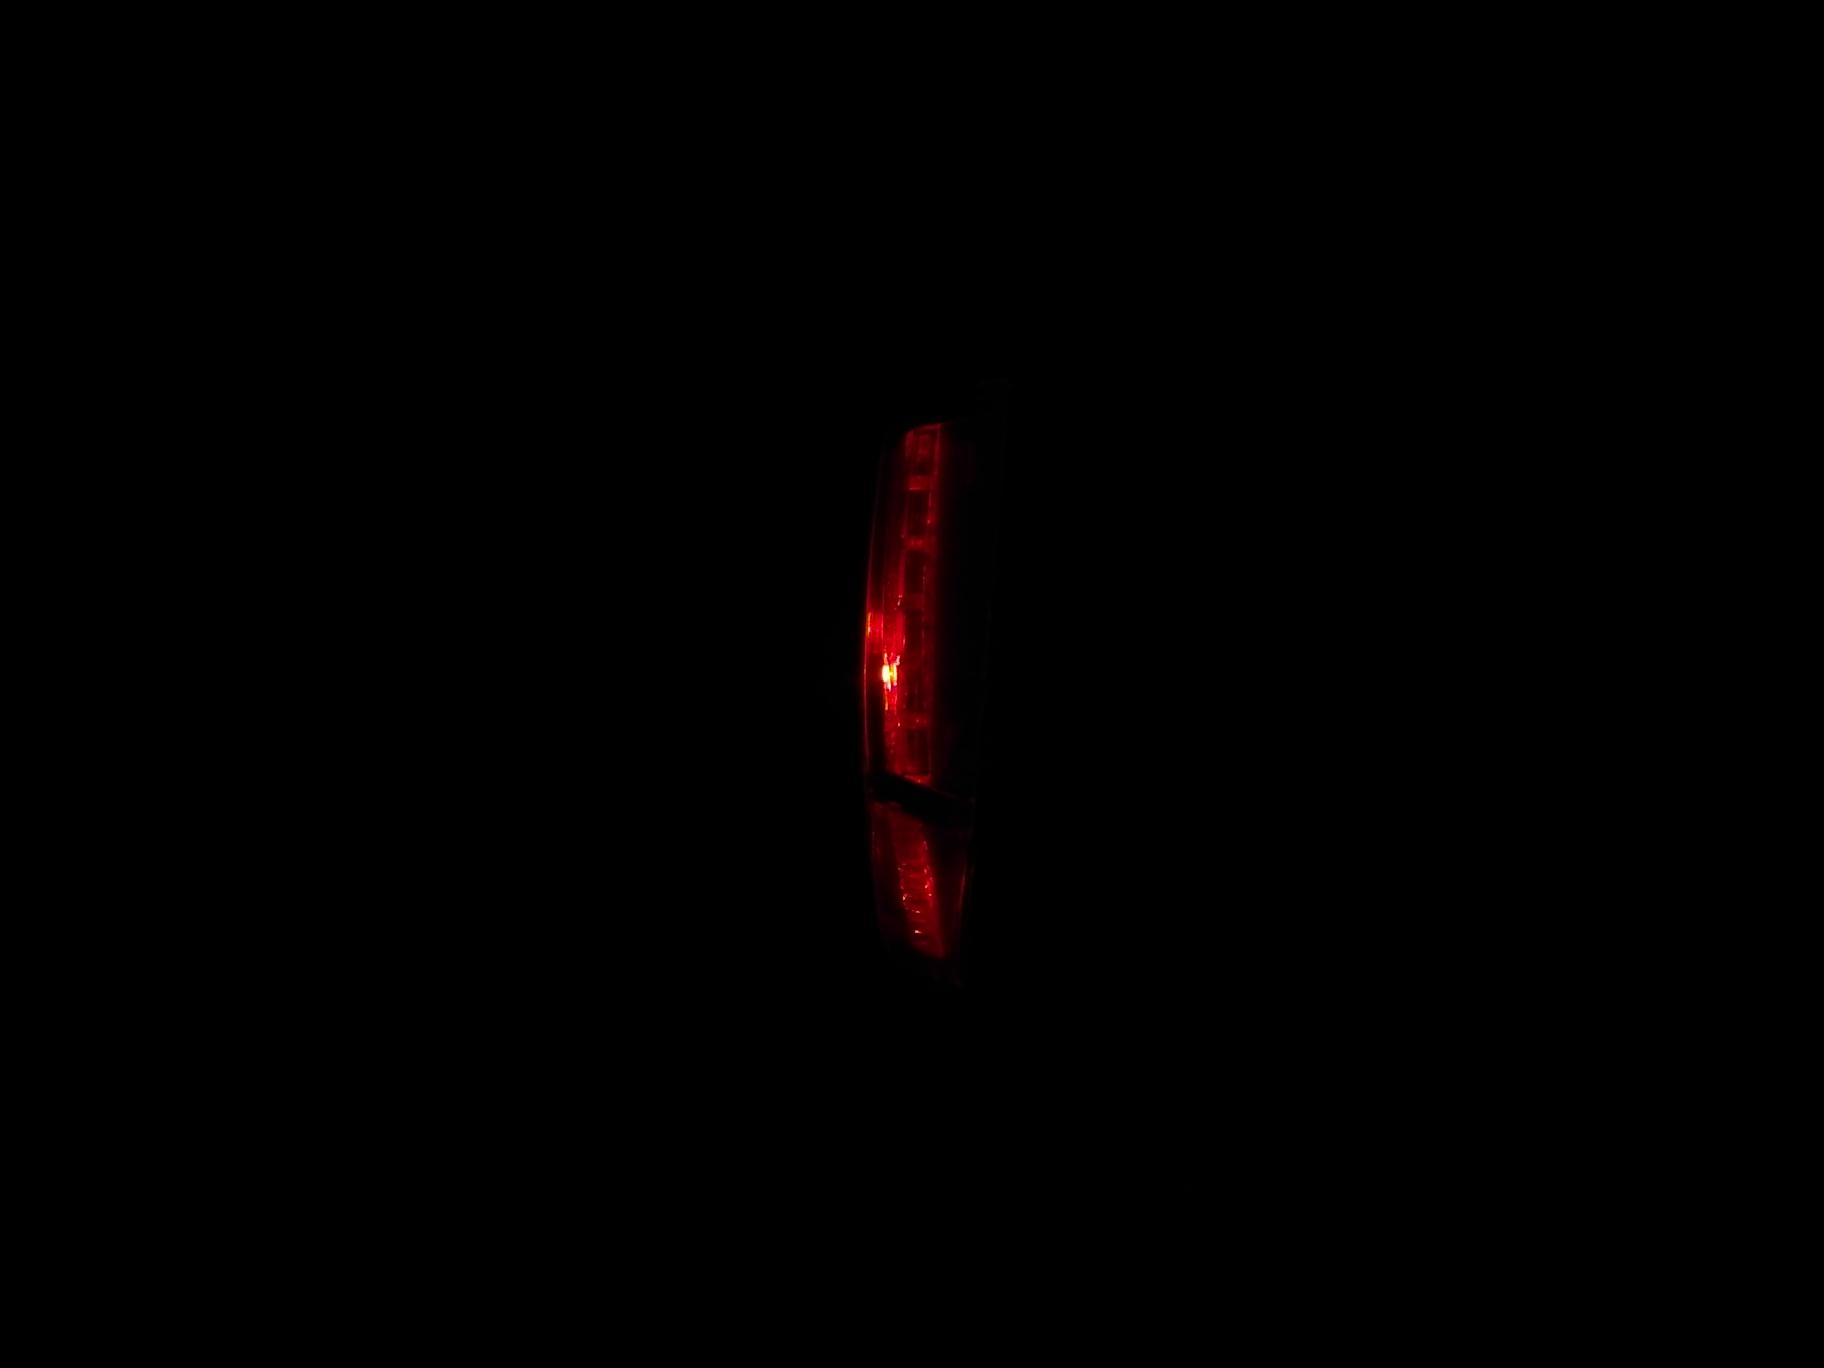
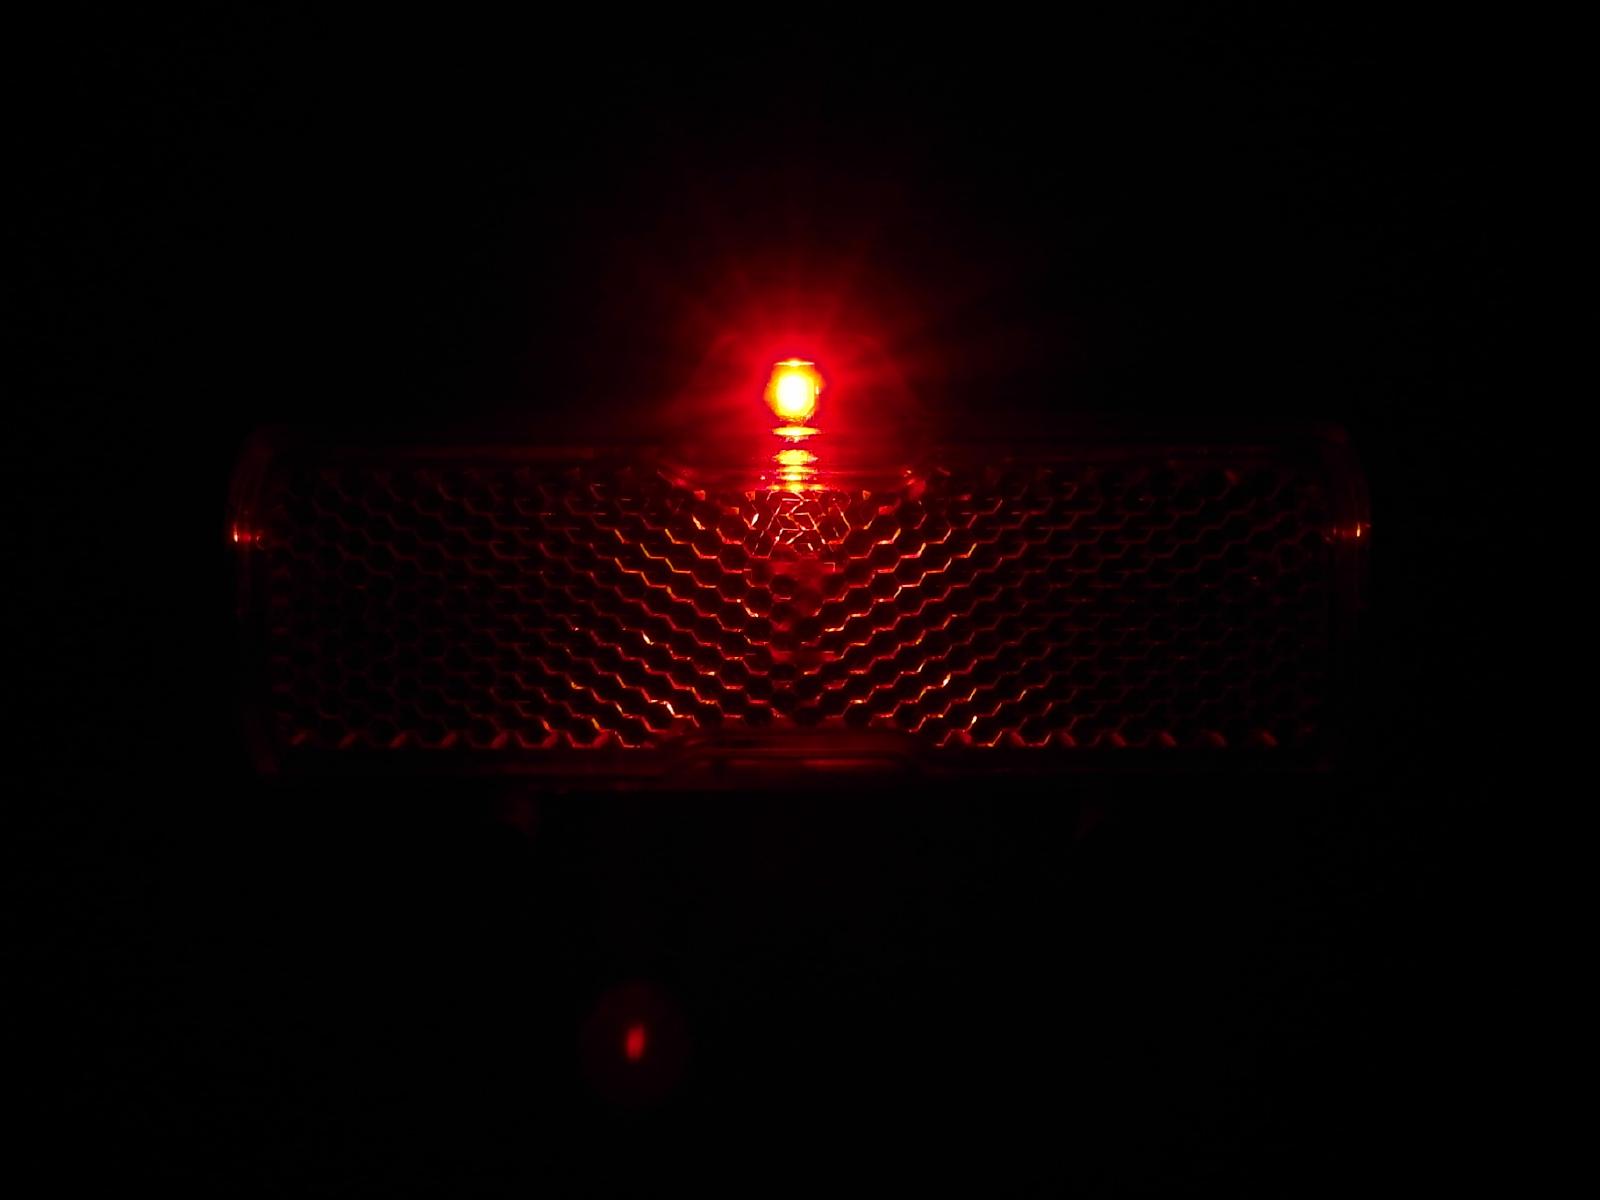
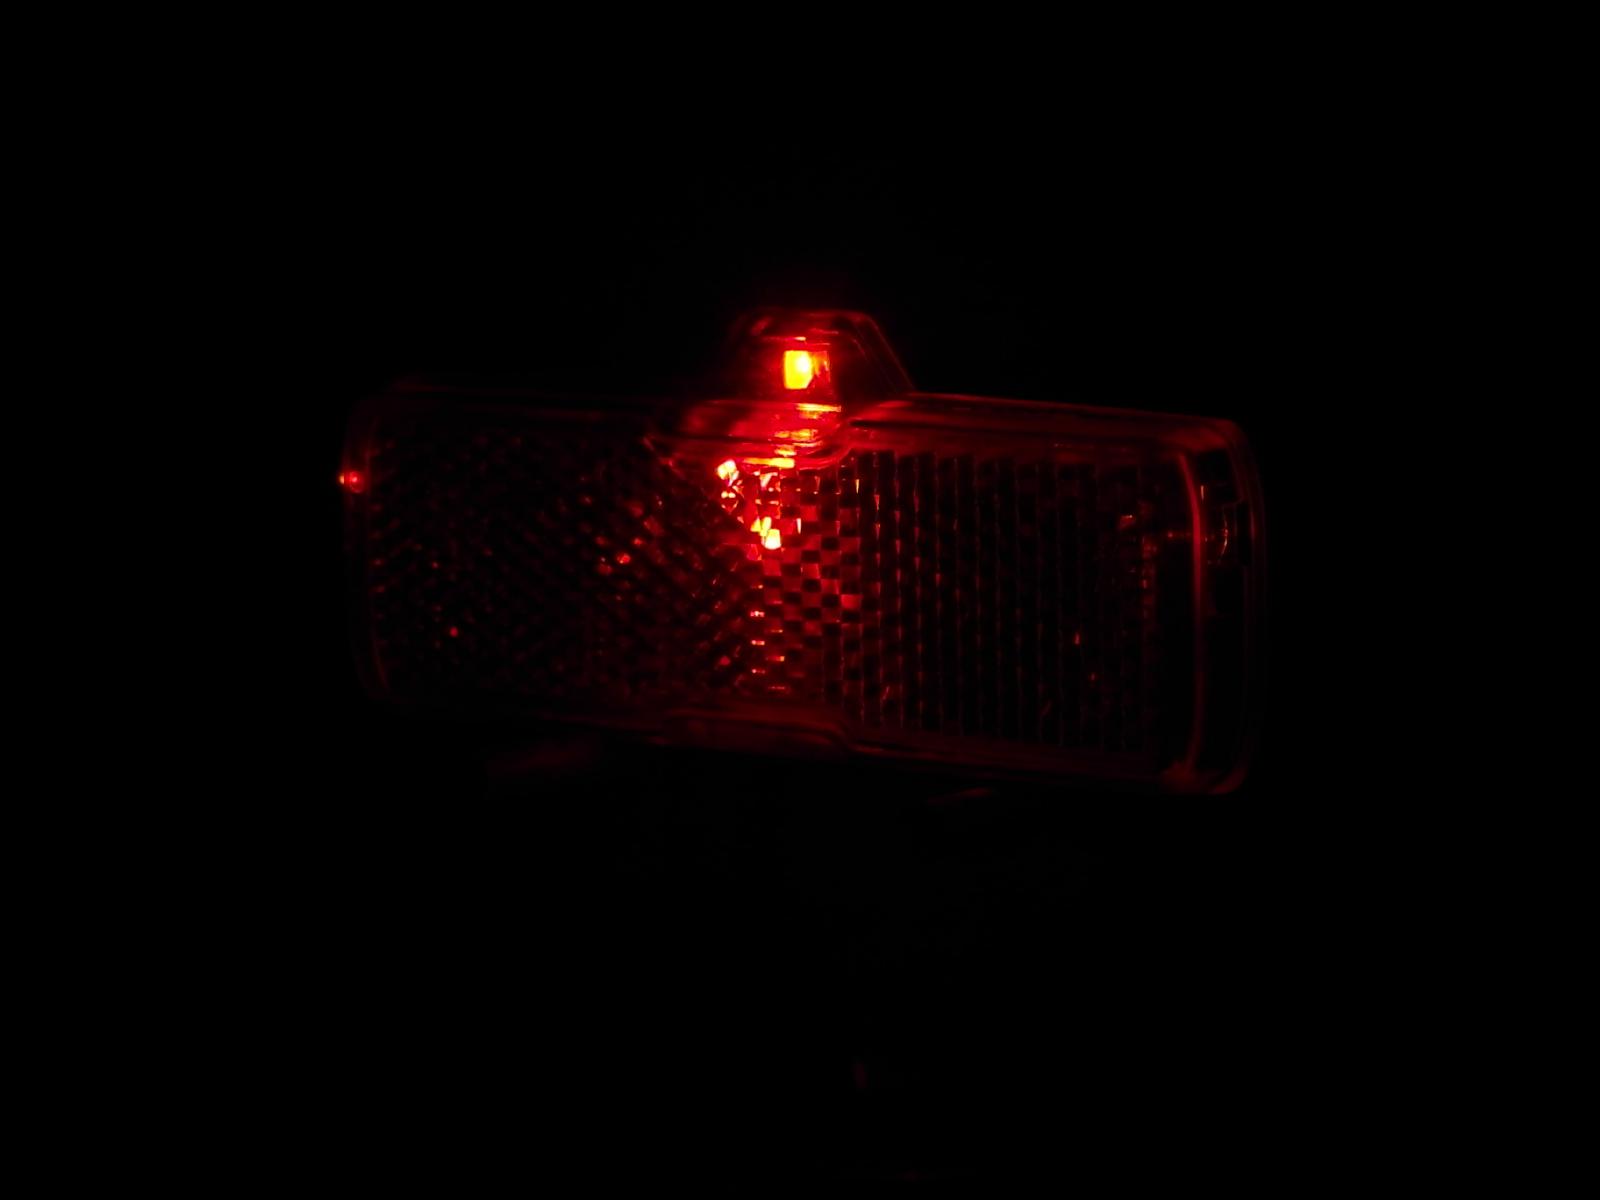
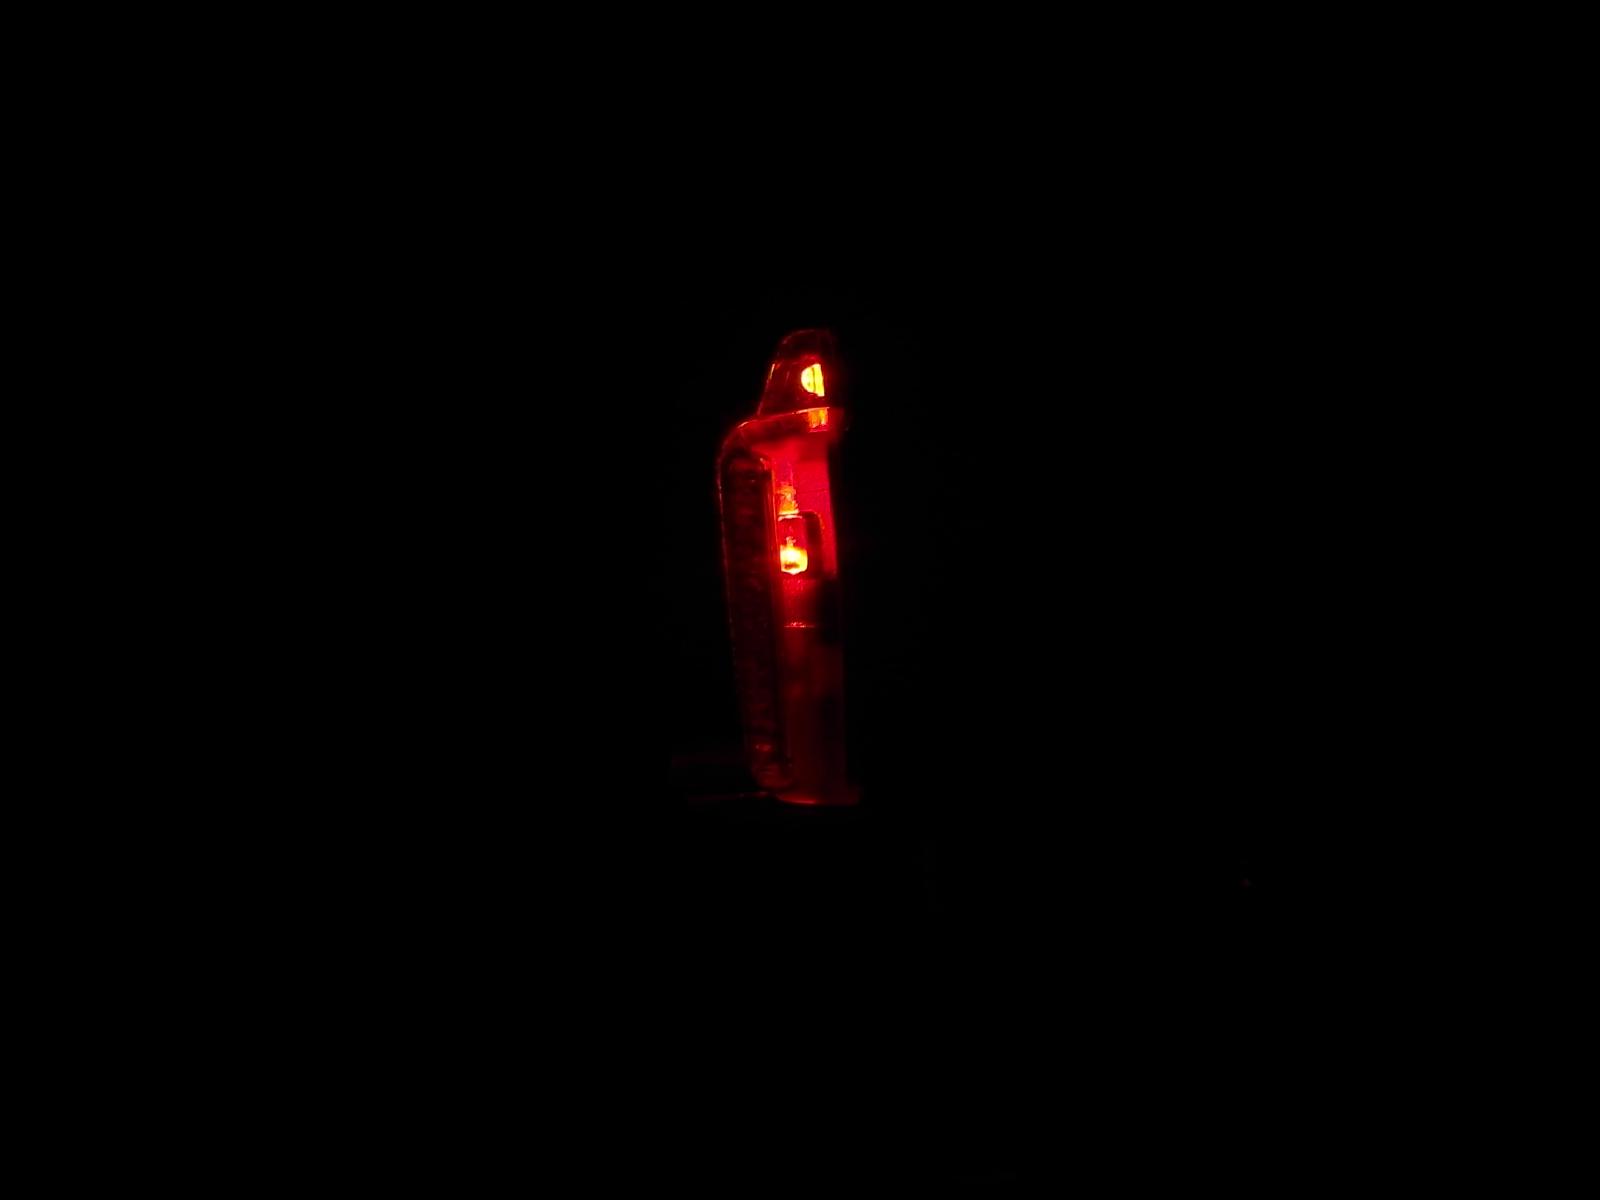
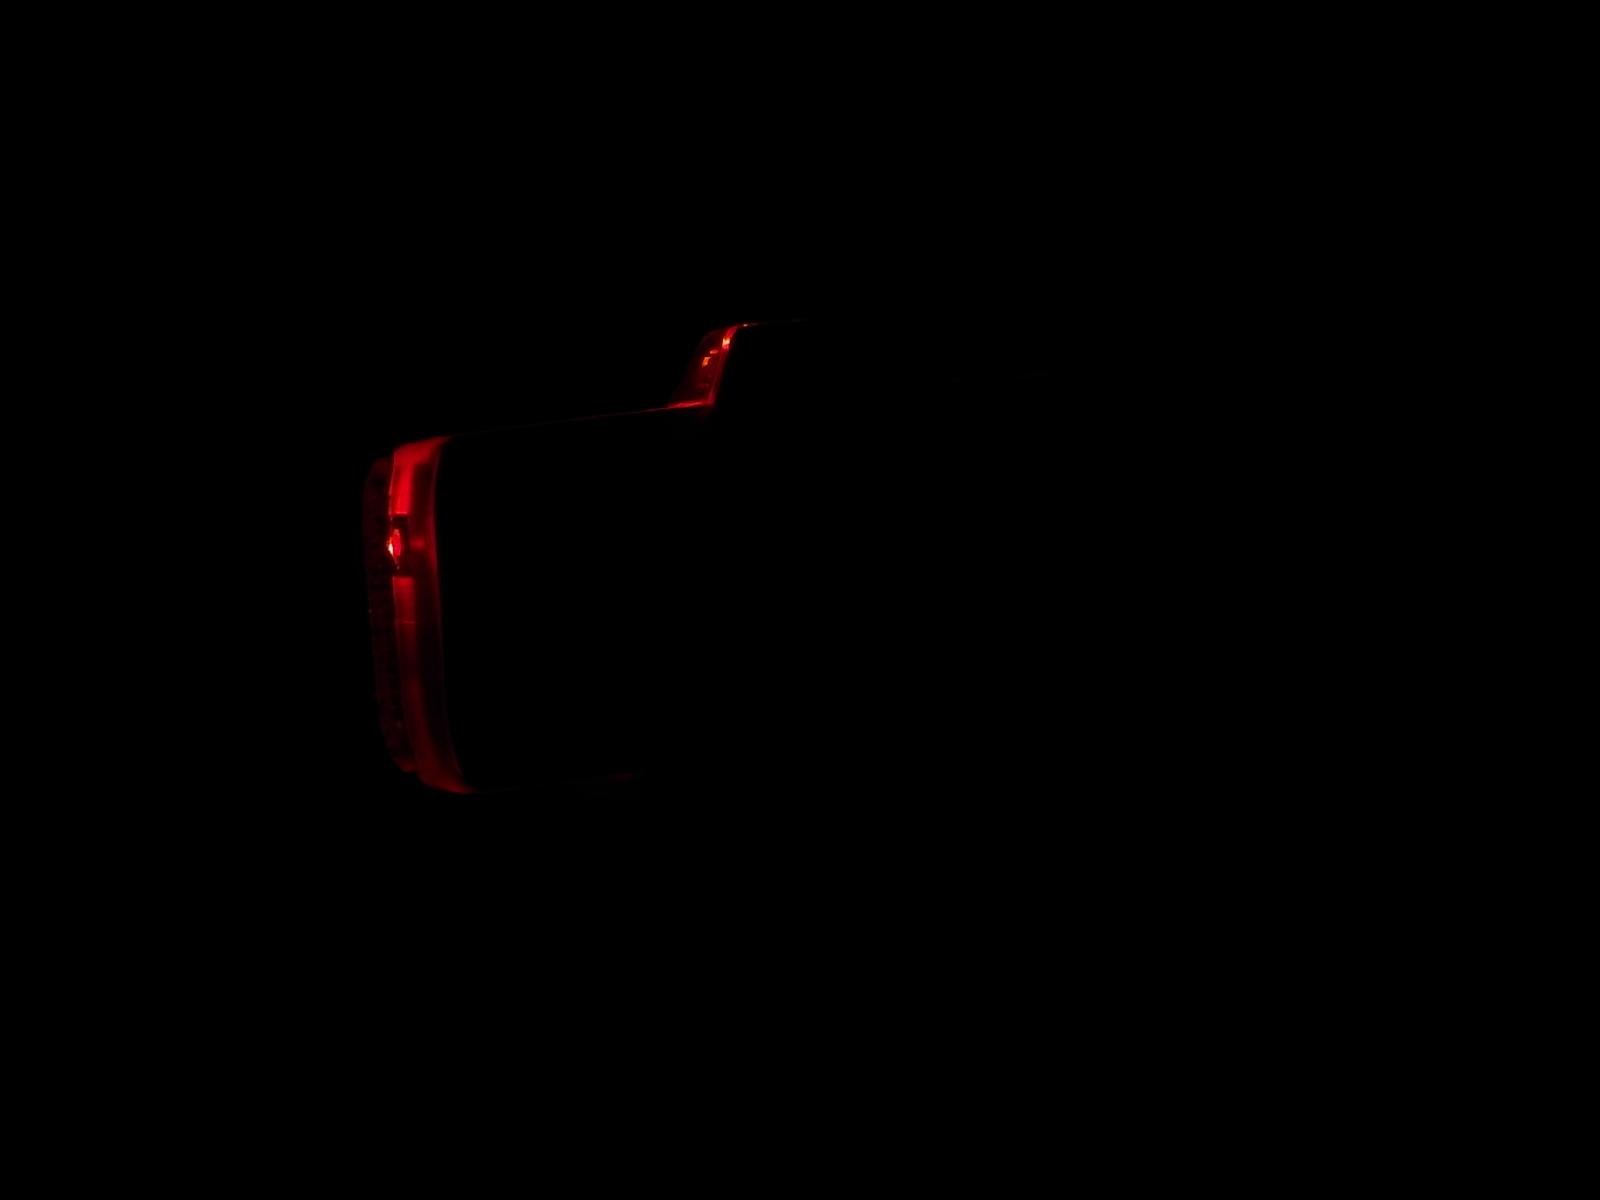
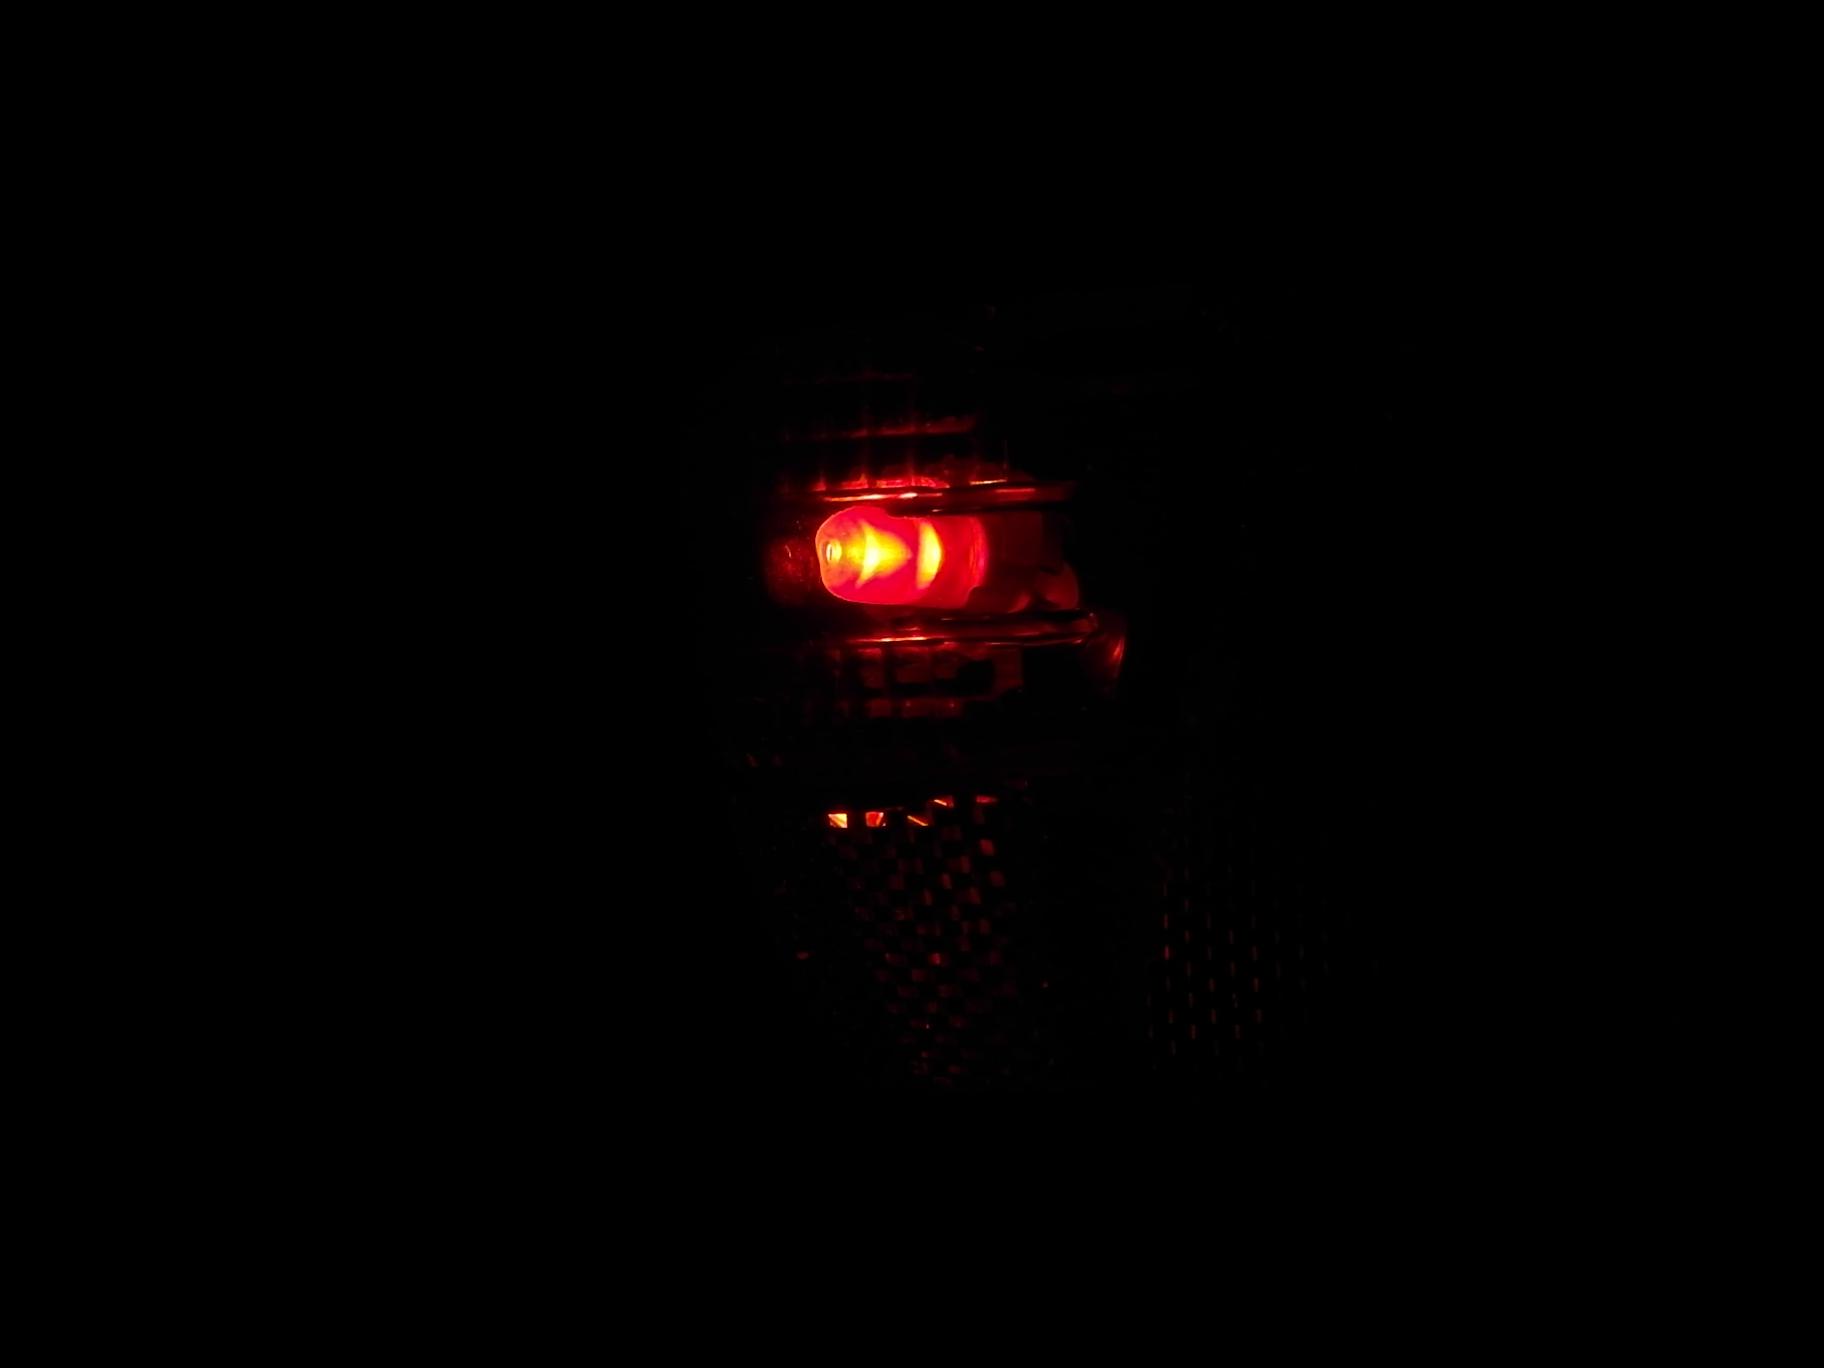
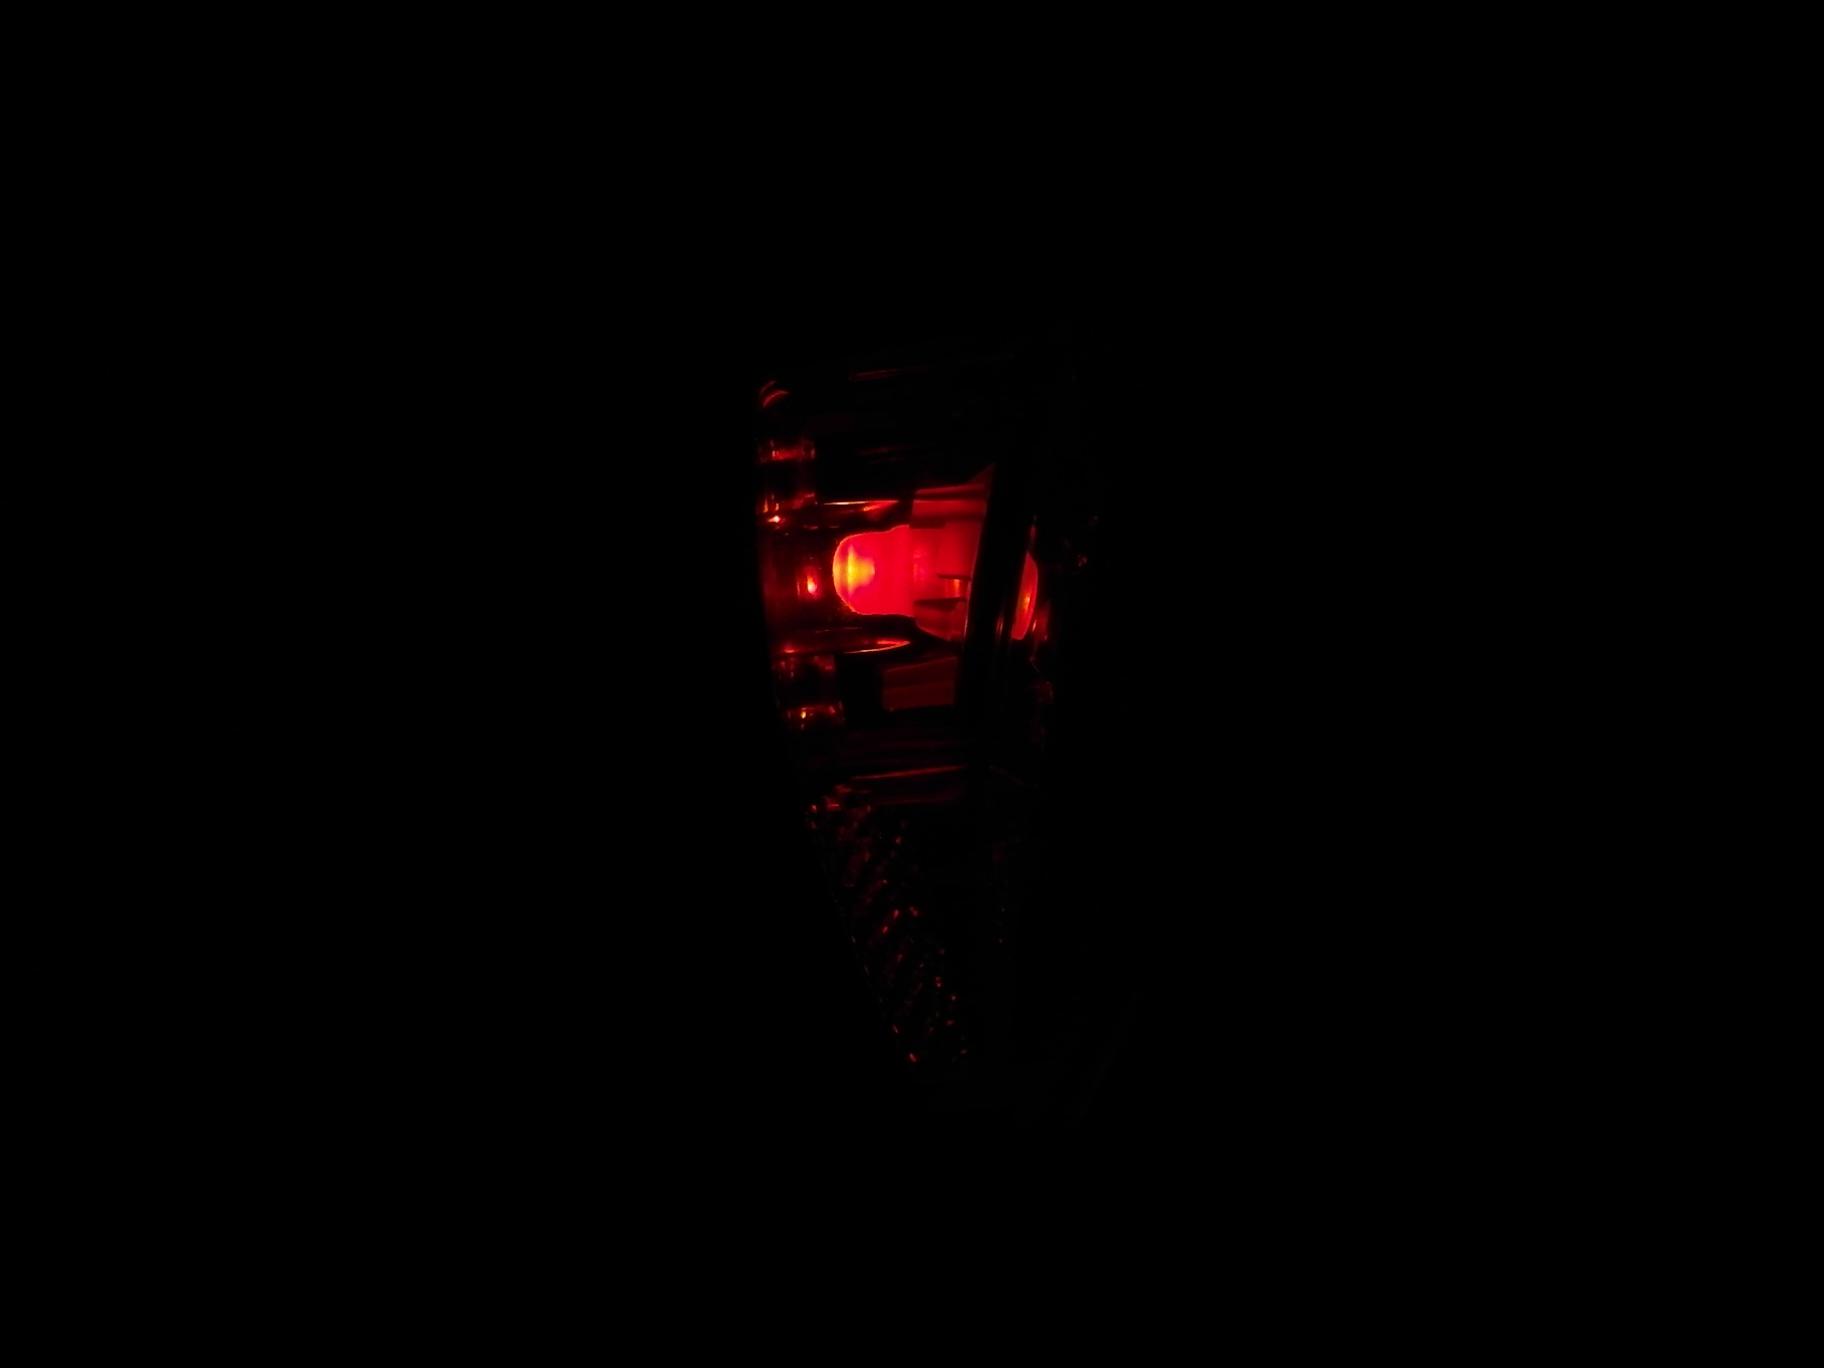
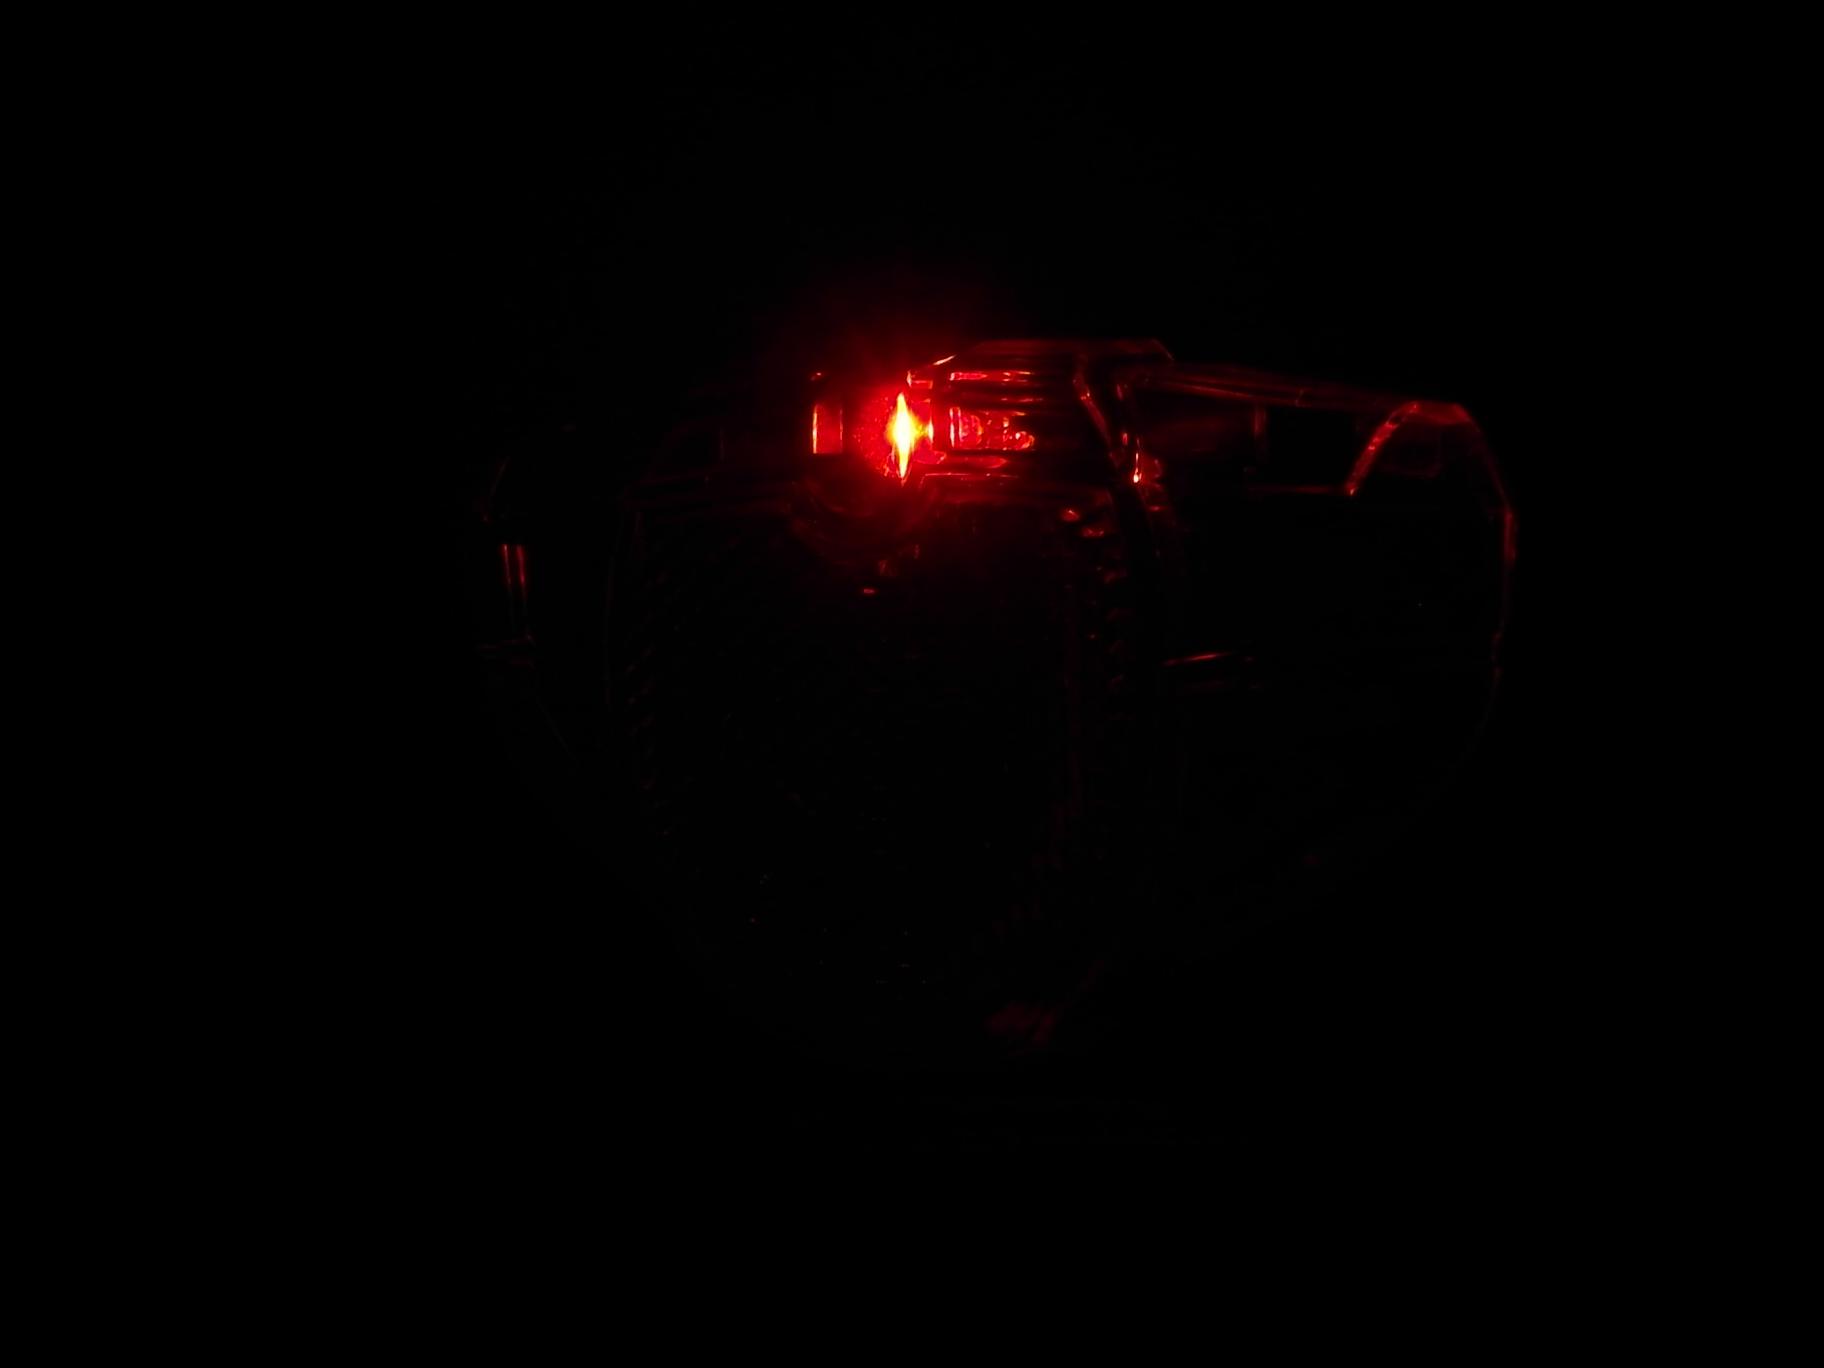
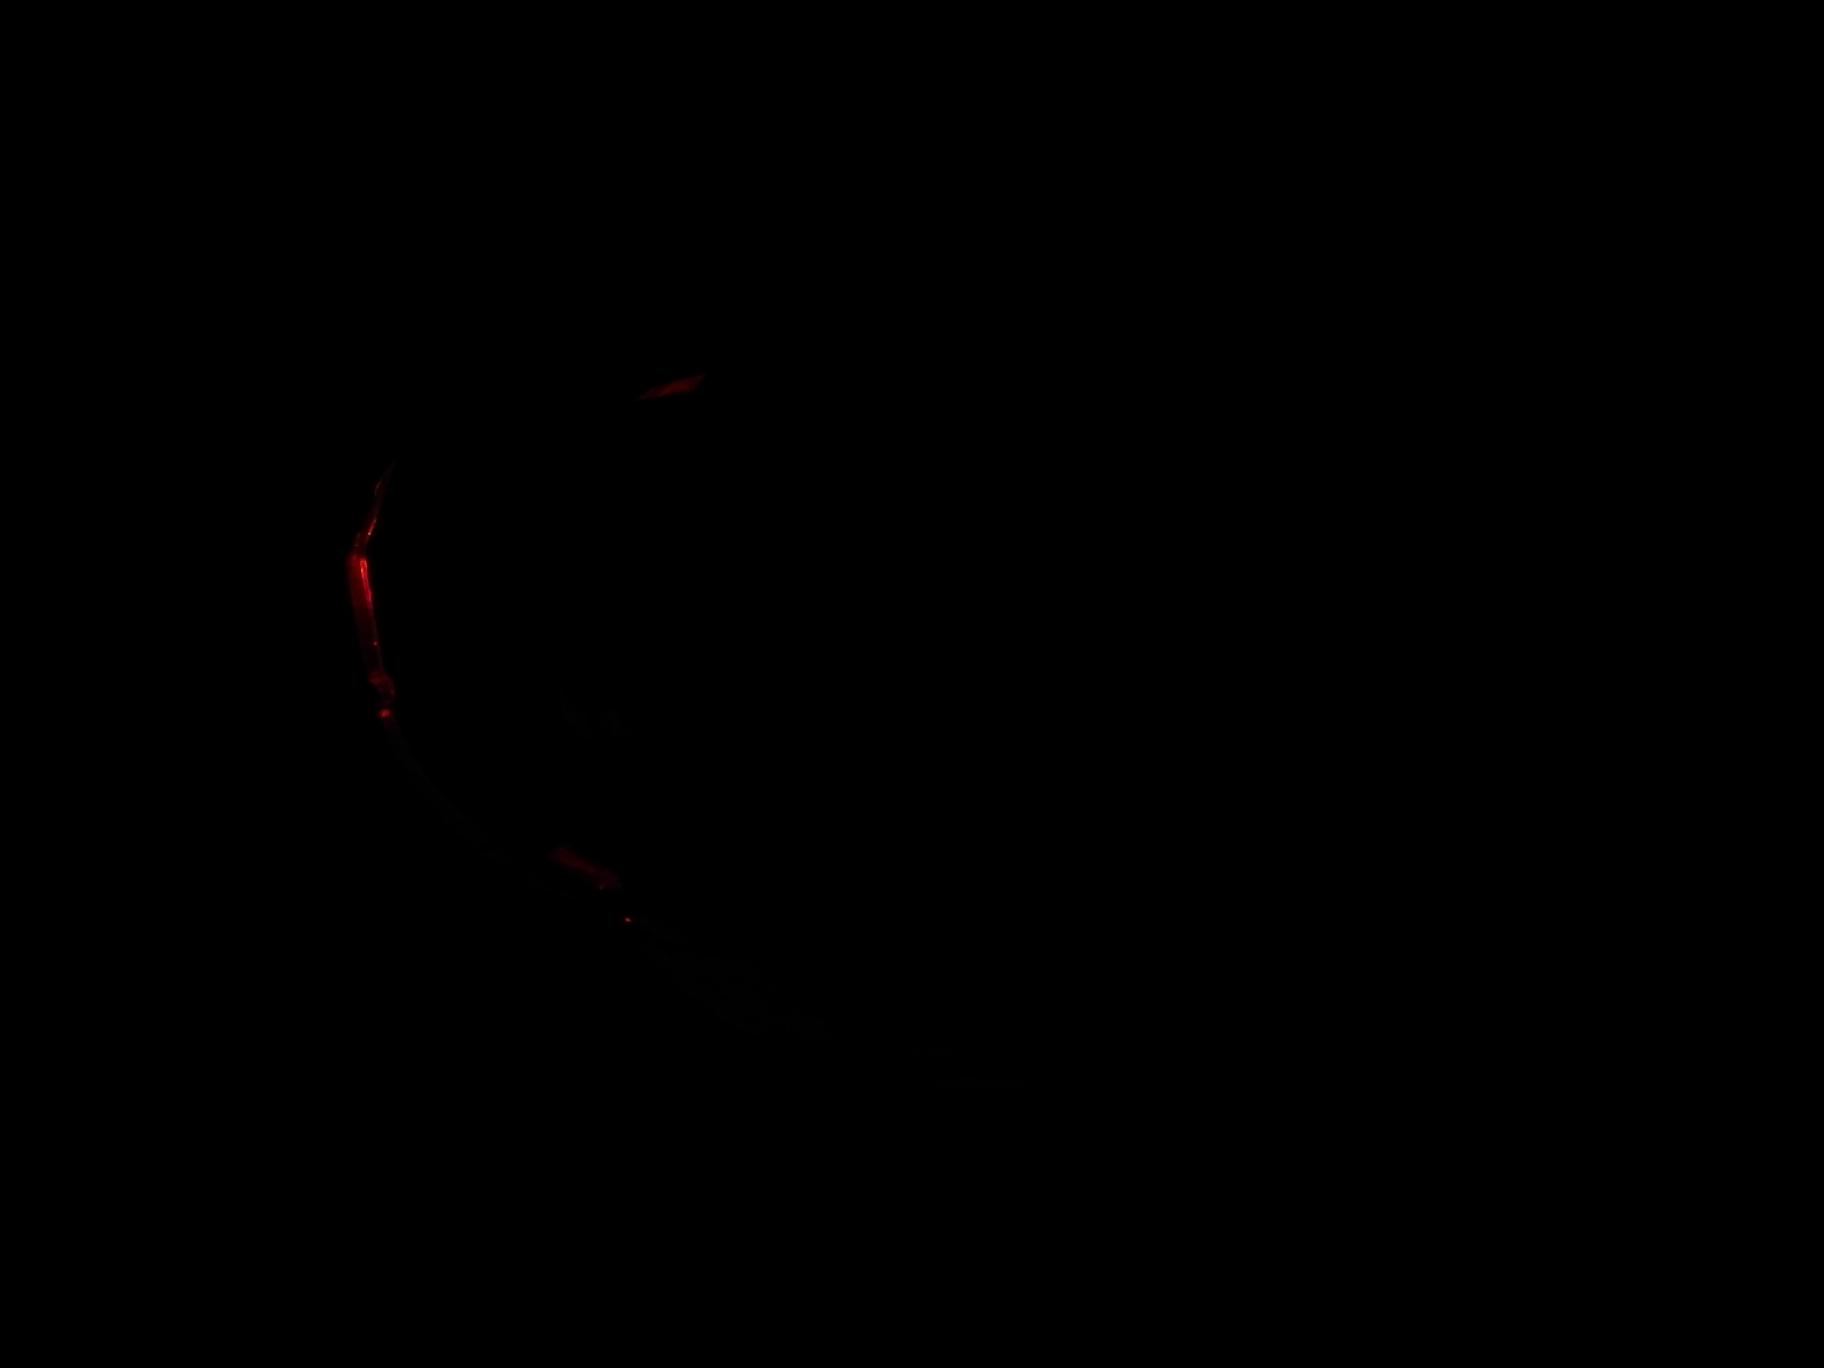
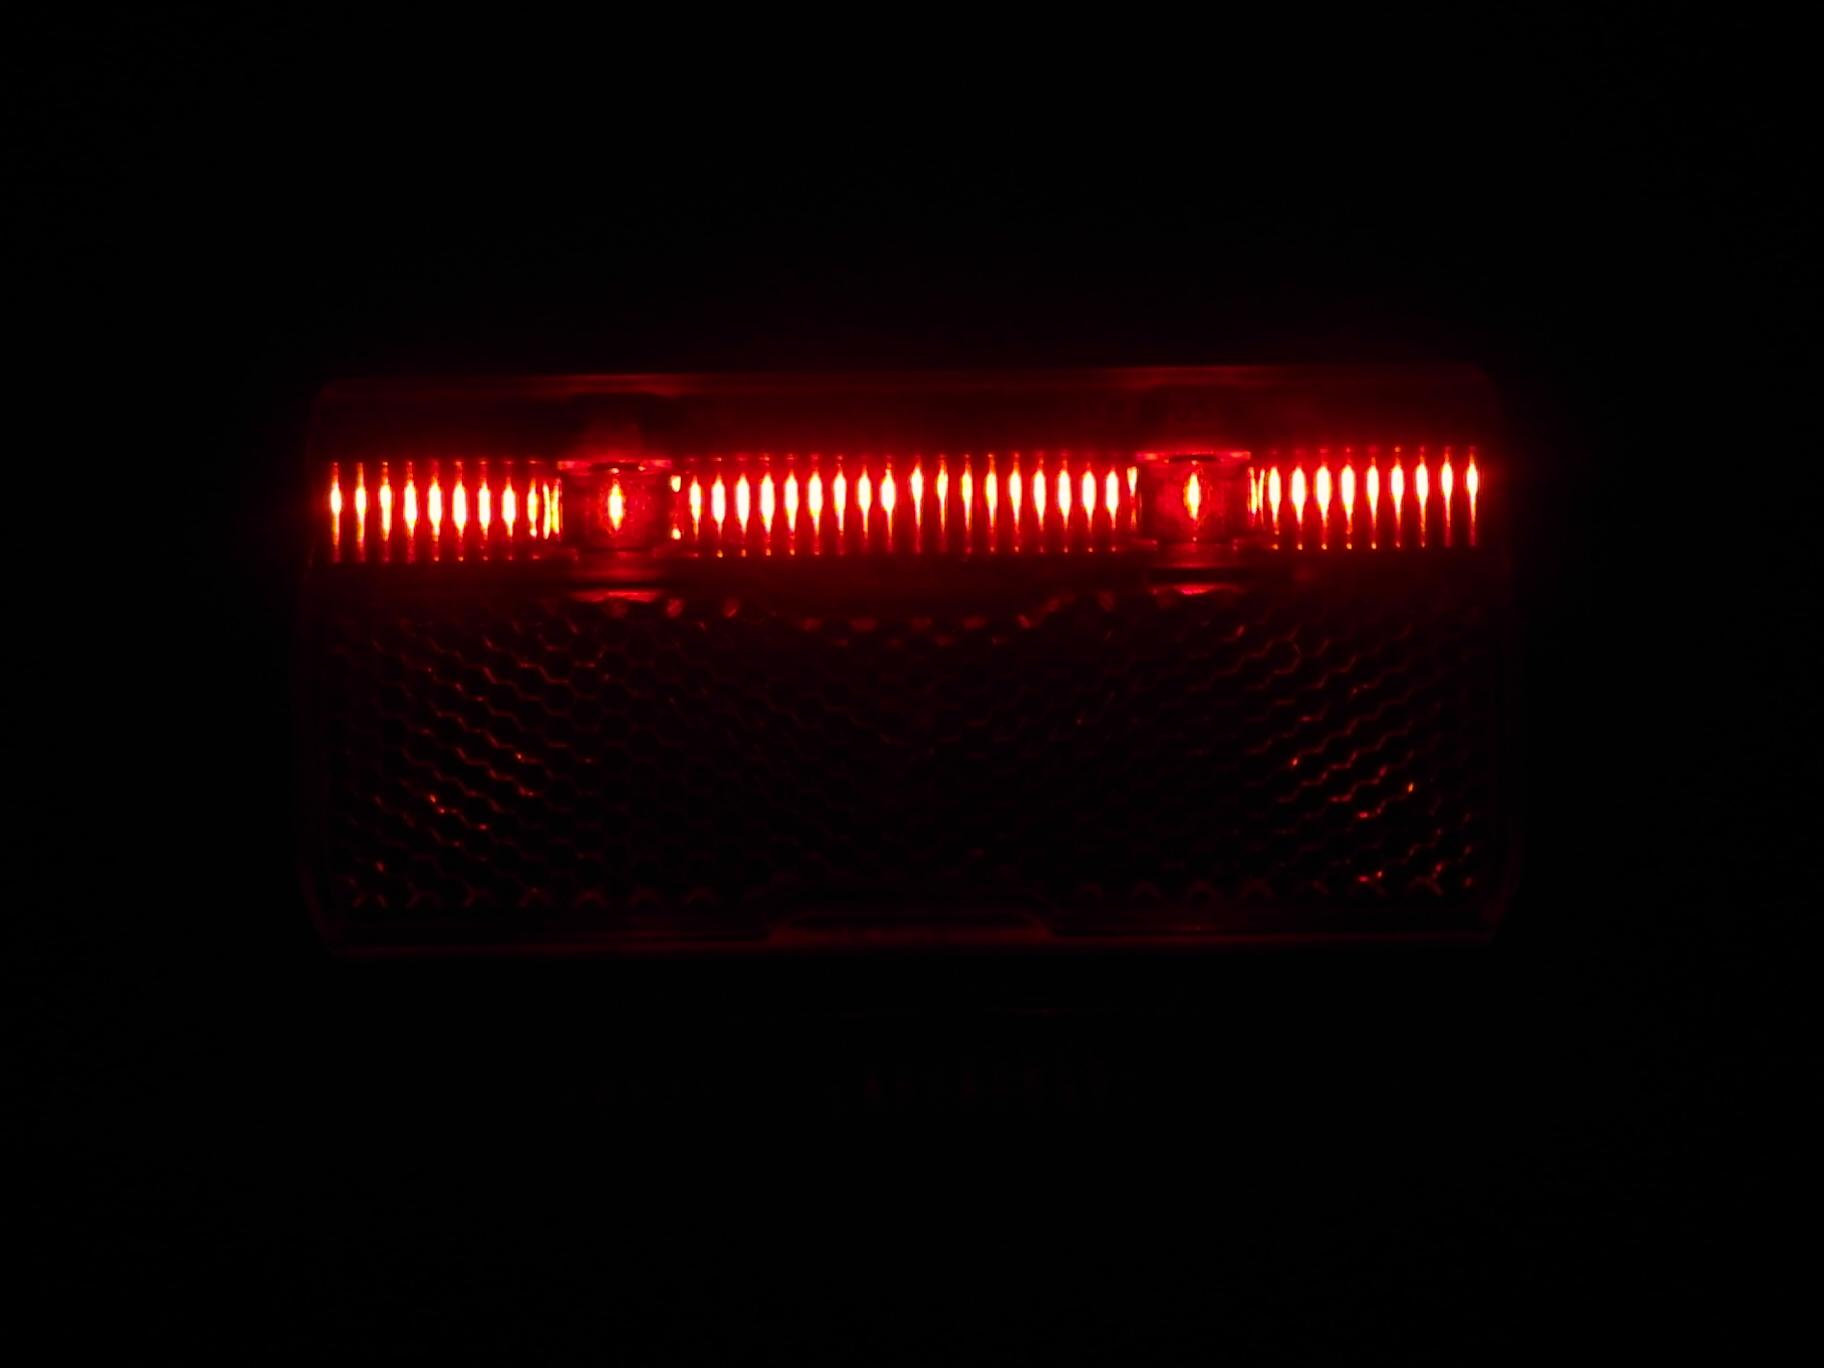
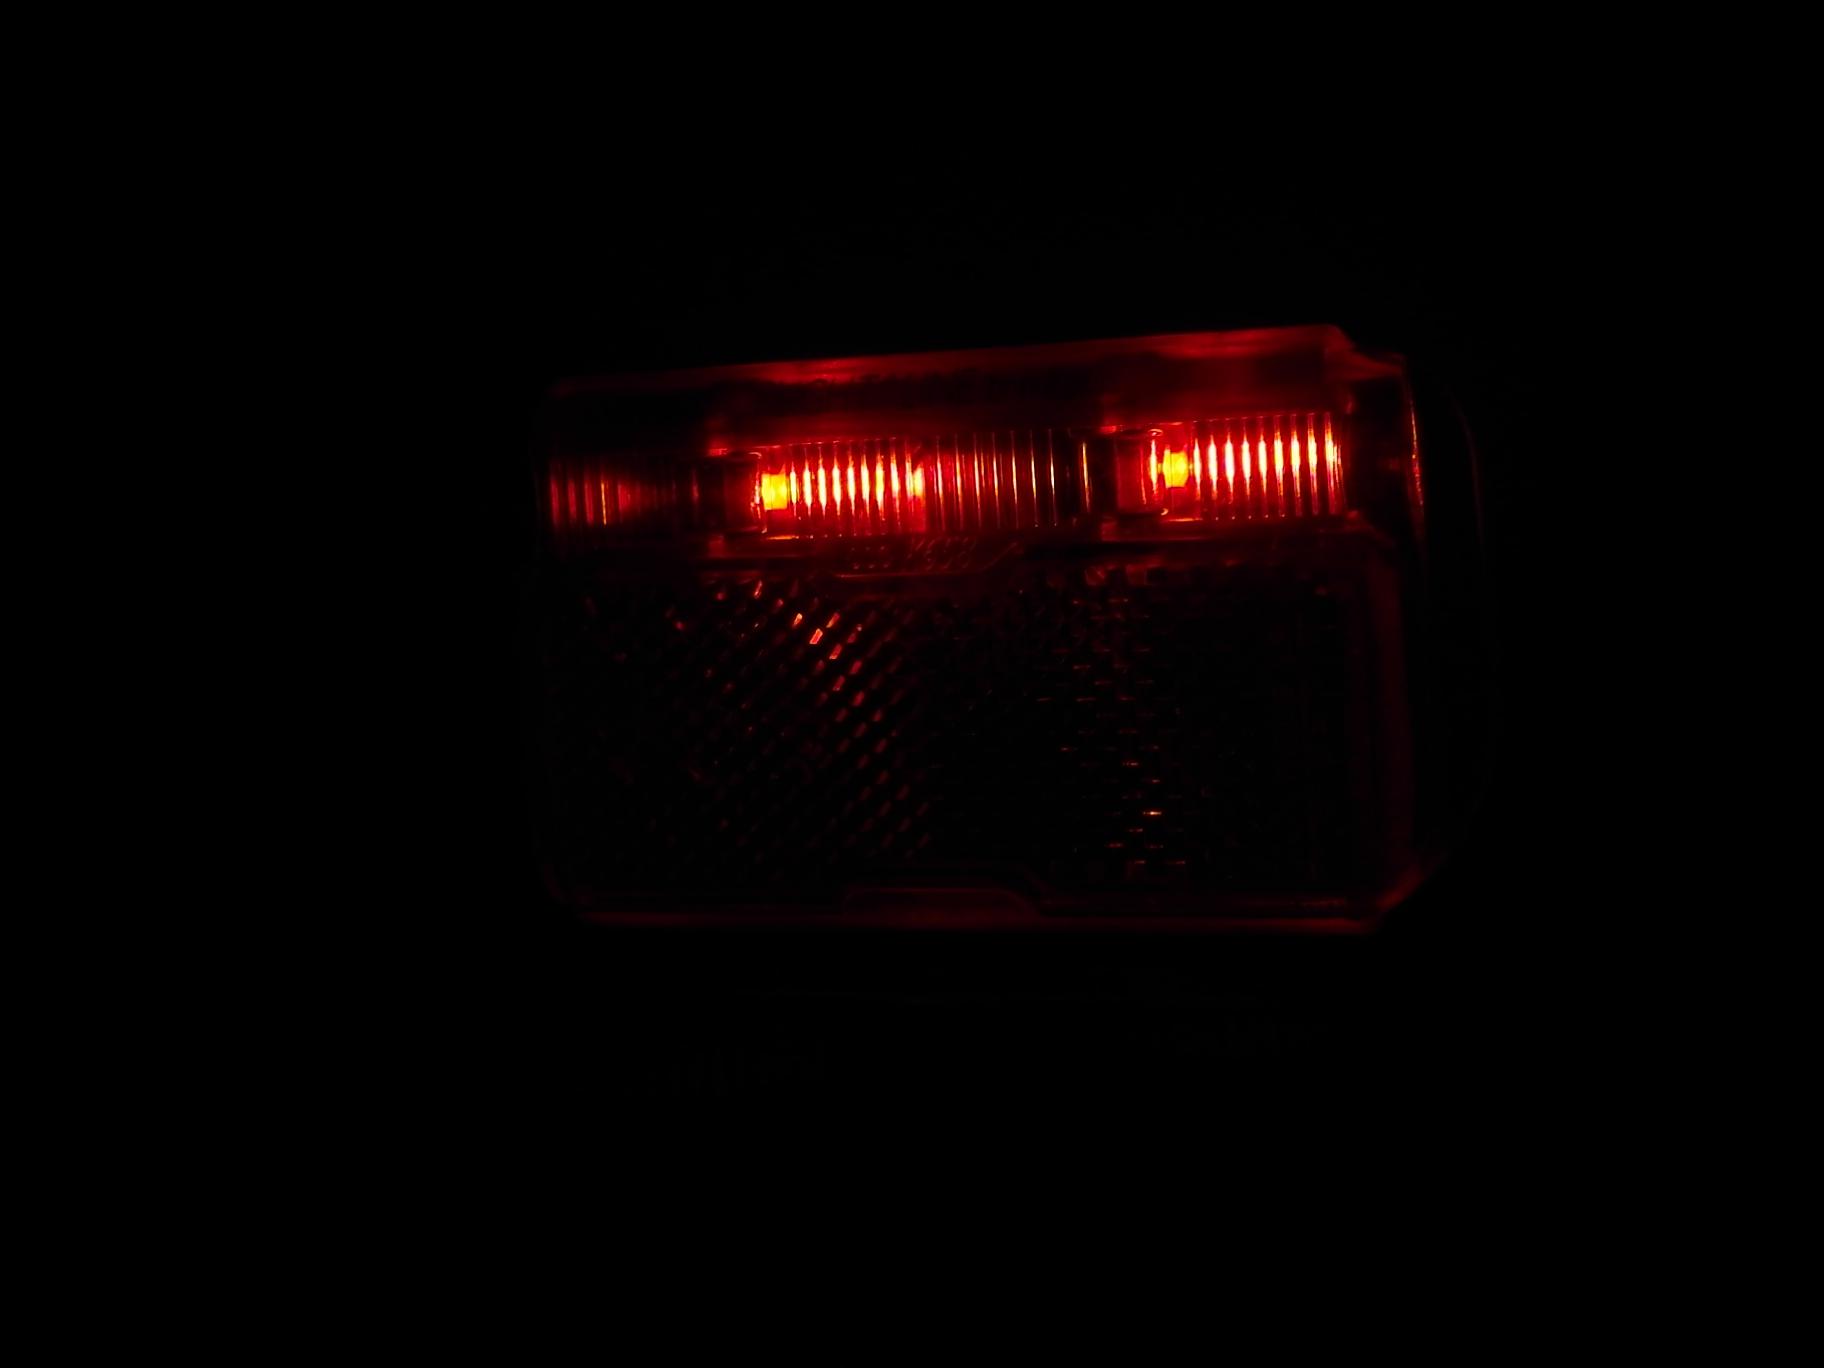
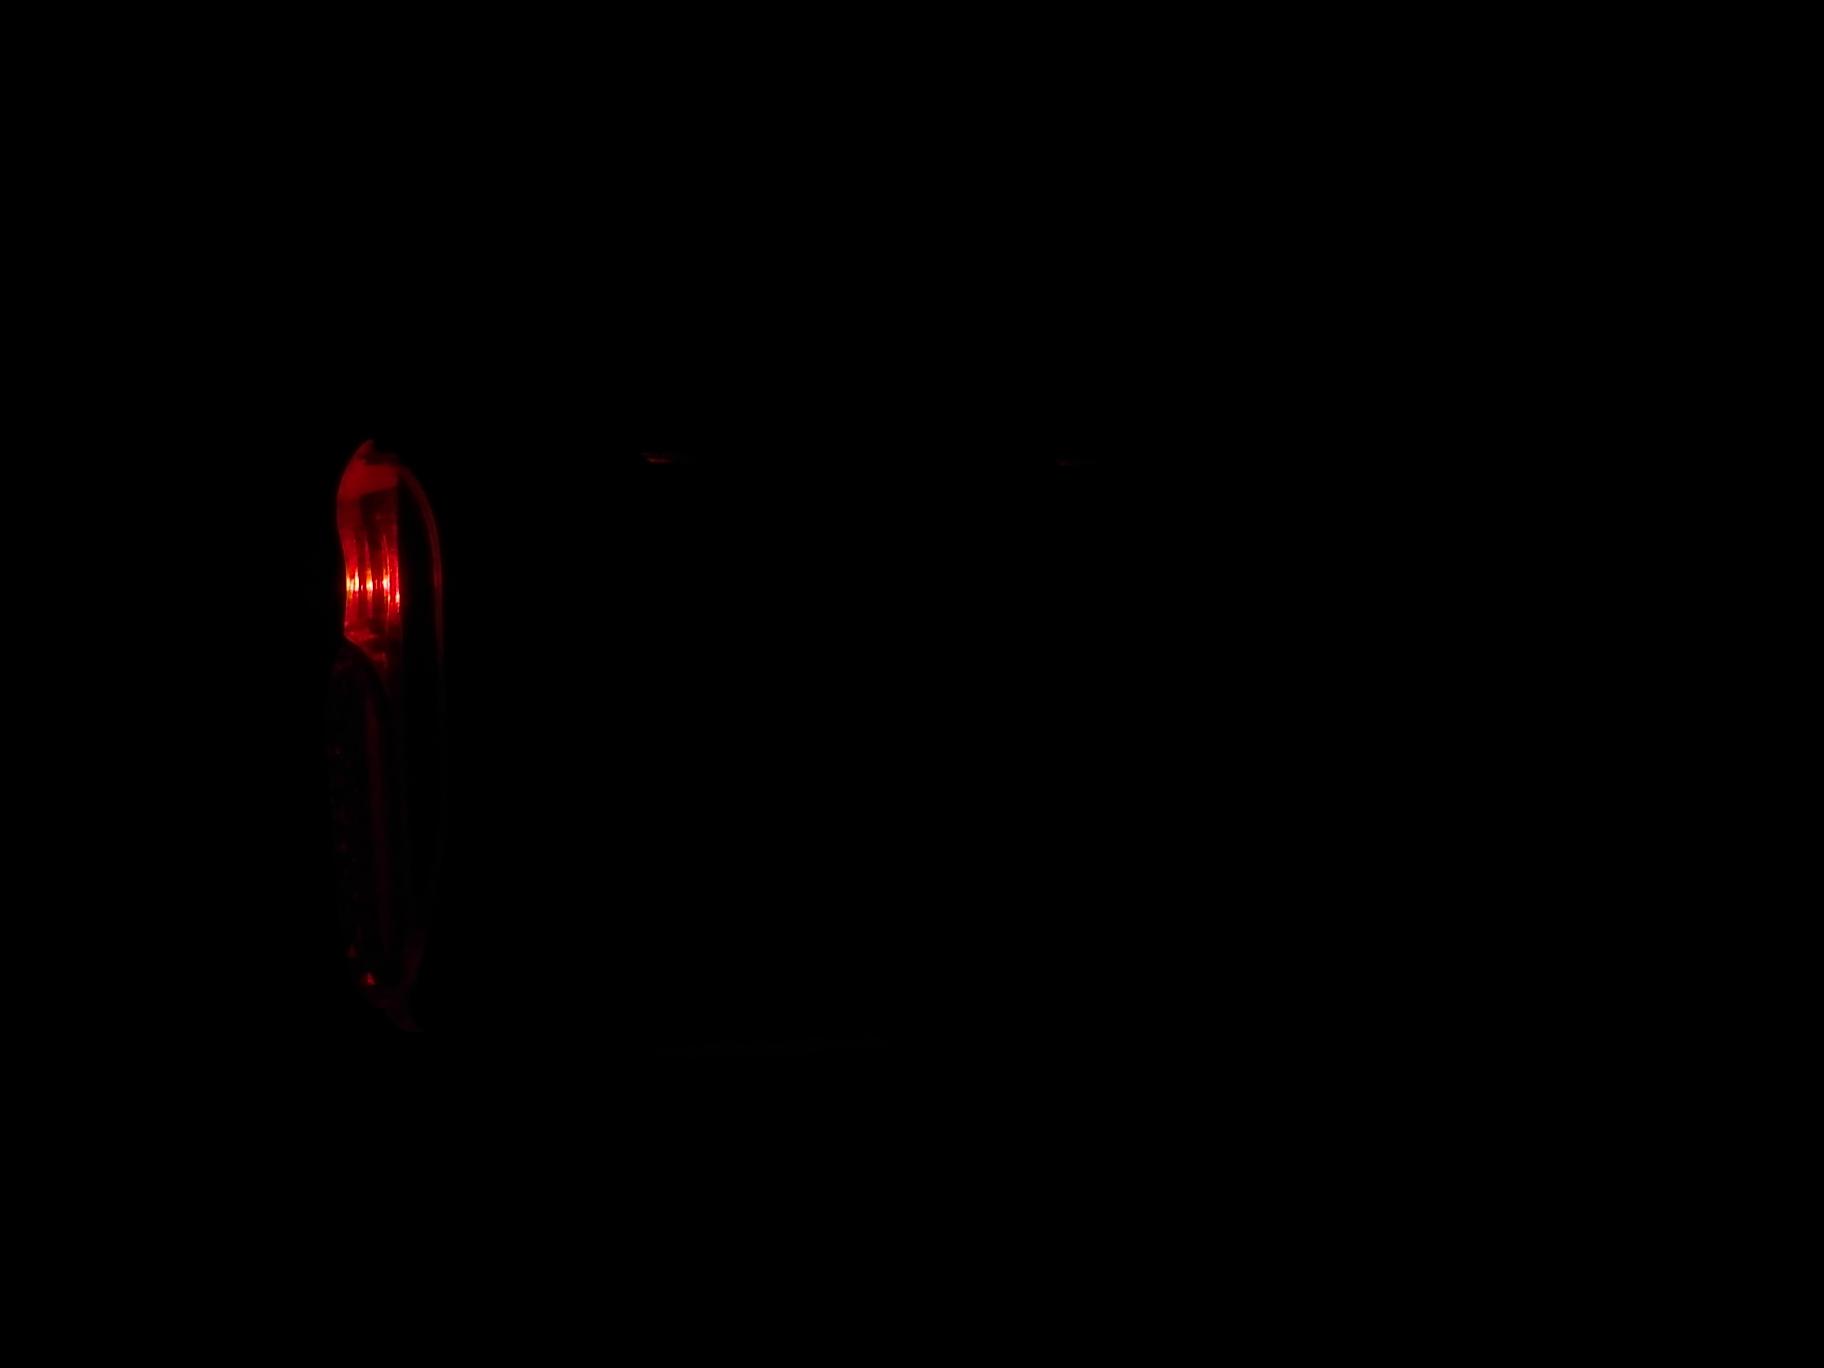
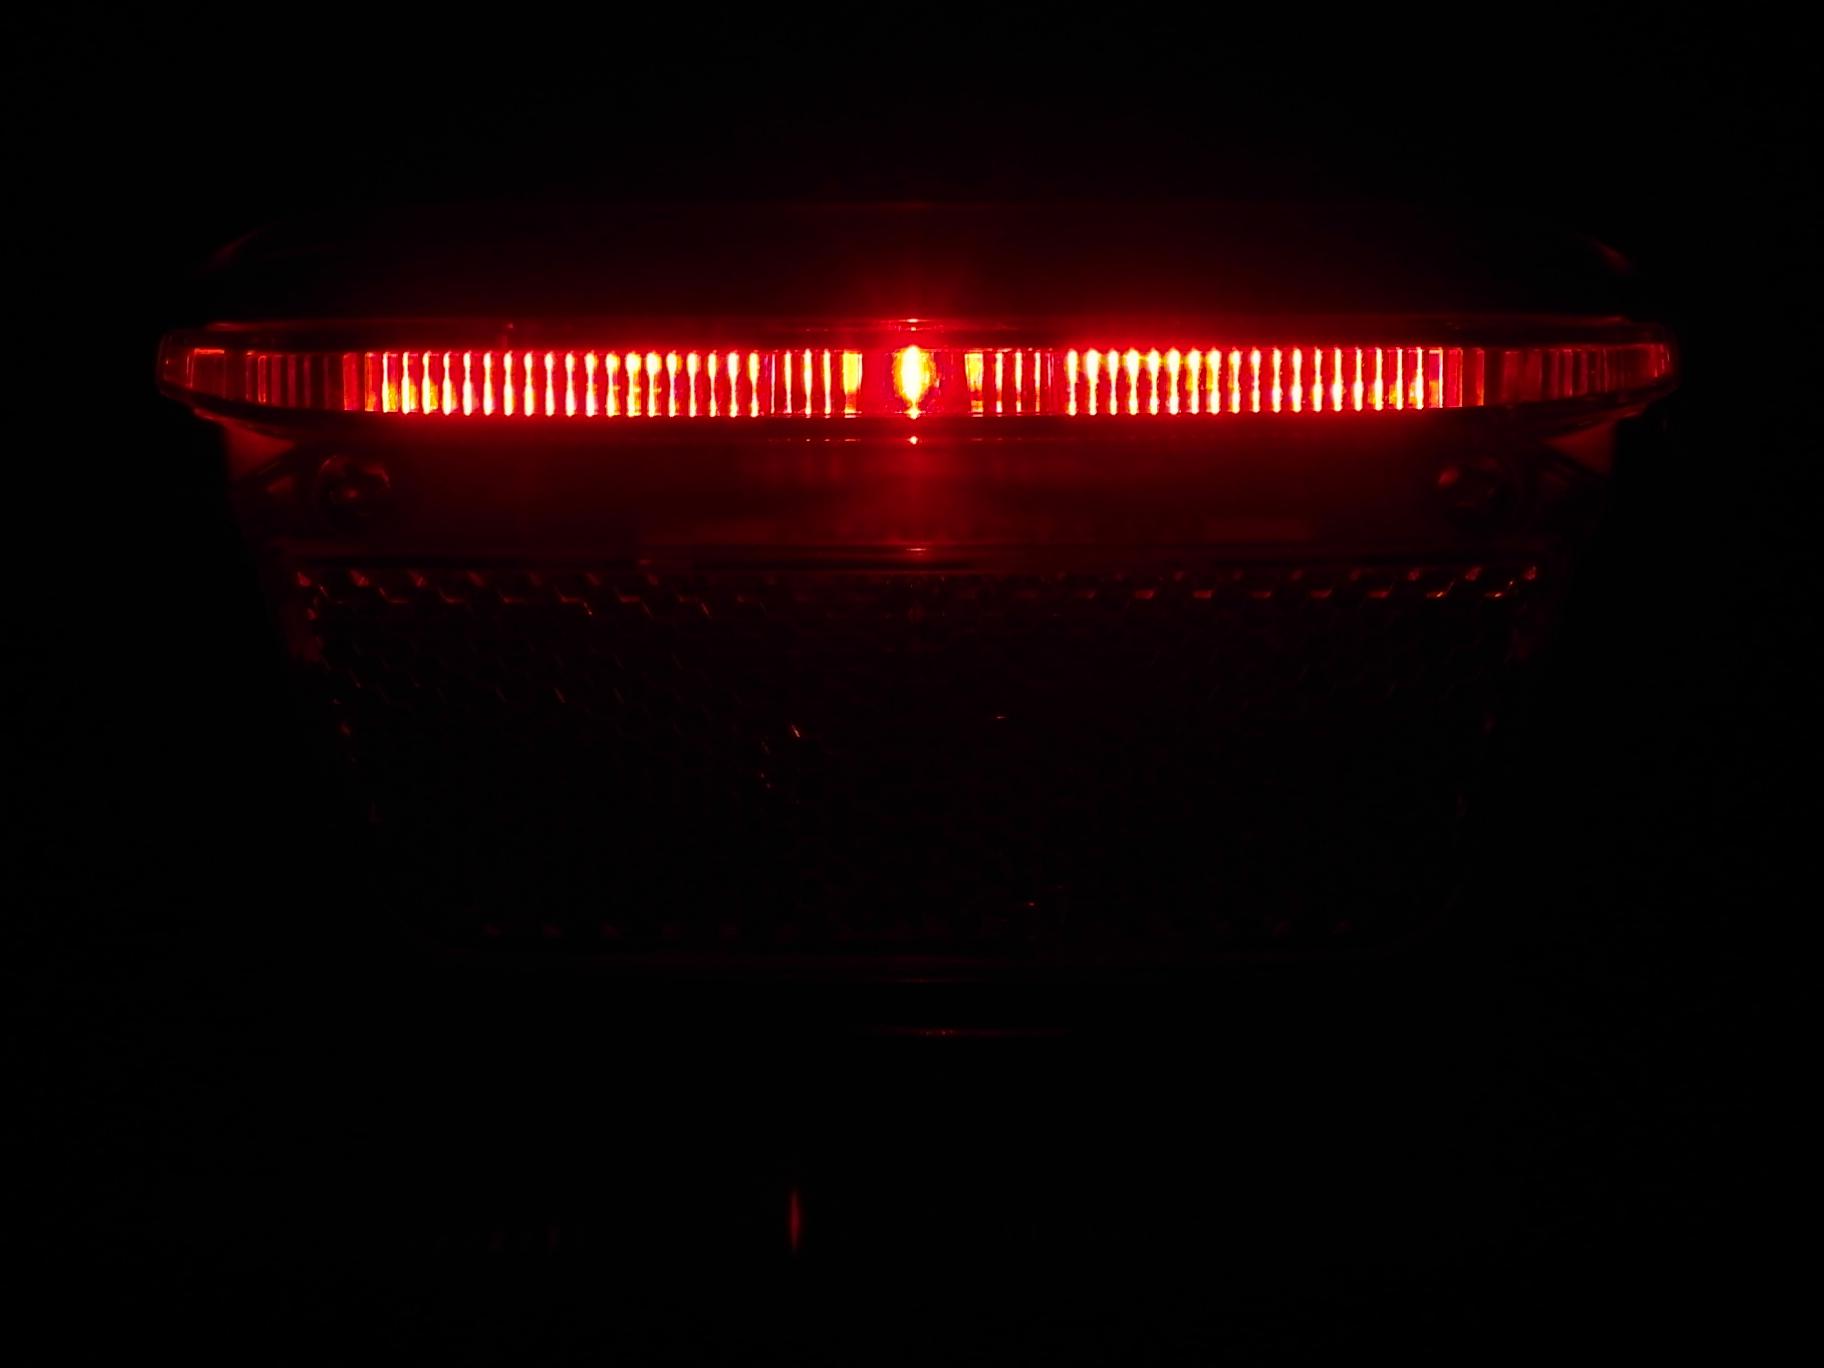
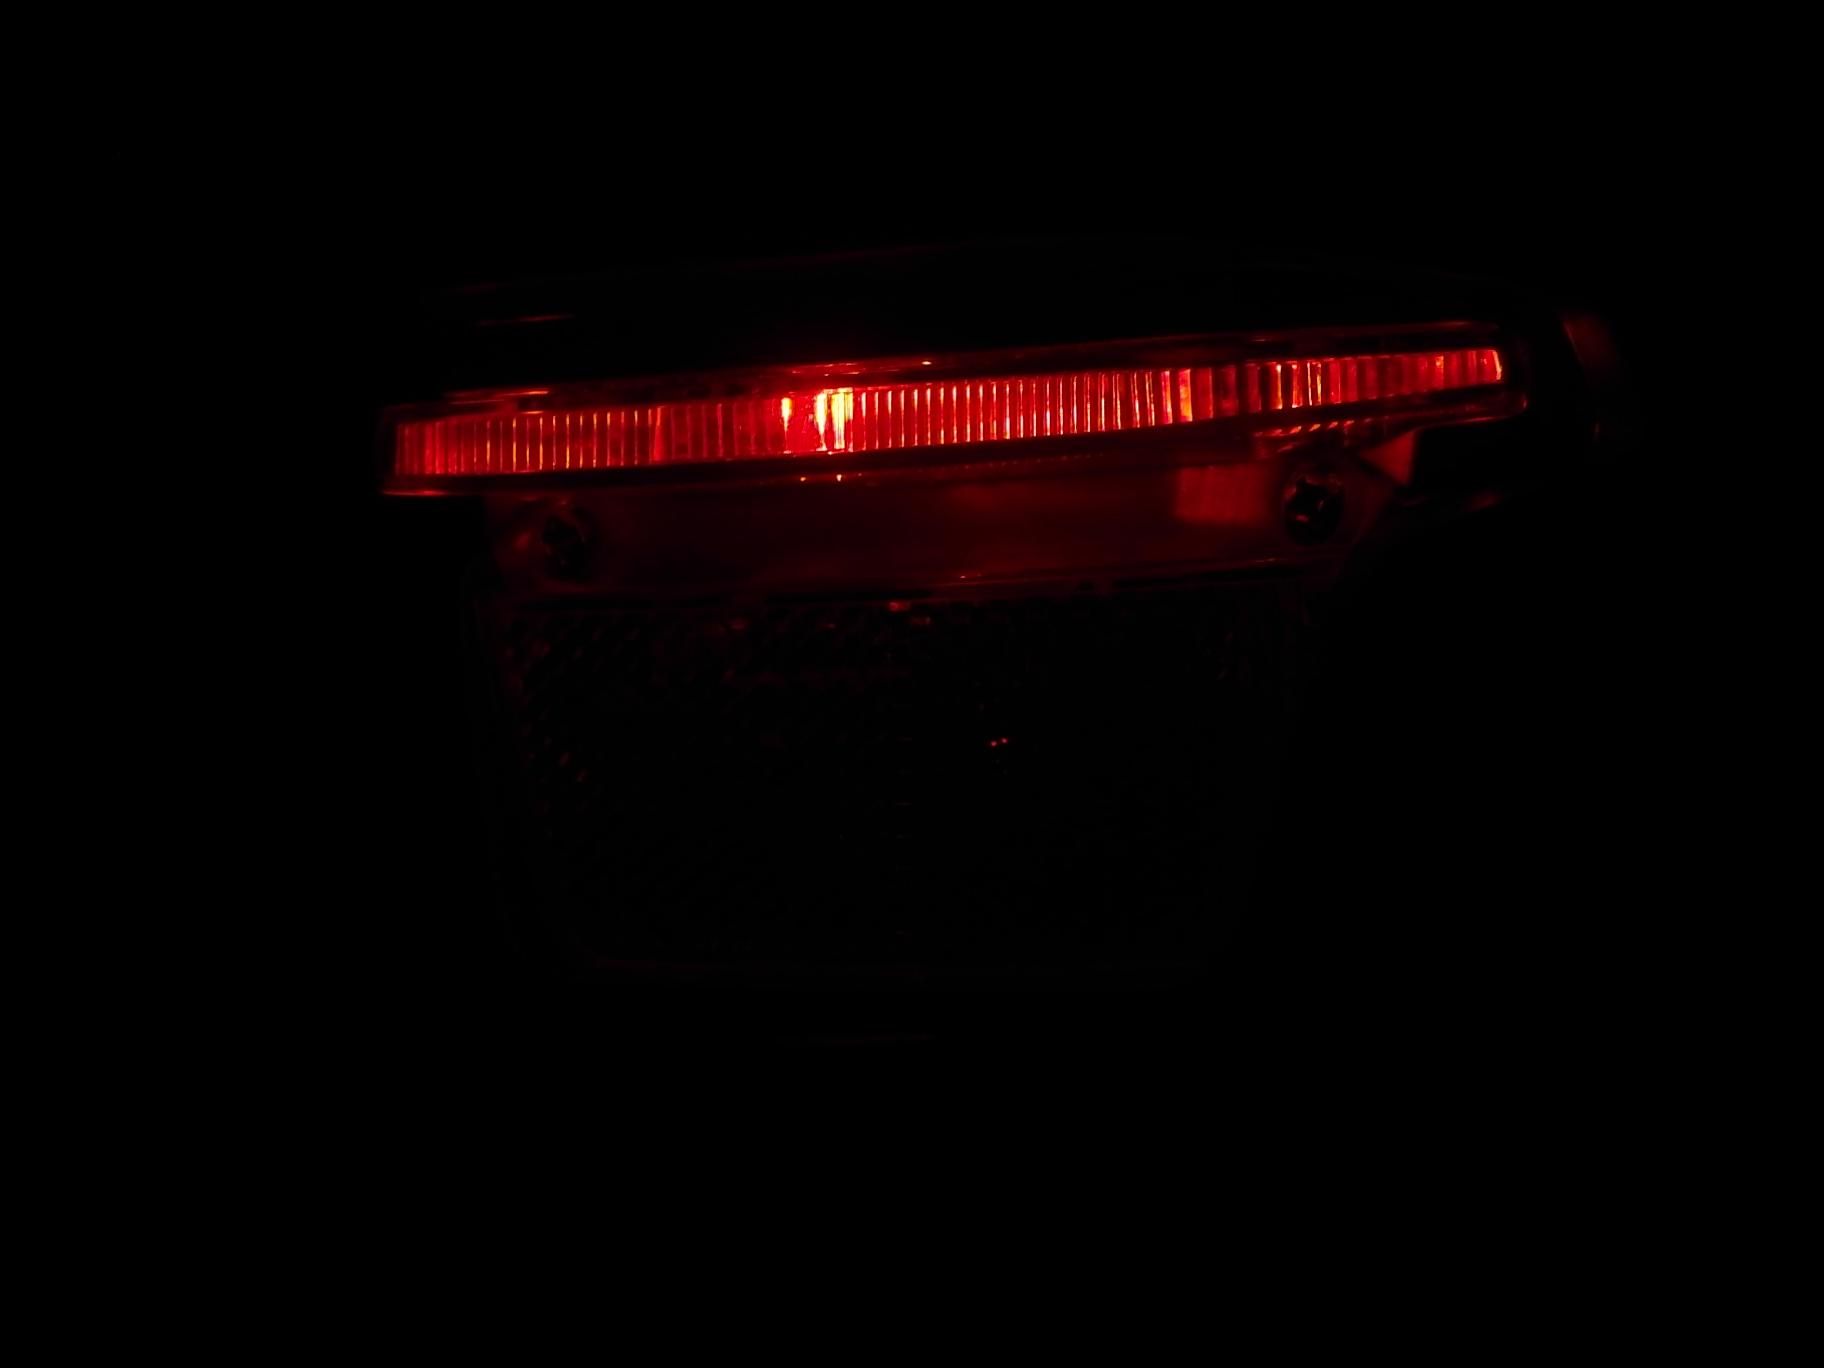
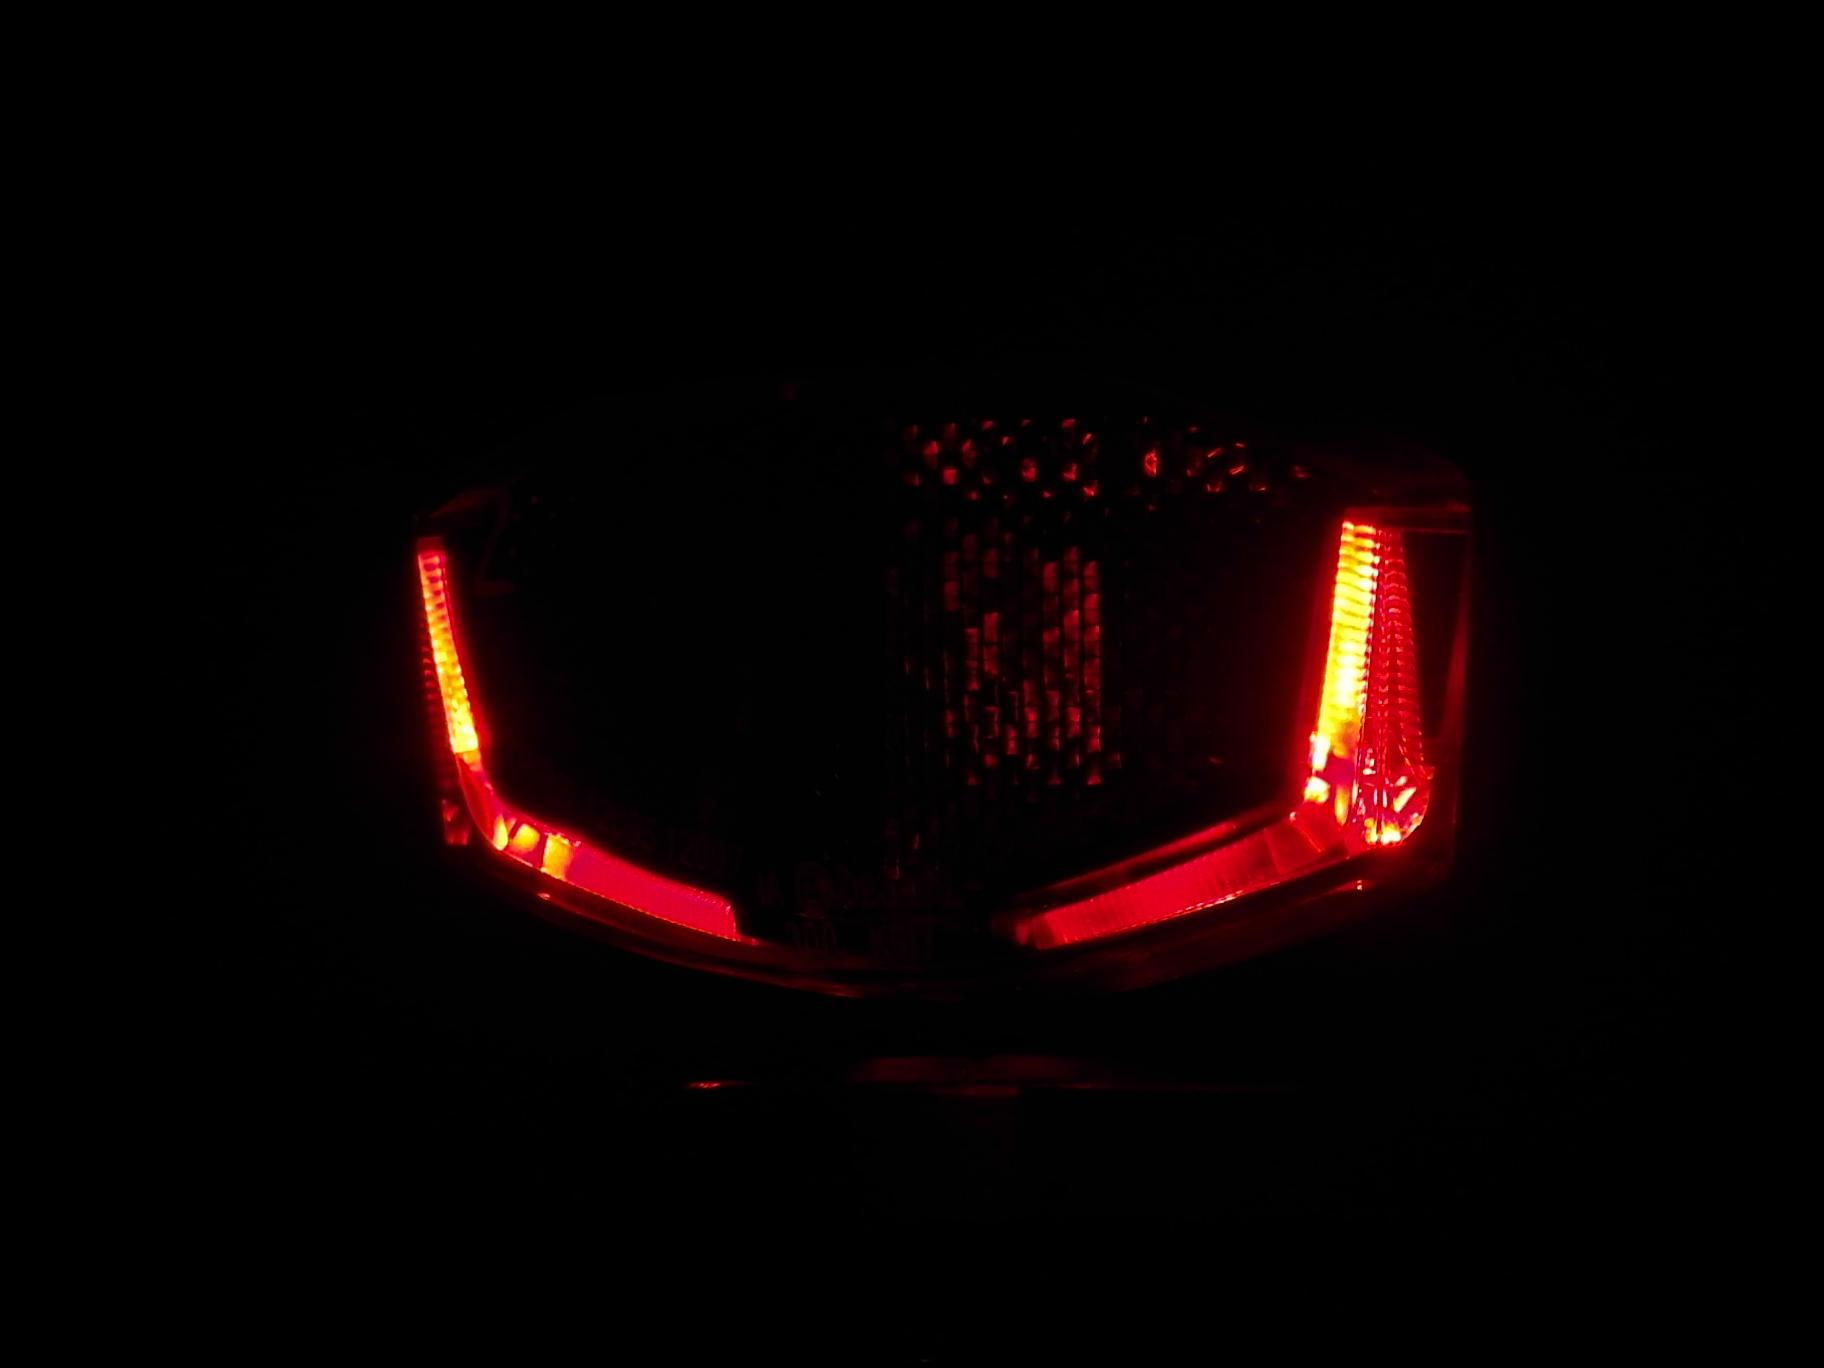
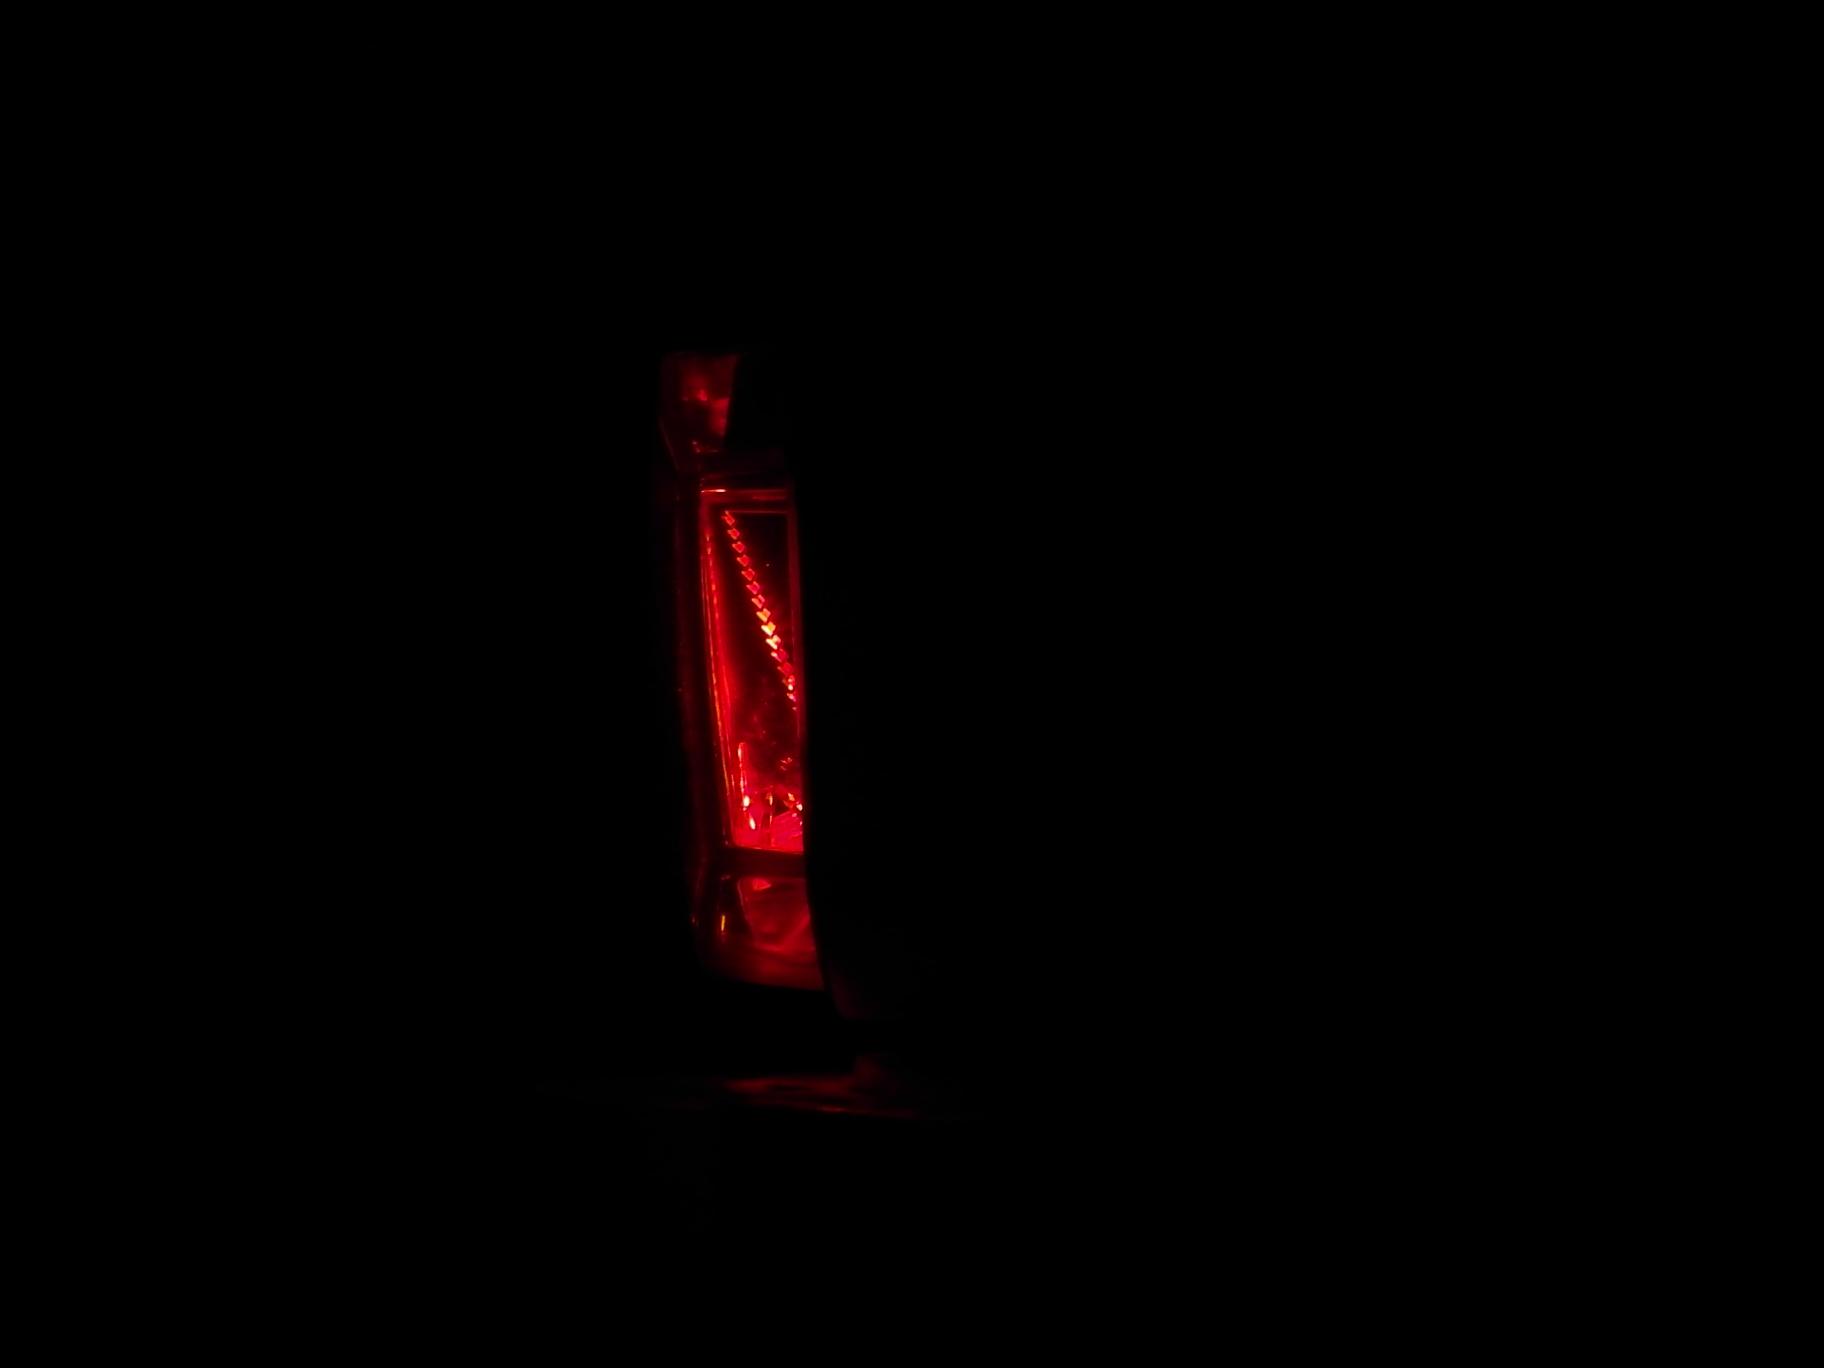
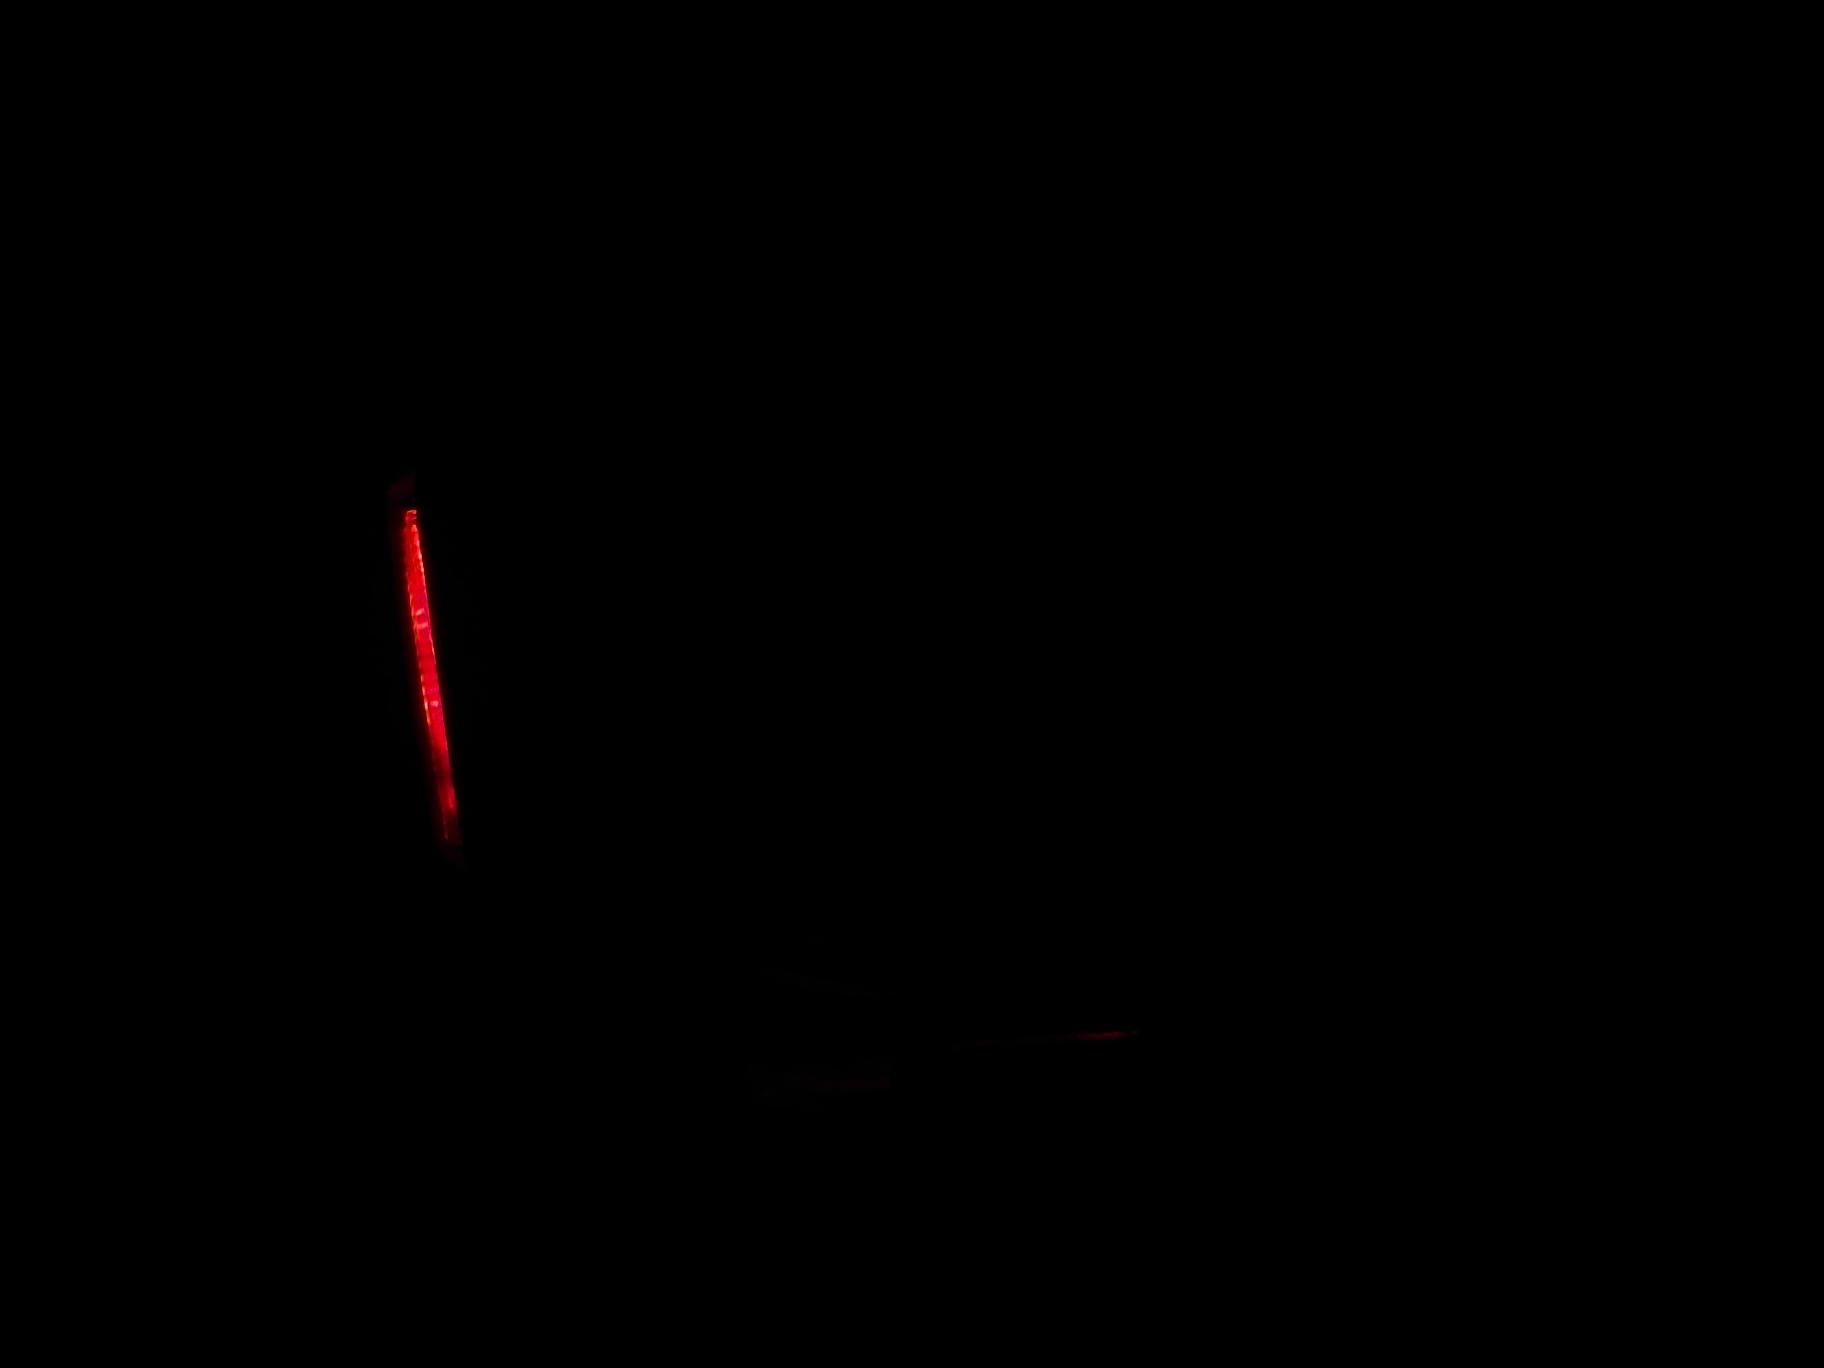
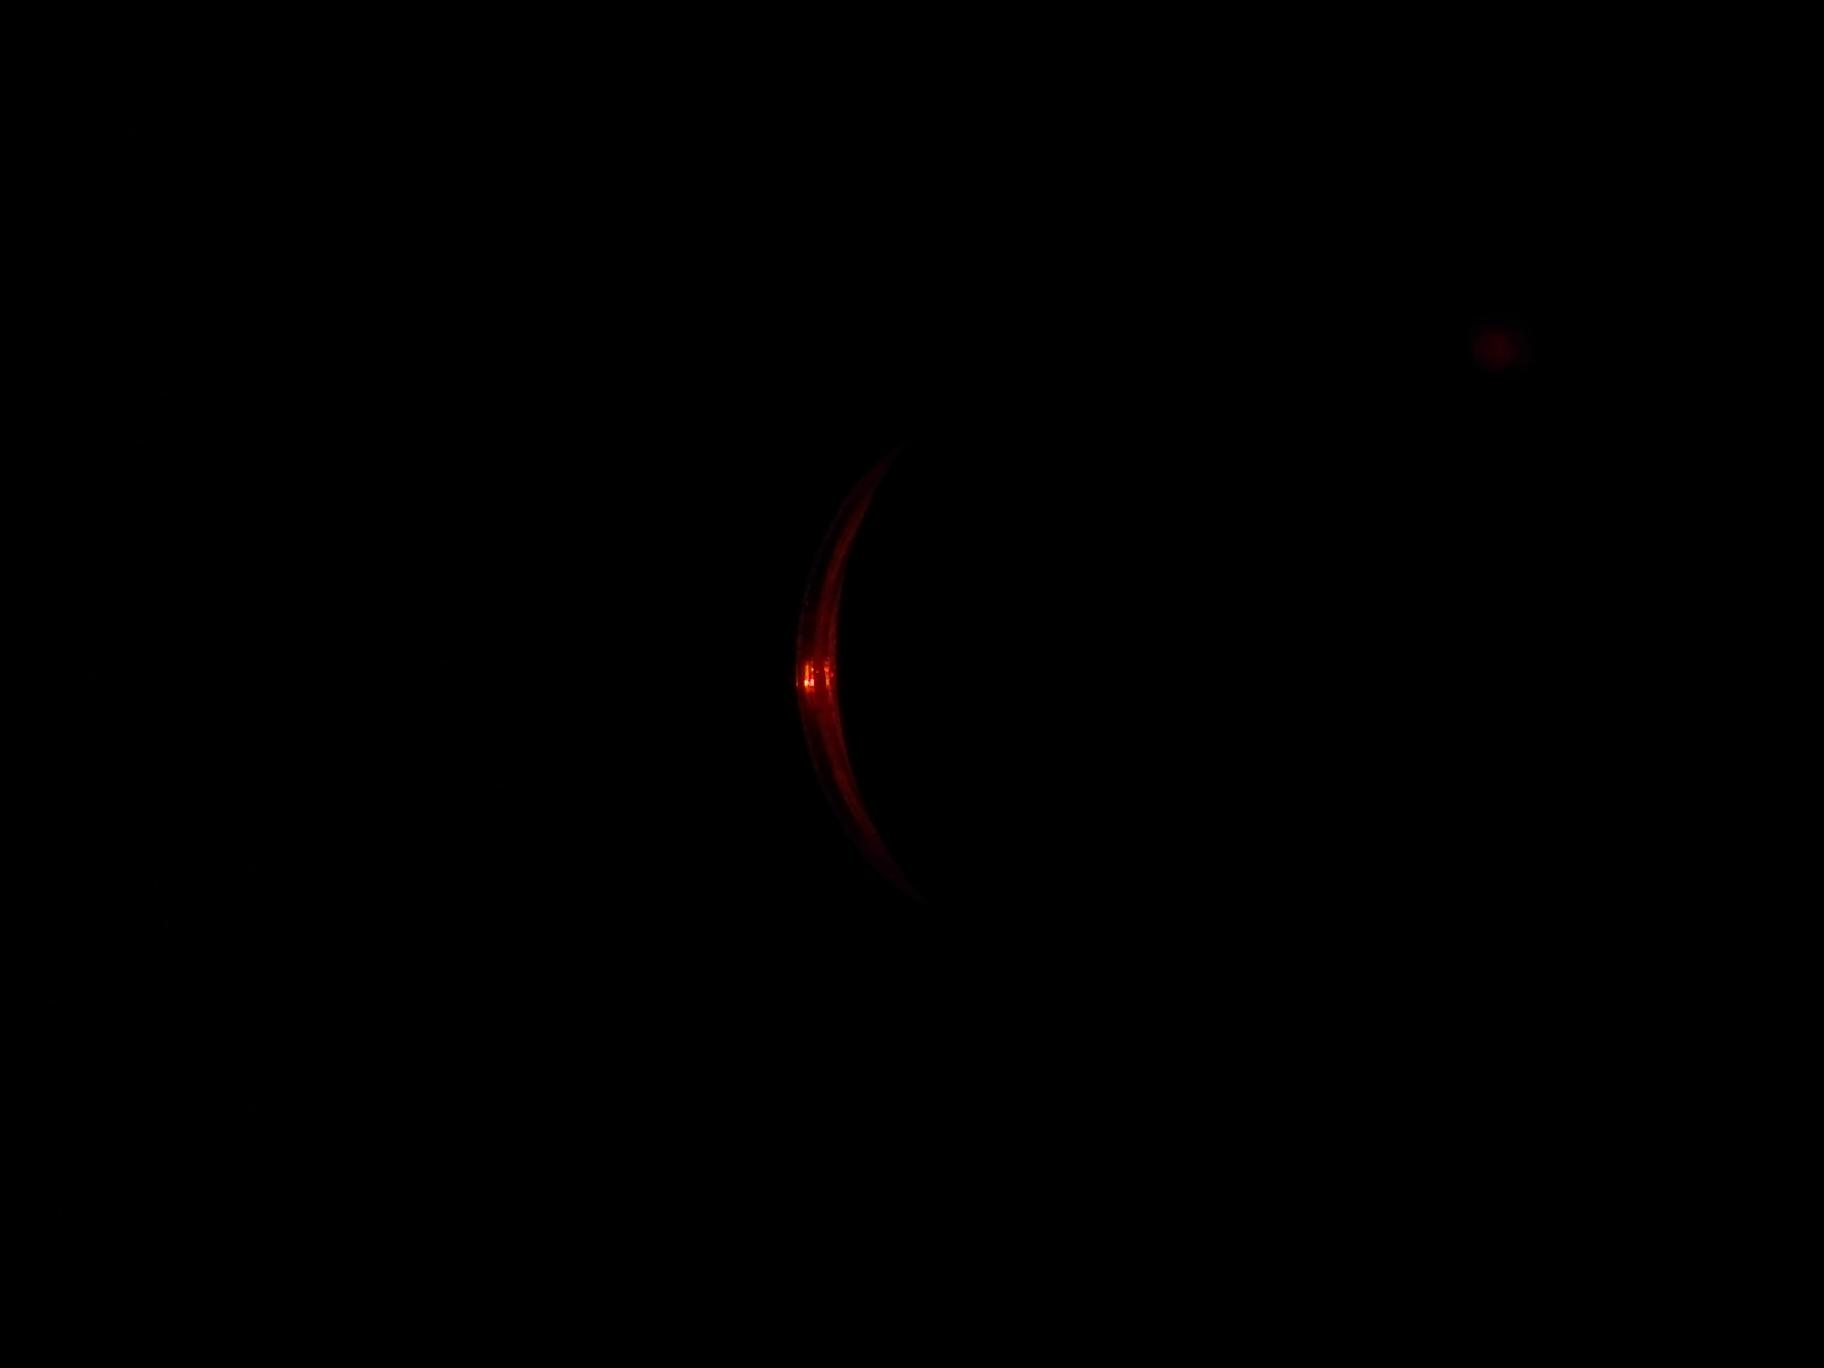
See the camera settings page for more on the setup and settings to make pictures of the beams of taillamps. Note that the pictures can show orange, white-red or even white which is supposed to be red, in places where the light intensity is very high. This is caused by the way the sensors in cameras work, there is 'overflow' in these cases.
ca. F3.9, 1s, ISO 80 (-> bright ca. F1.8, 1s, ISO 80):
Thumbnail size: 160 240
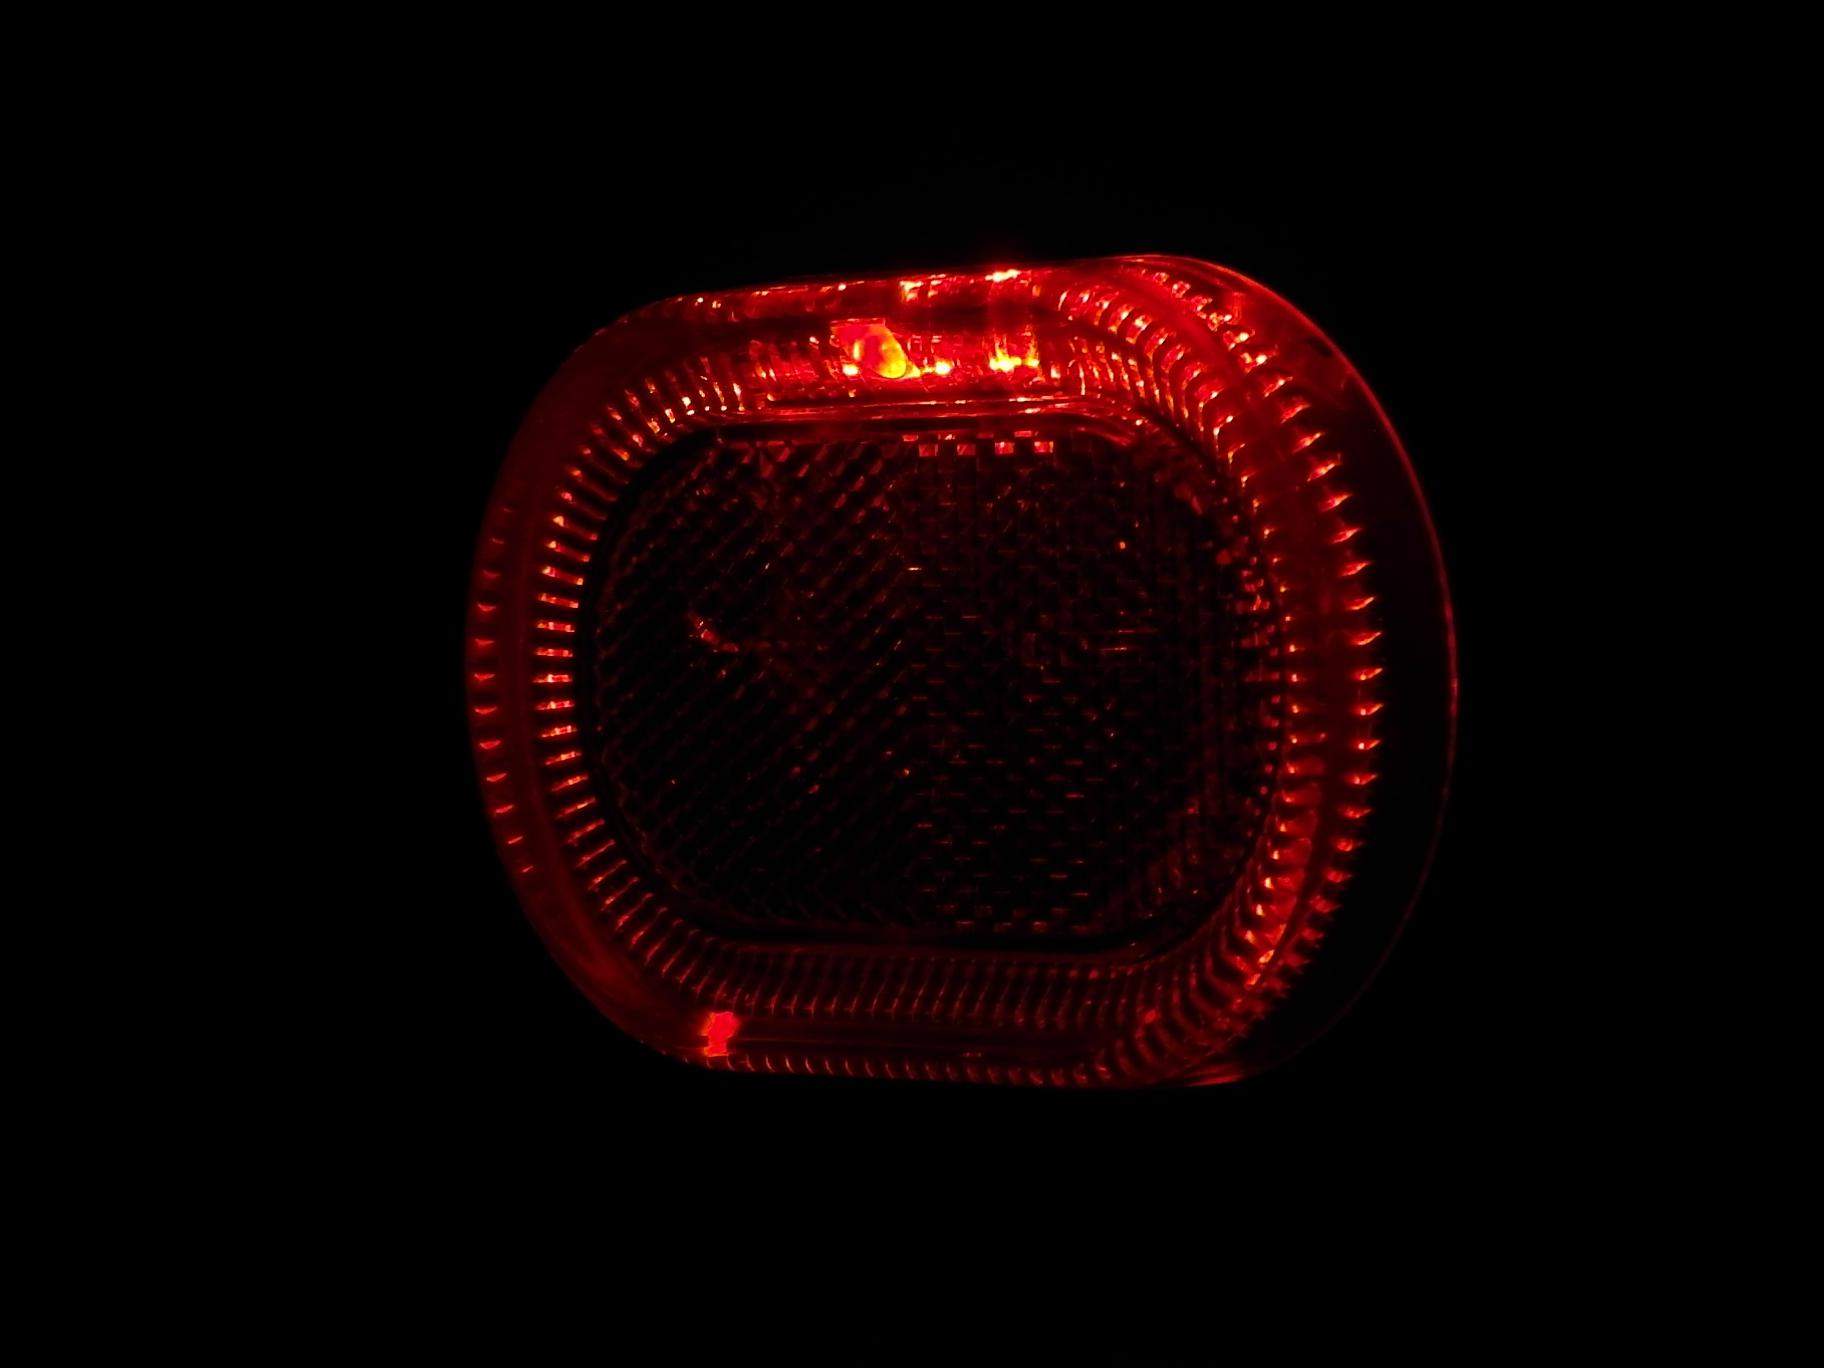
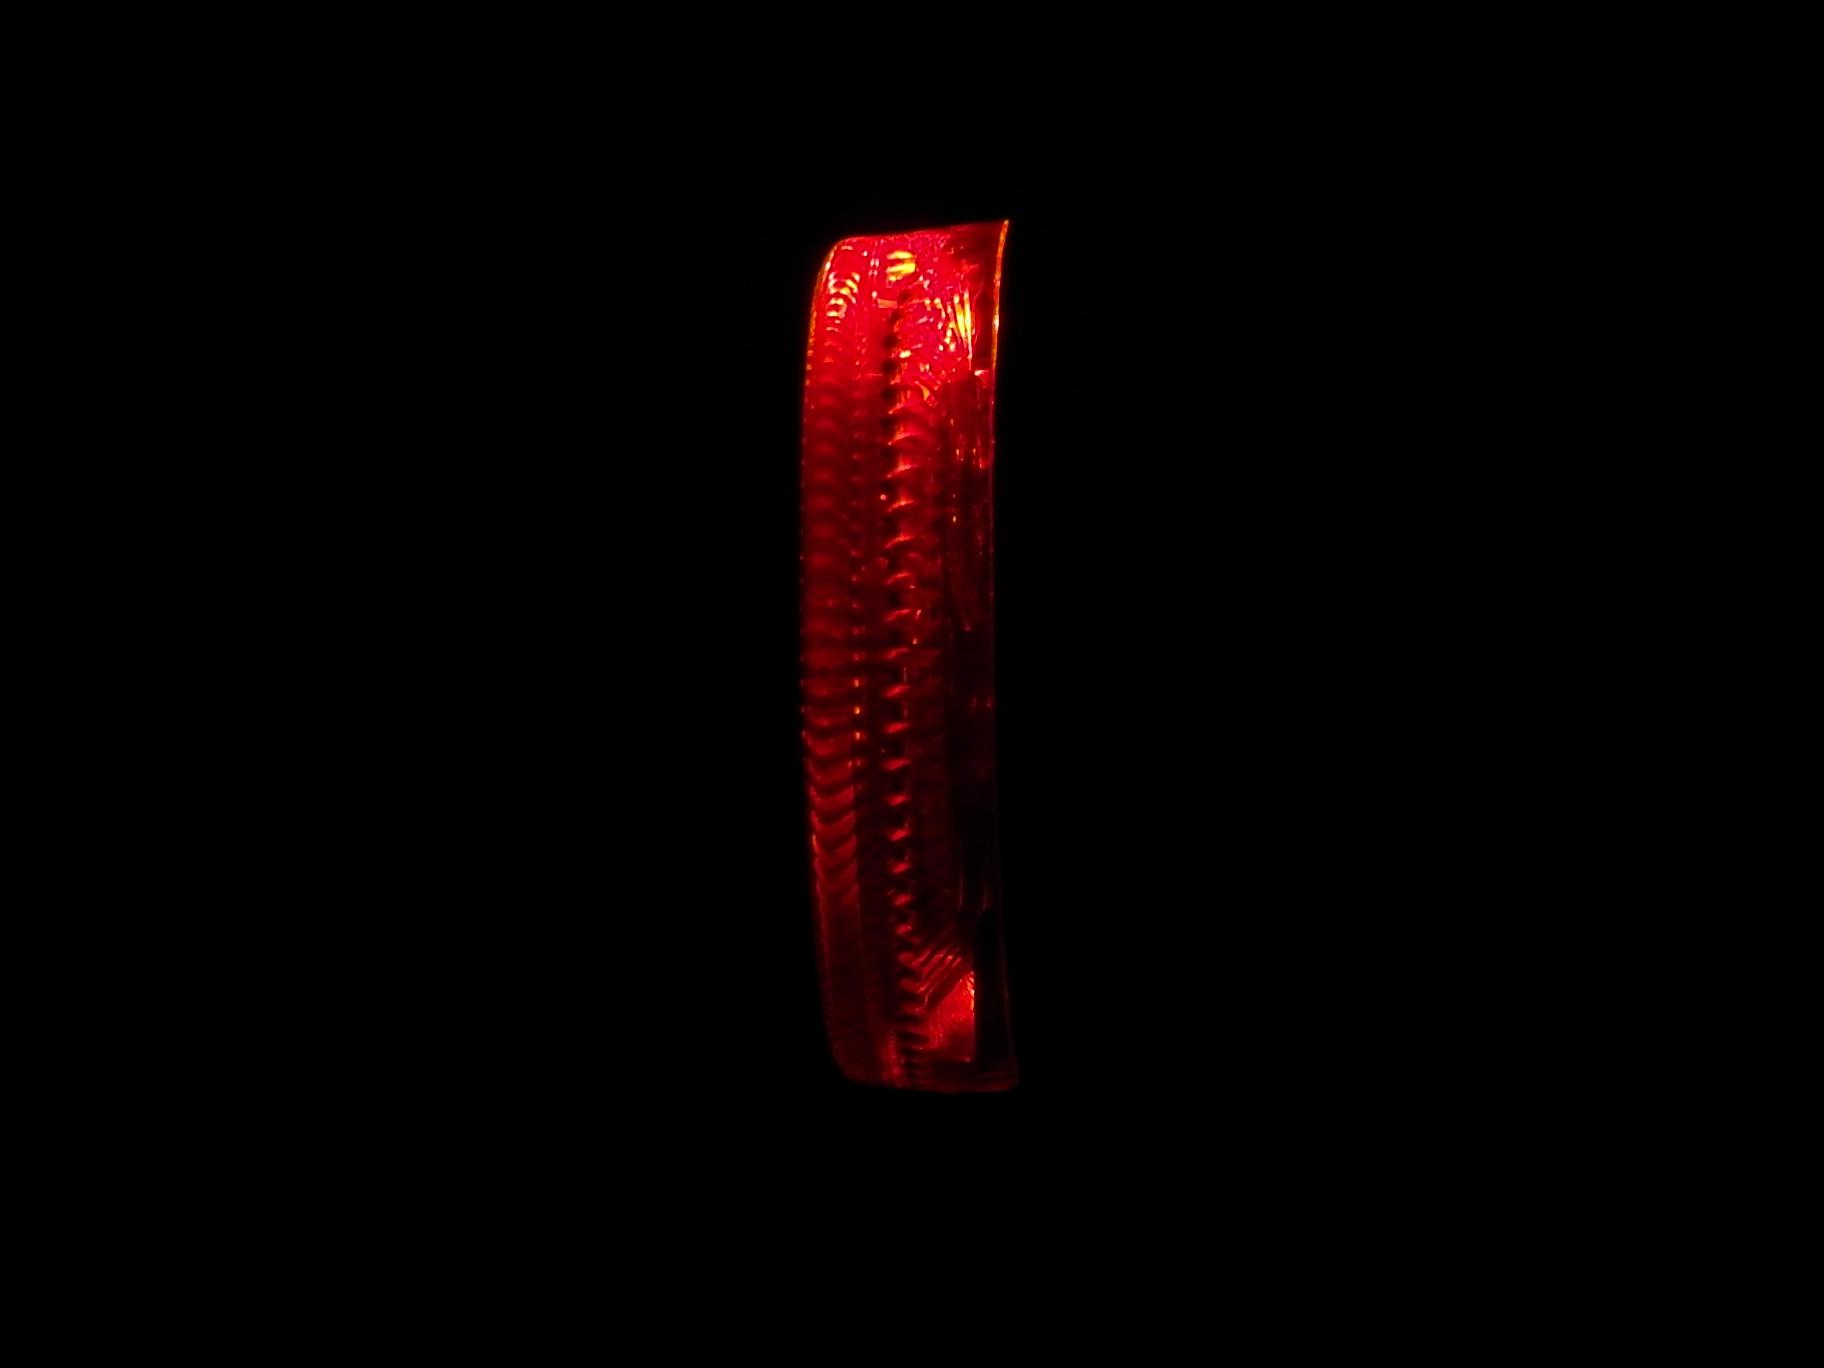
| Lamp | Corner shot | Wall shot |
| Example in daylight | |
|
| Sp 15 (0,3W) |
|
|
| Sp 15 (0,6W) |
|
|
| Sp 15 (2013) (0,6W) |
|
|
| Spx |
|
|
| Pixeo |
|
|
| Go |
|
|
| Ray |
|
|
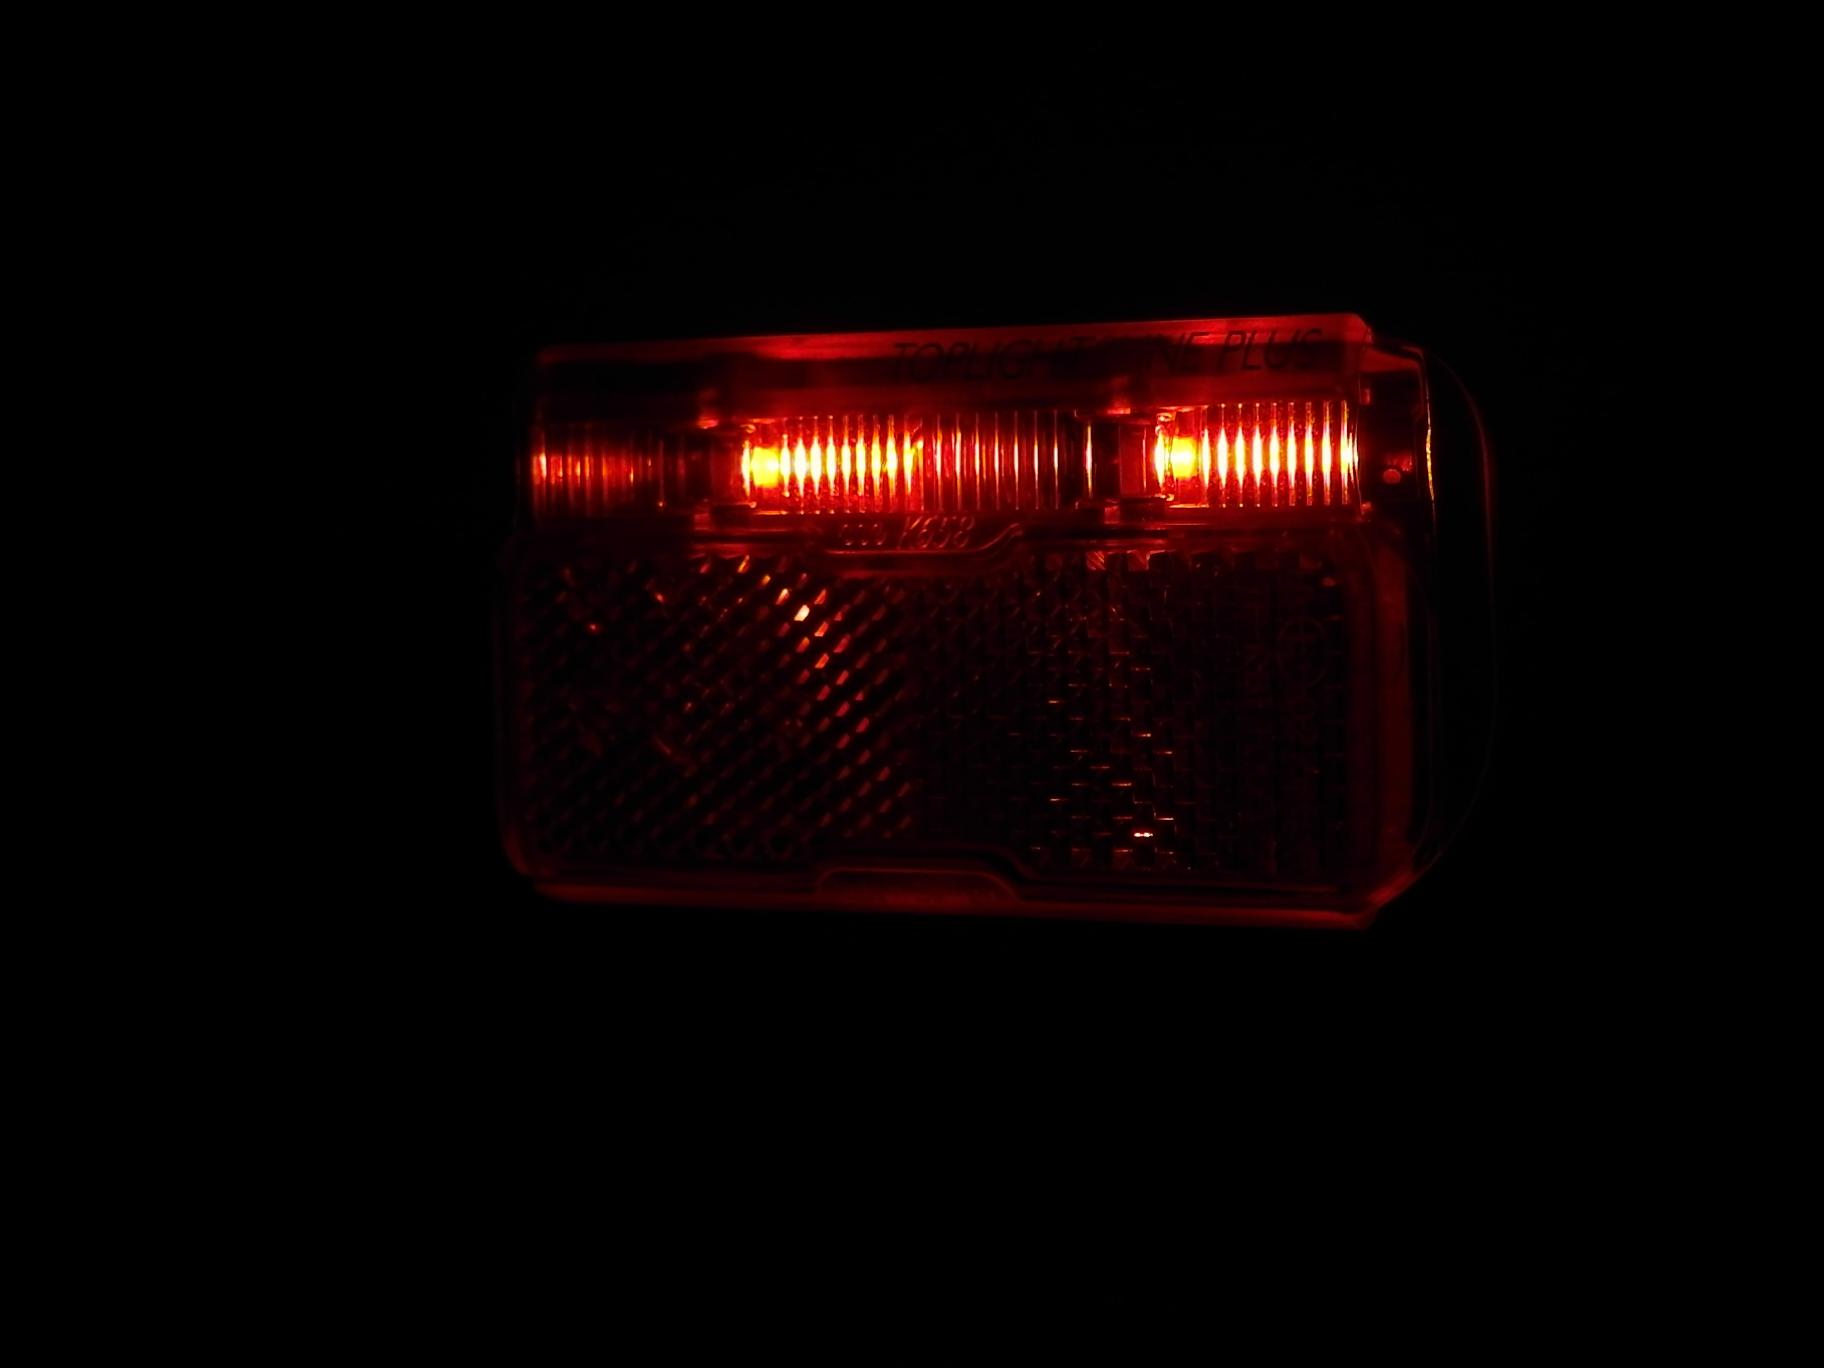
| D-toplight plus |
|
|
| Flat plus |
|
|
| Flat S plus |
|
|
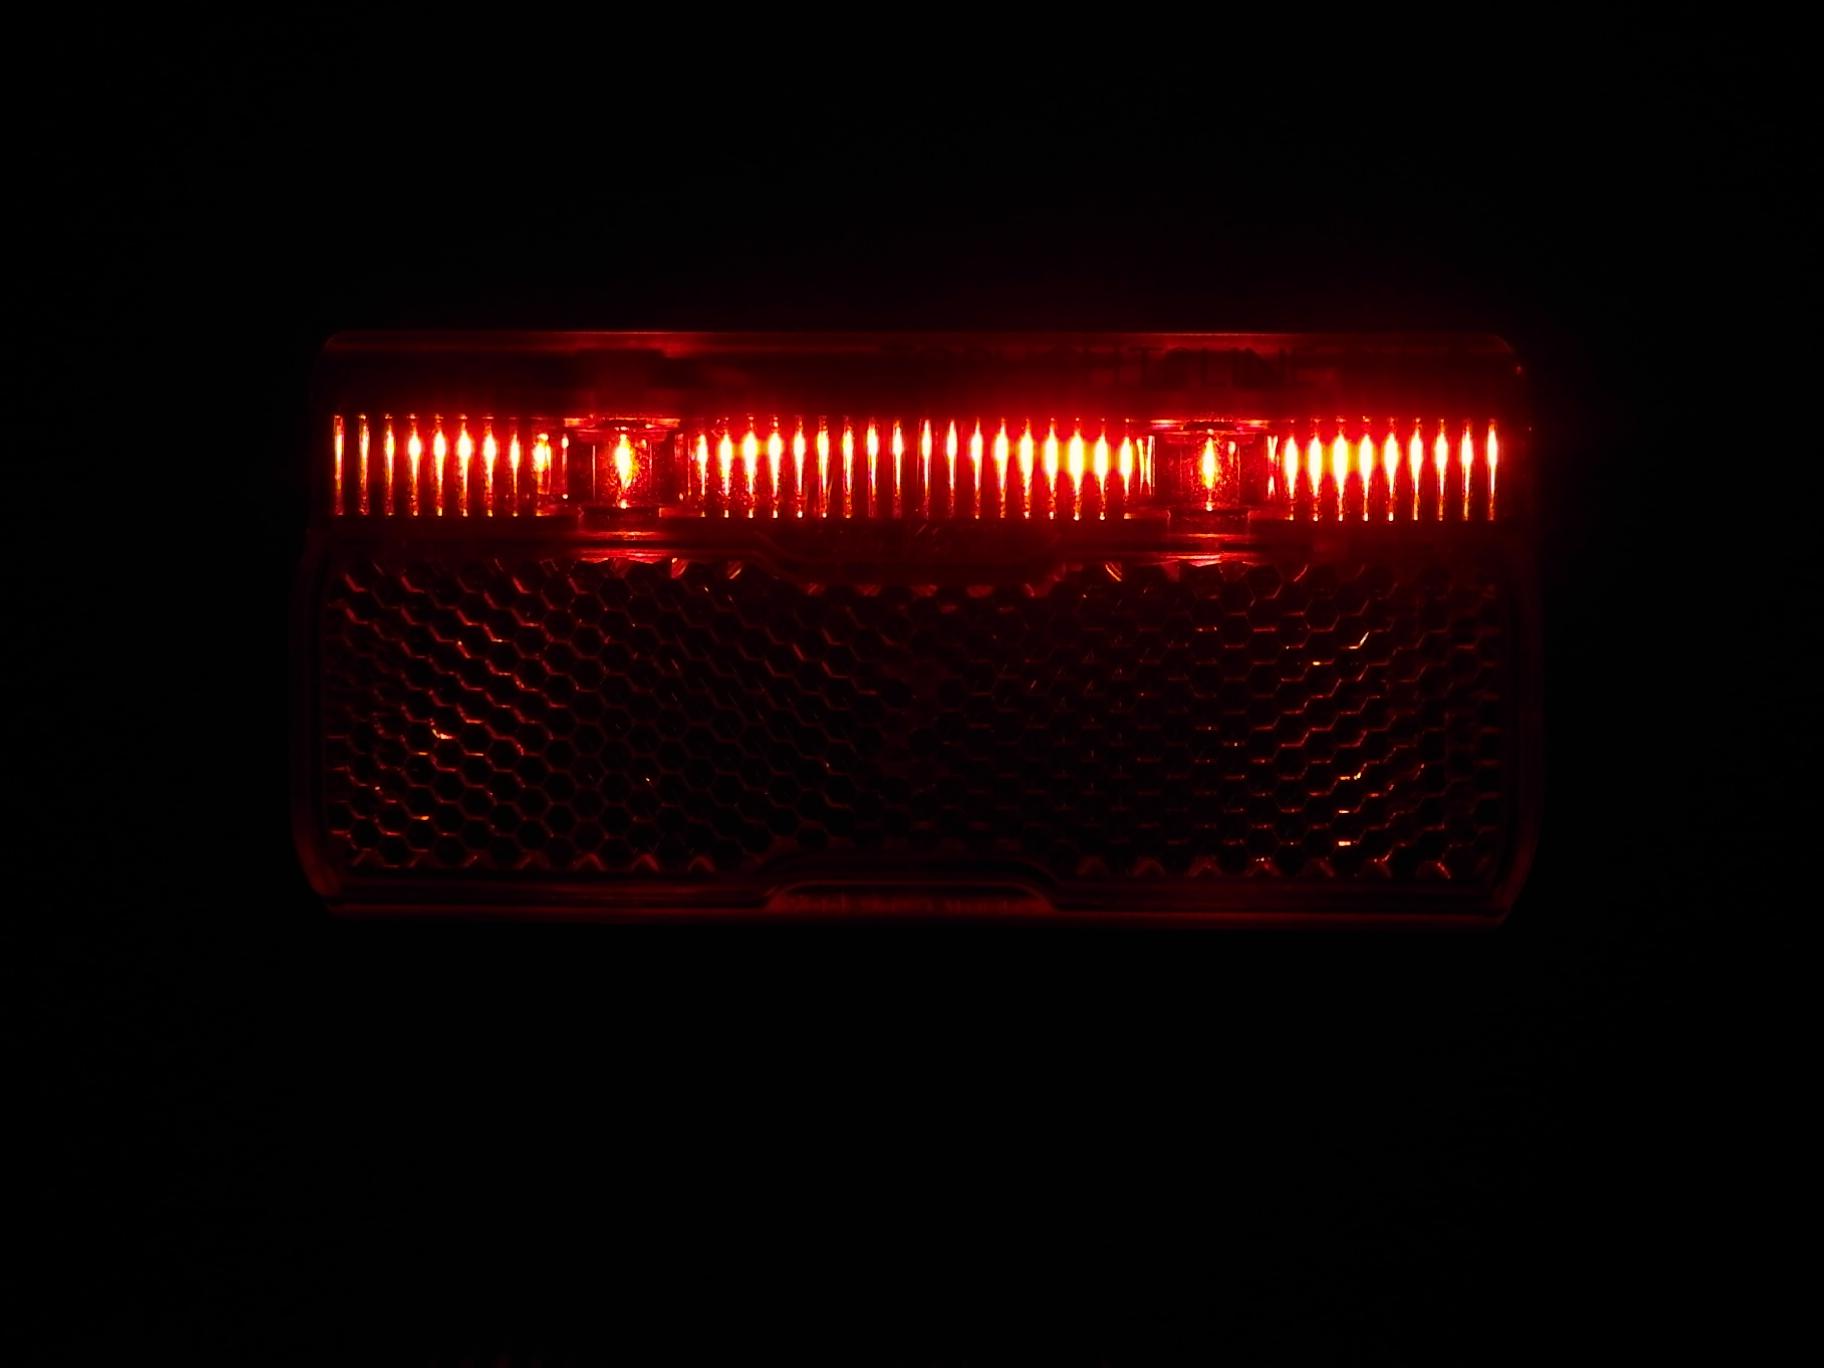
| Line plus |
|
|
| Riff steady |
|
|
| H-track |
|
|
| Plateo xds |
|
|
| Mini plus |
|
|
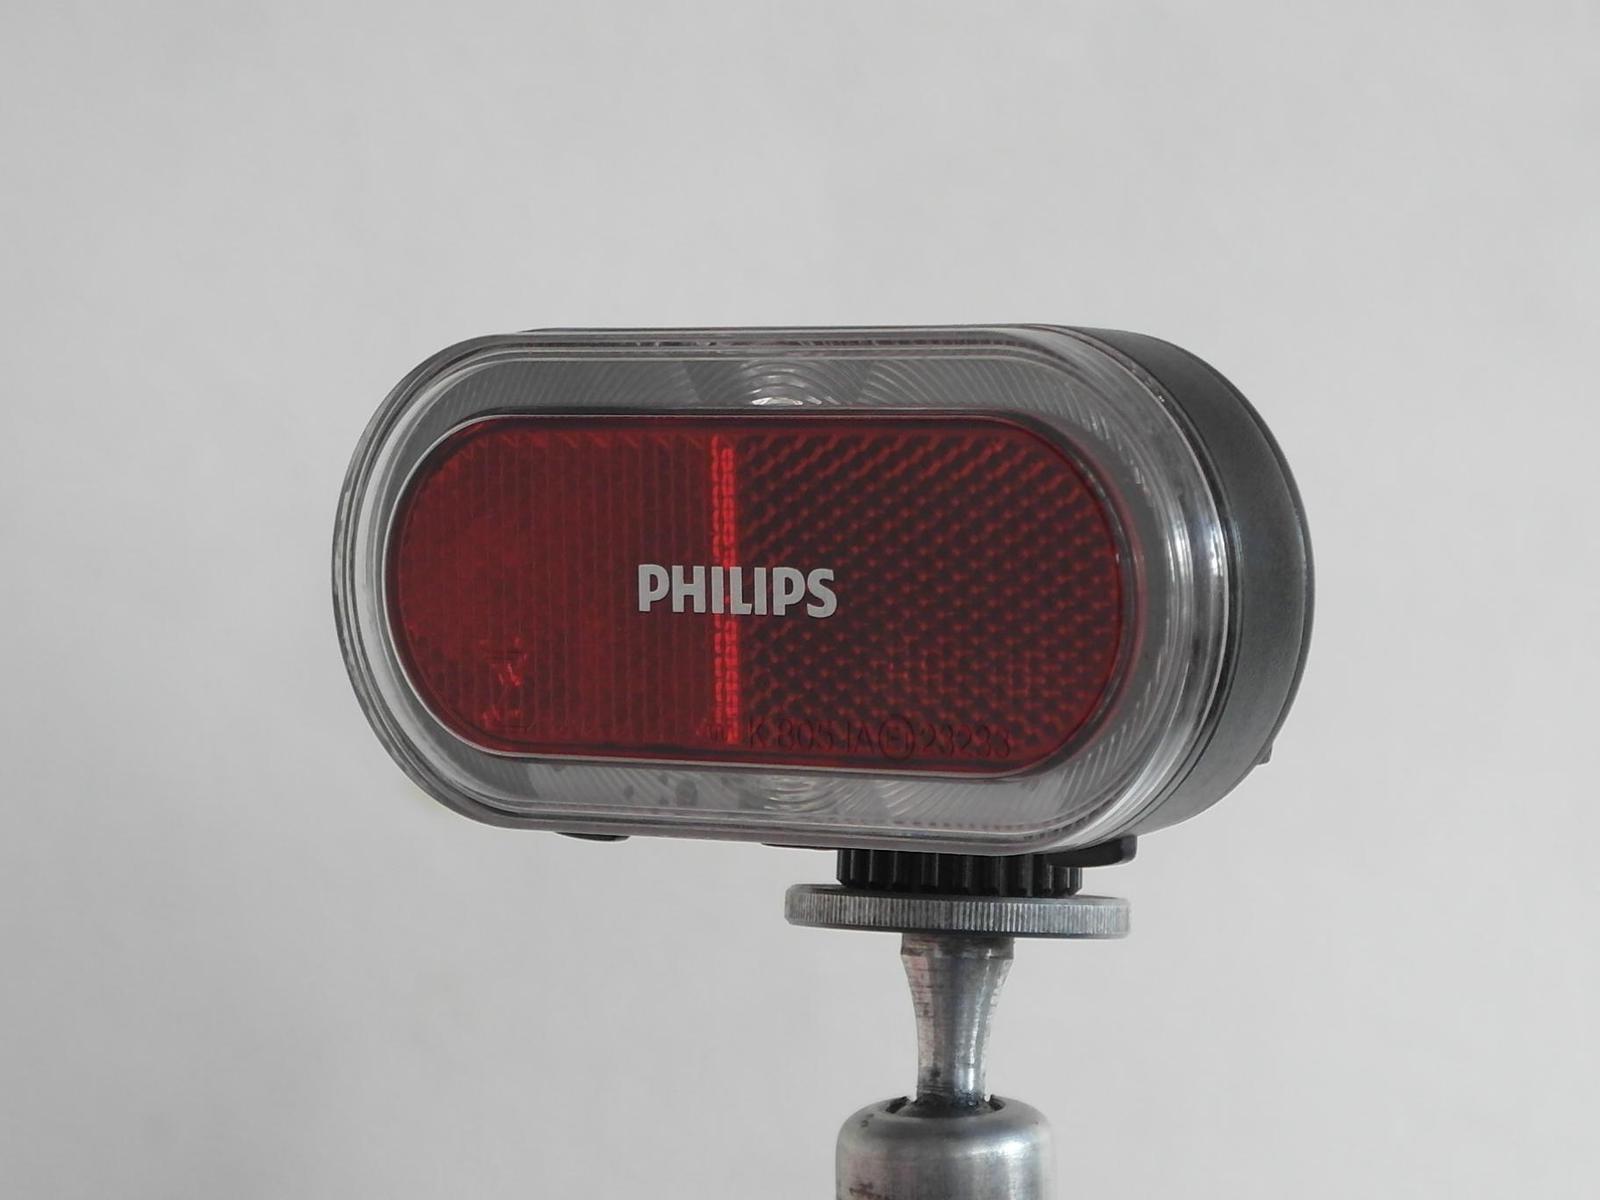
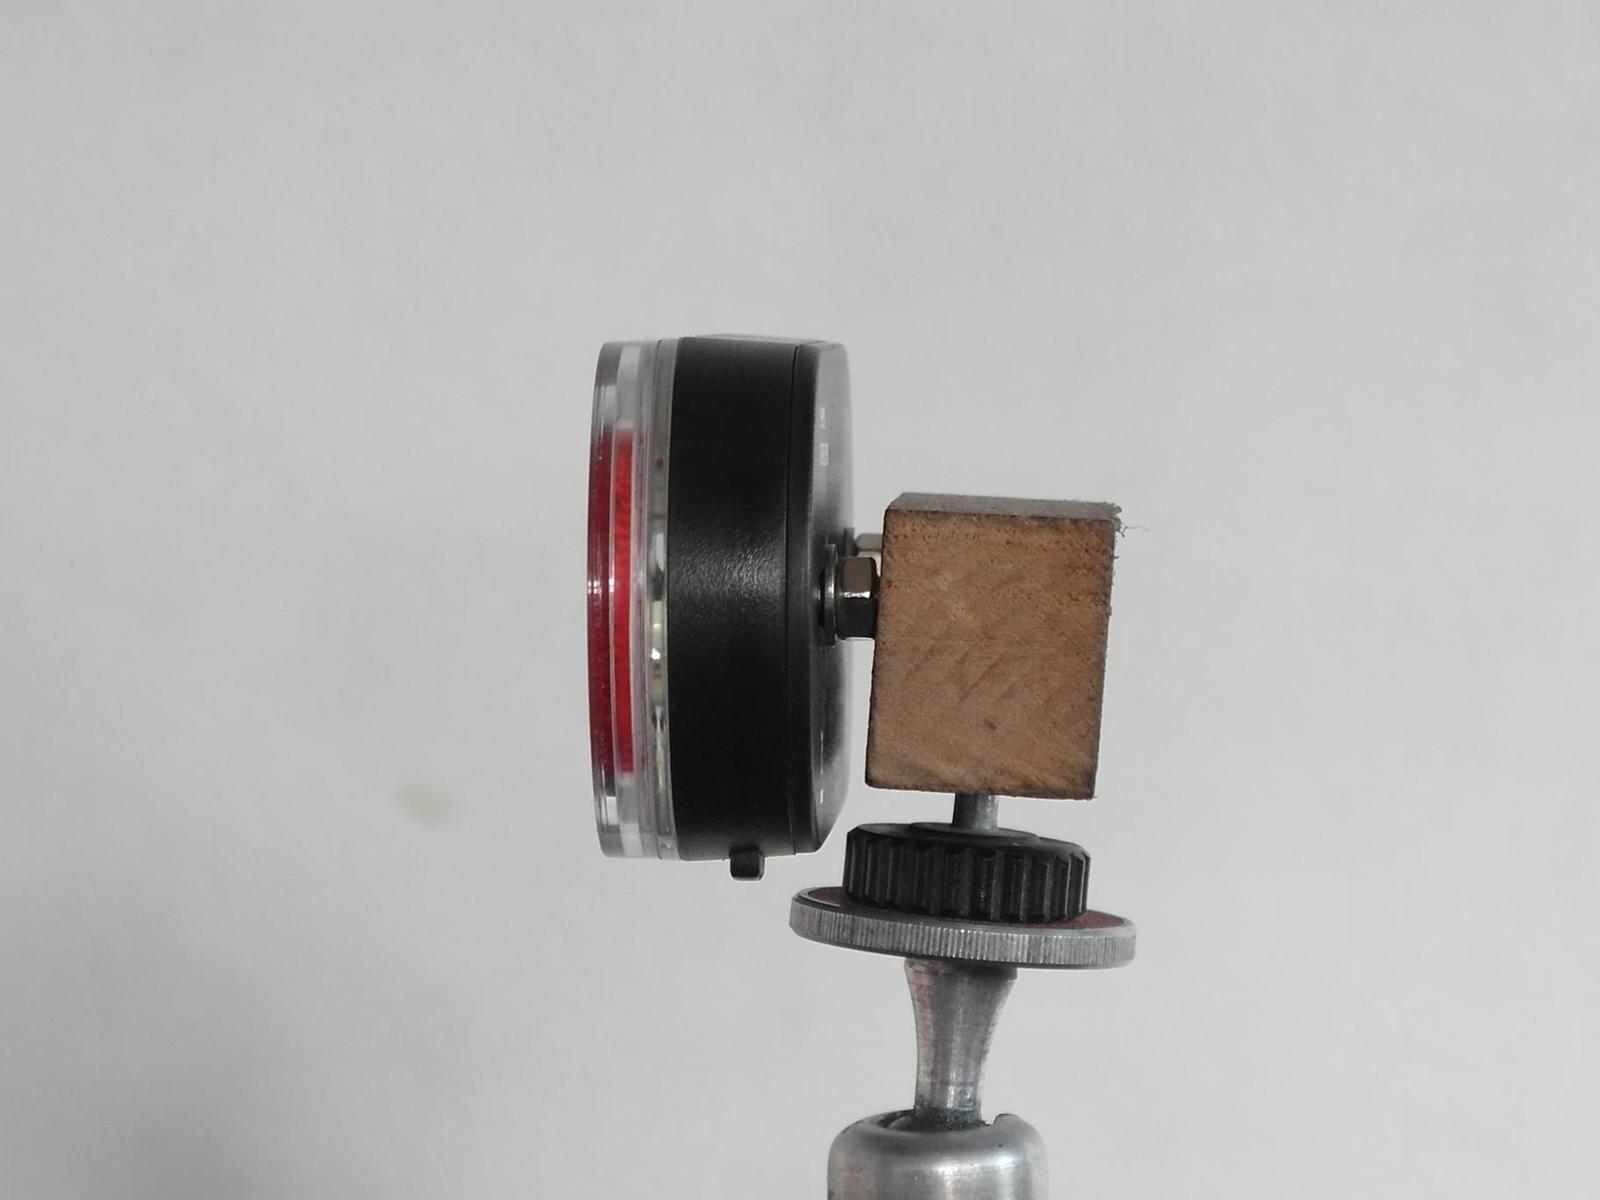
| Philips Lumiring |
|
|
| Ray LED |
|
|
| Spark steady |
|
|
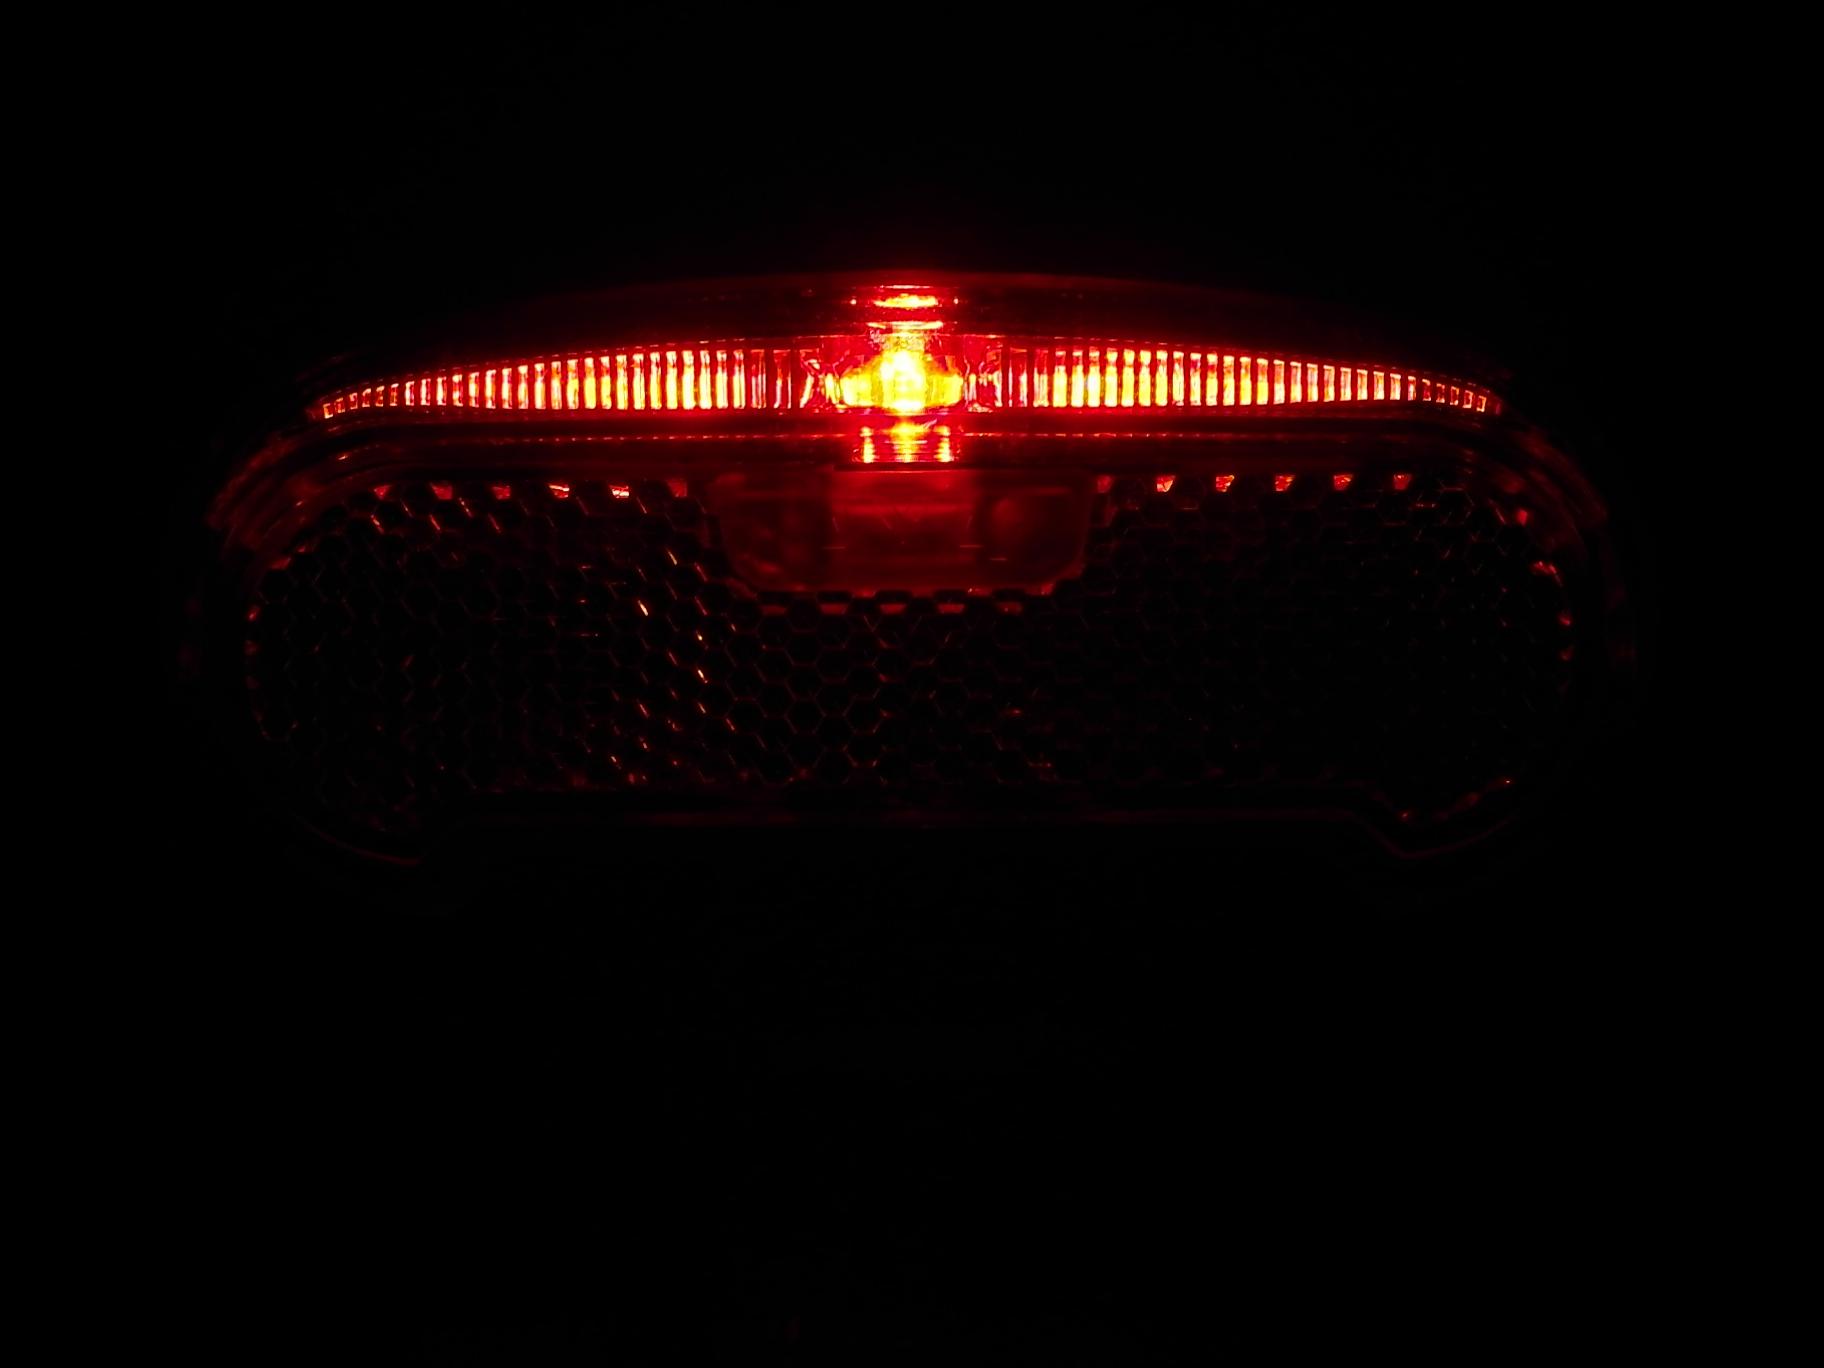
| Line brake plus |
|
|
| Brasa |
|
|
| Lineo |
|
|
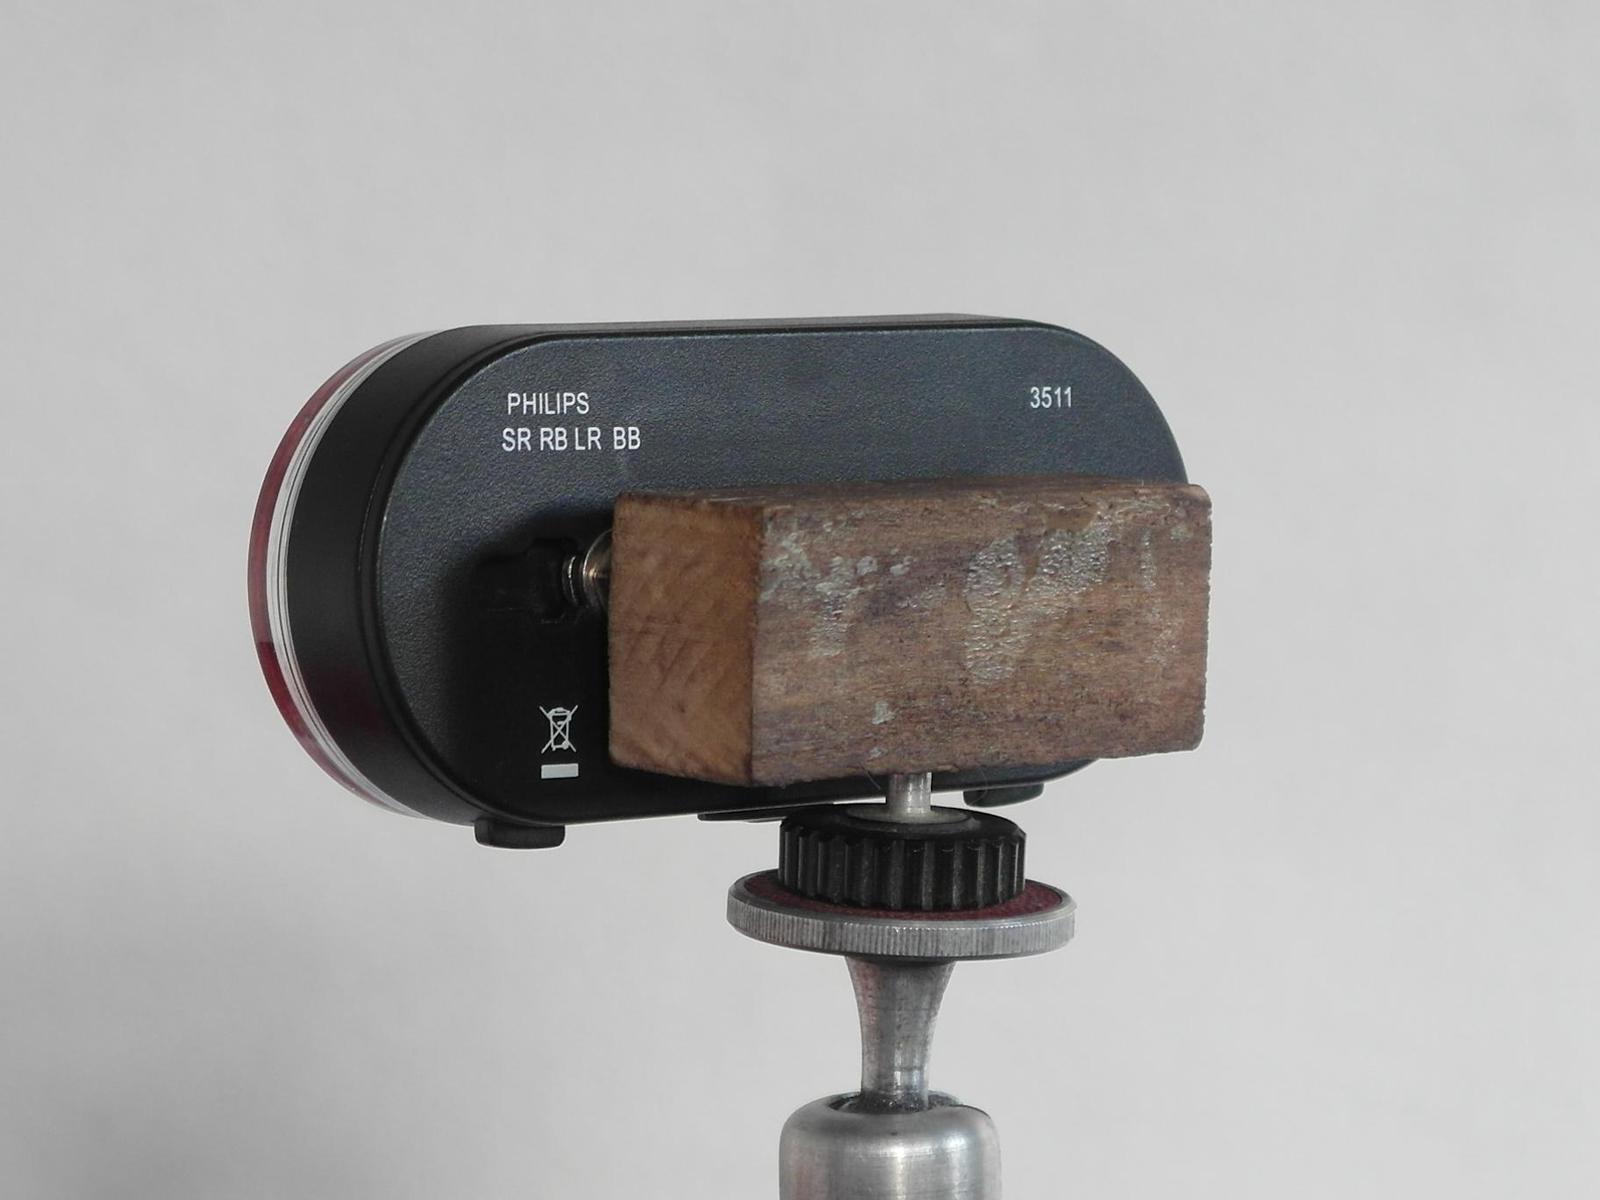
| Philips Lightring |
|
|
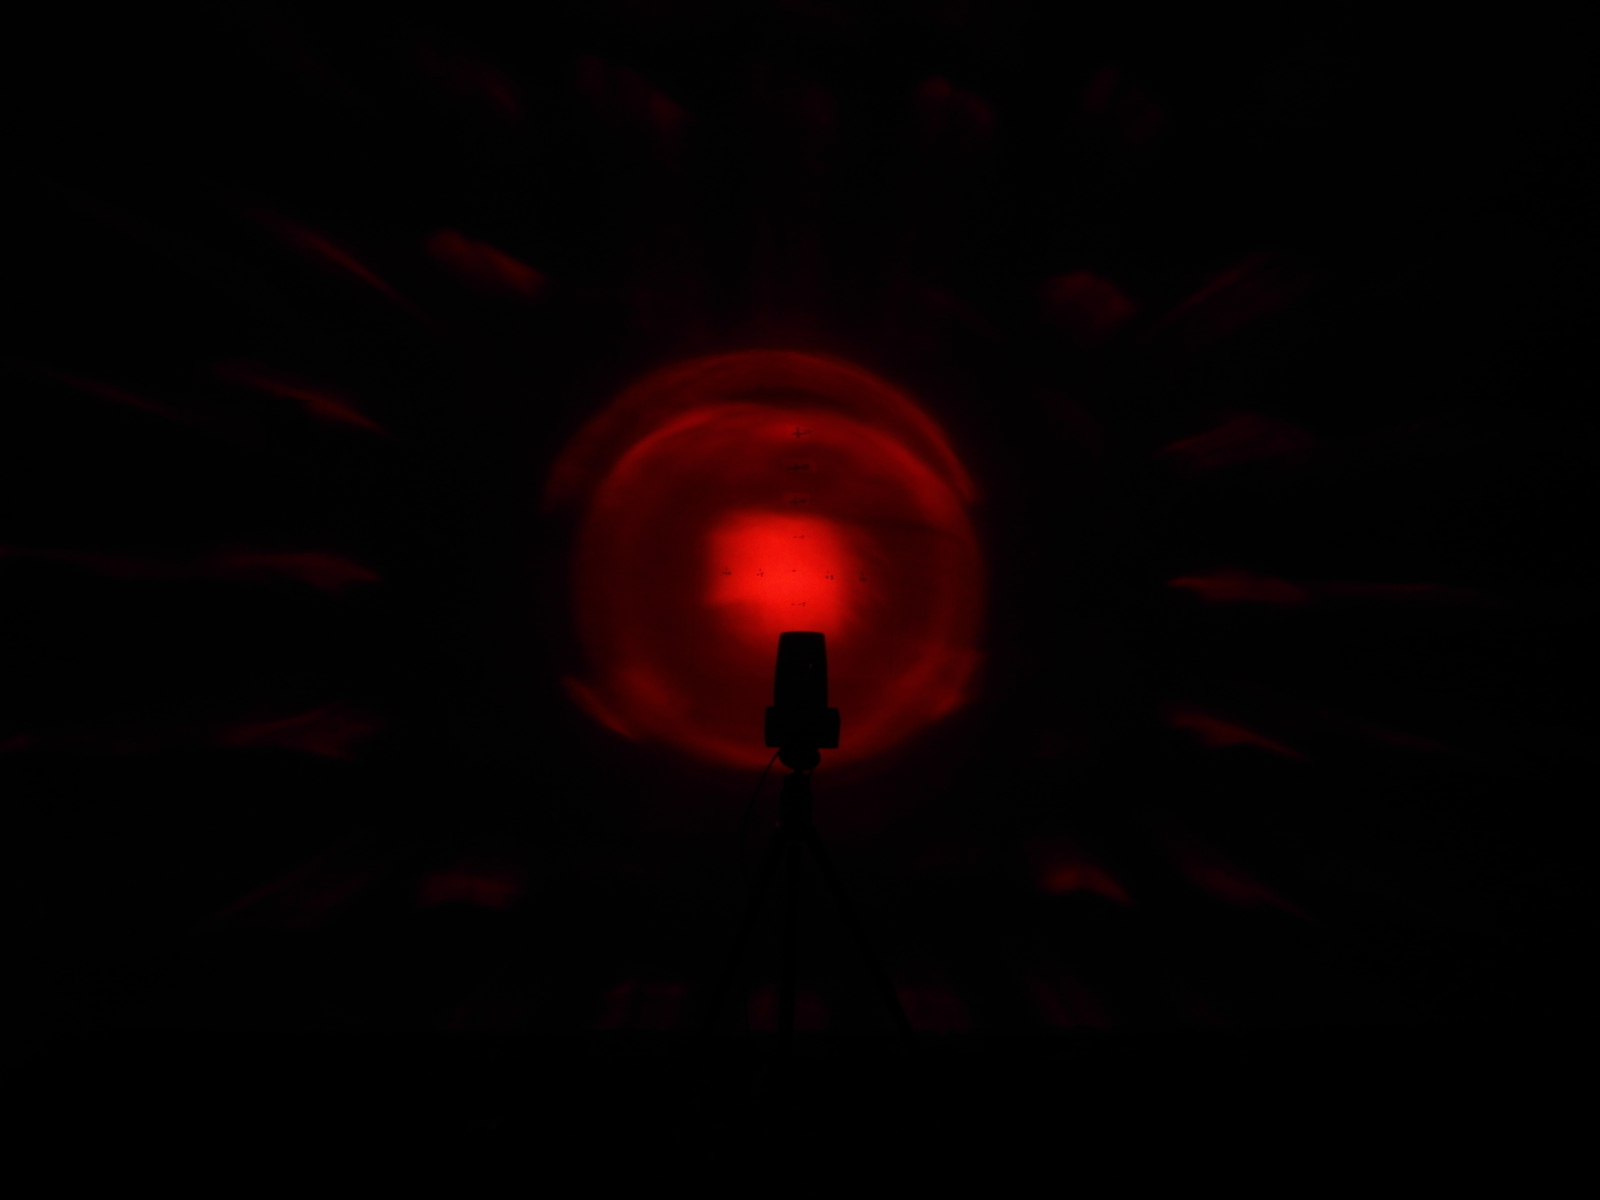
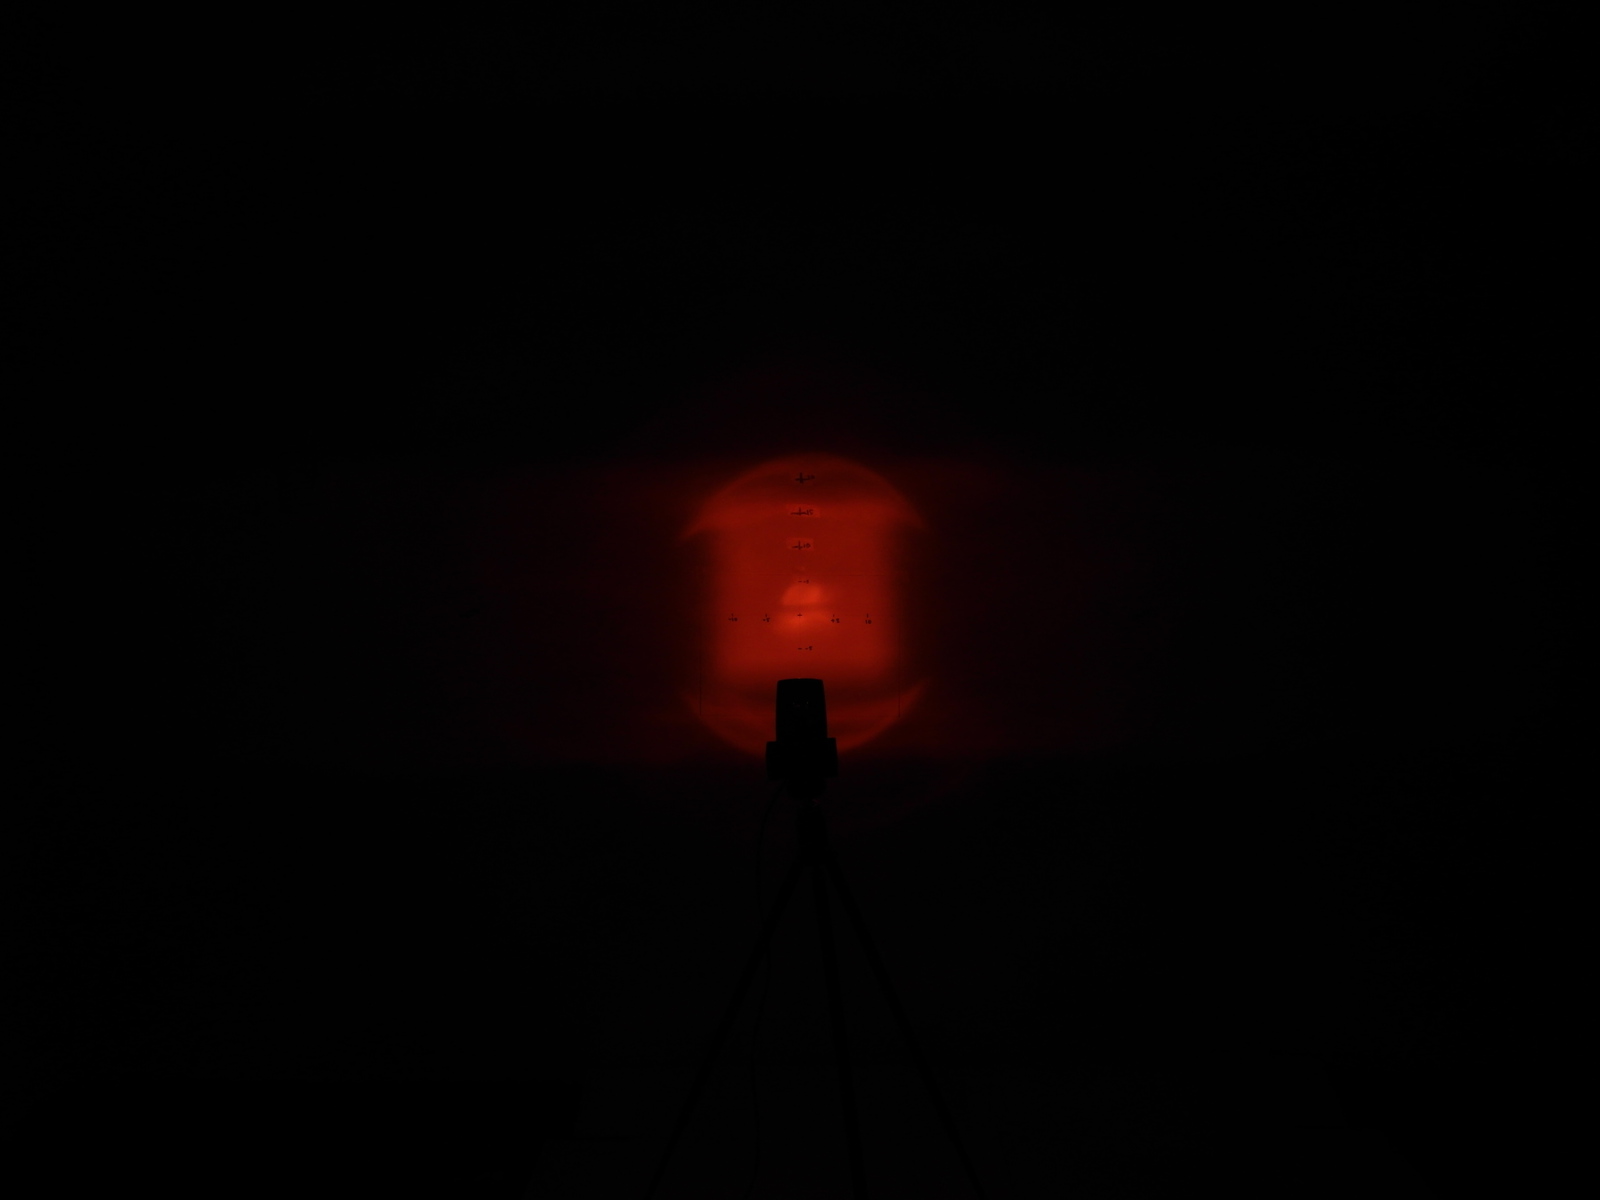
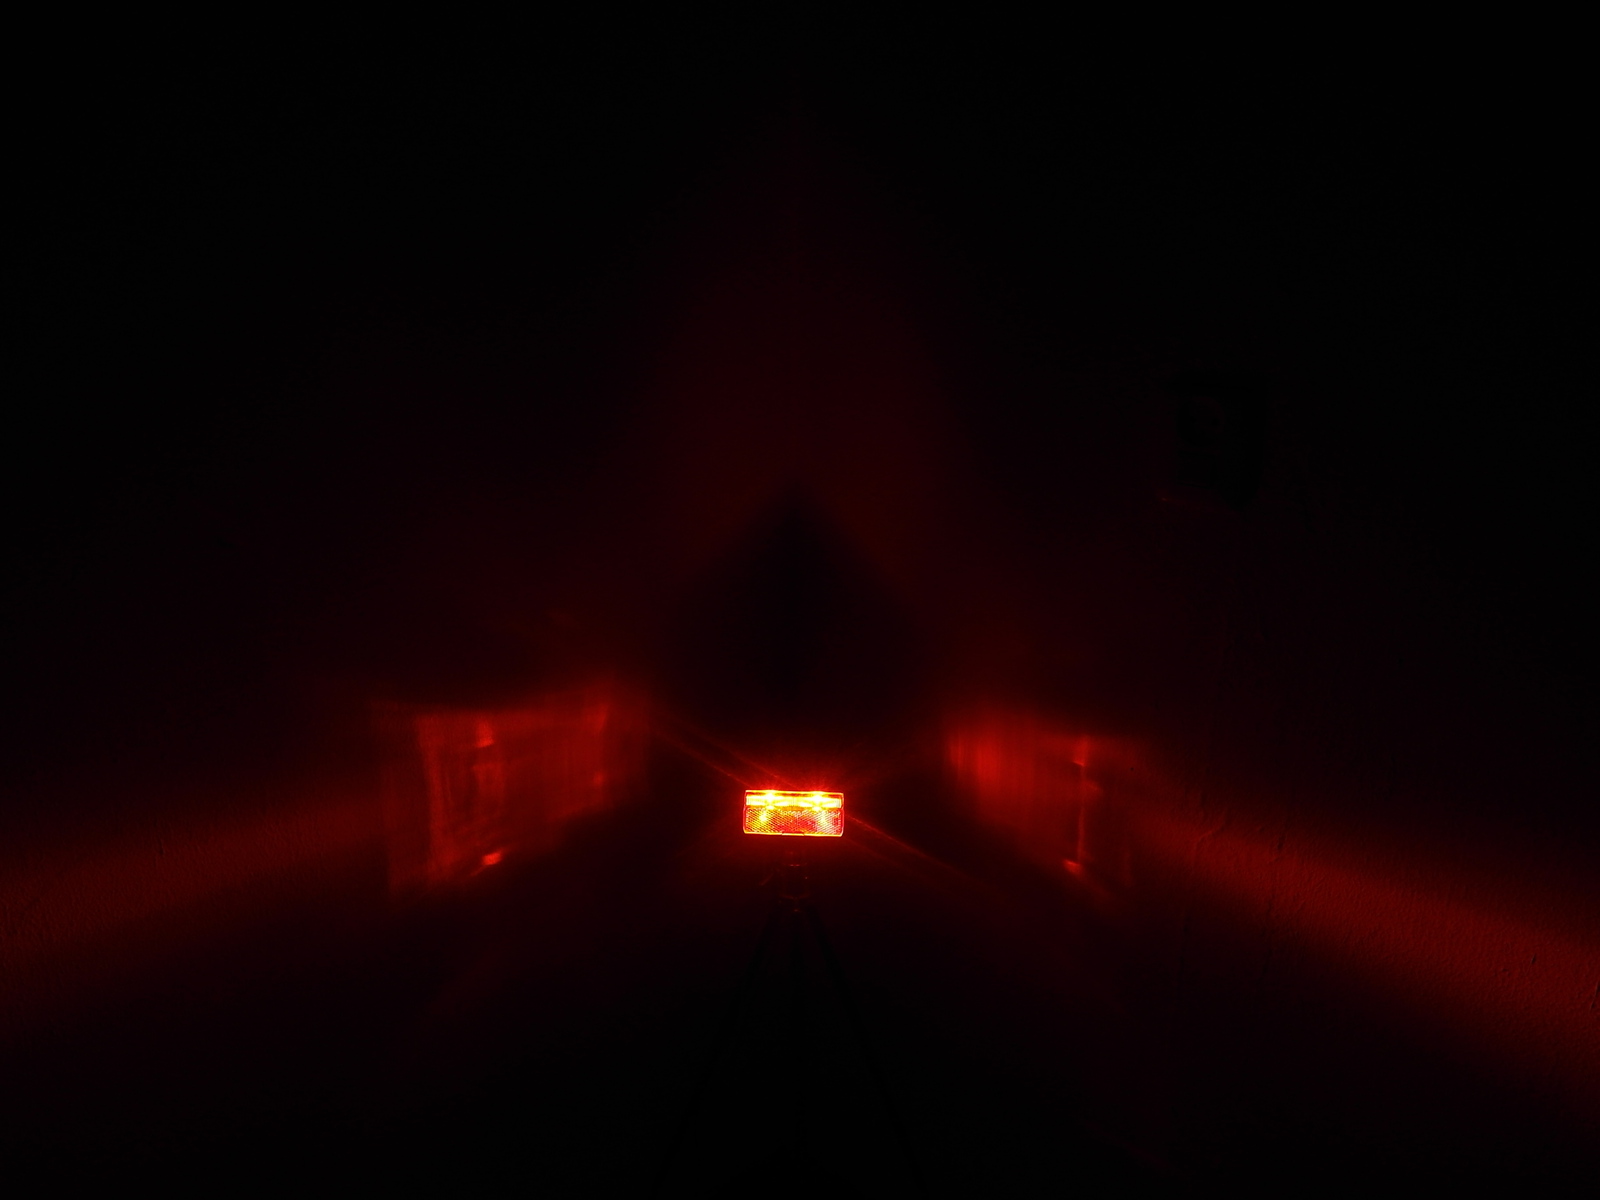
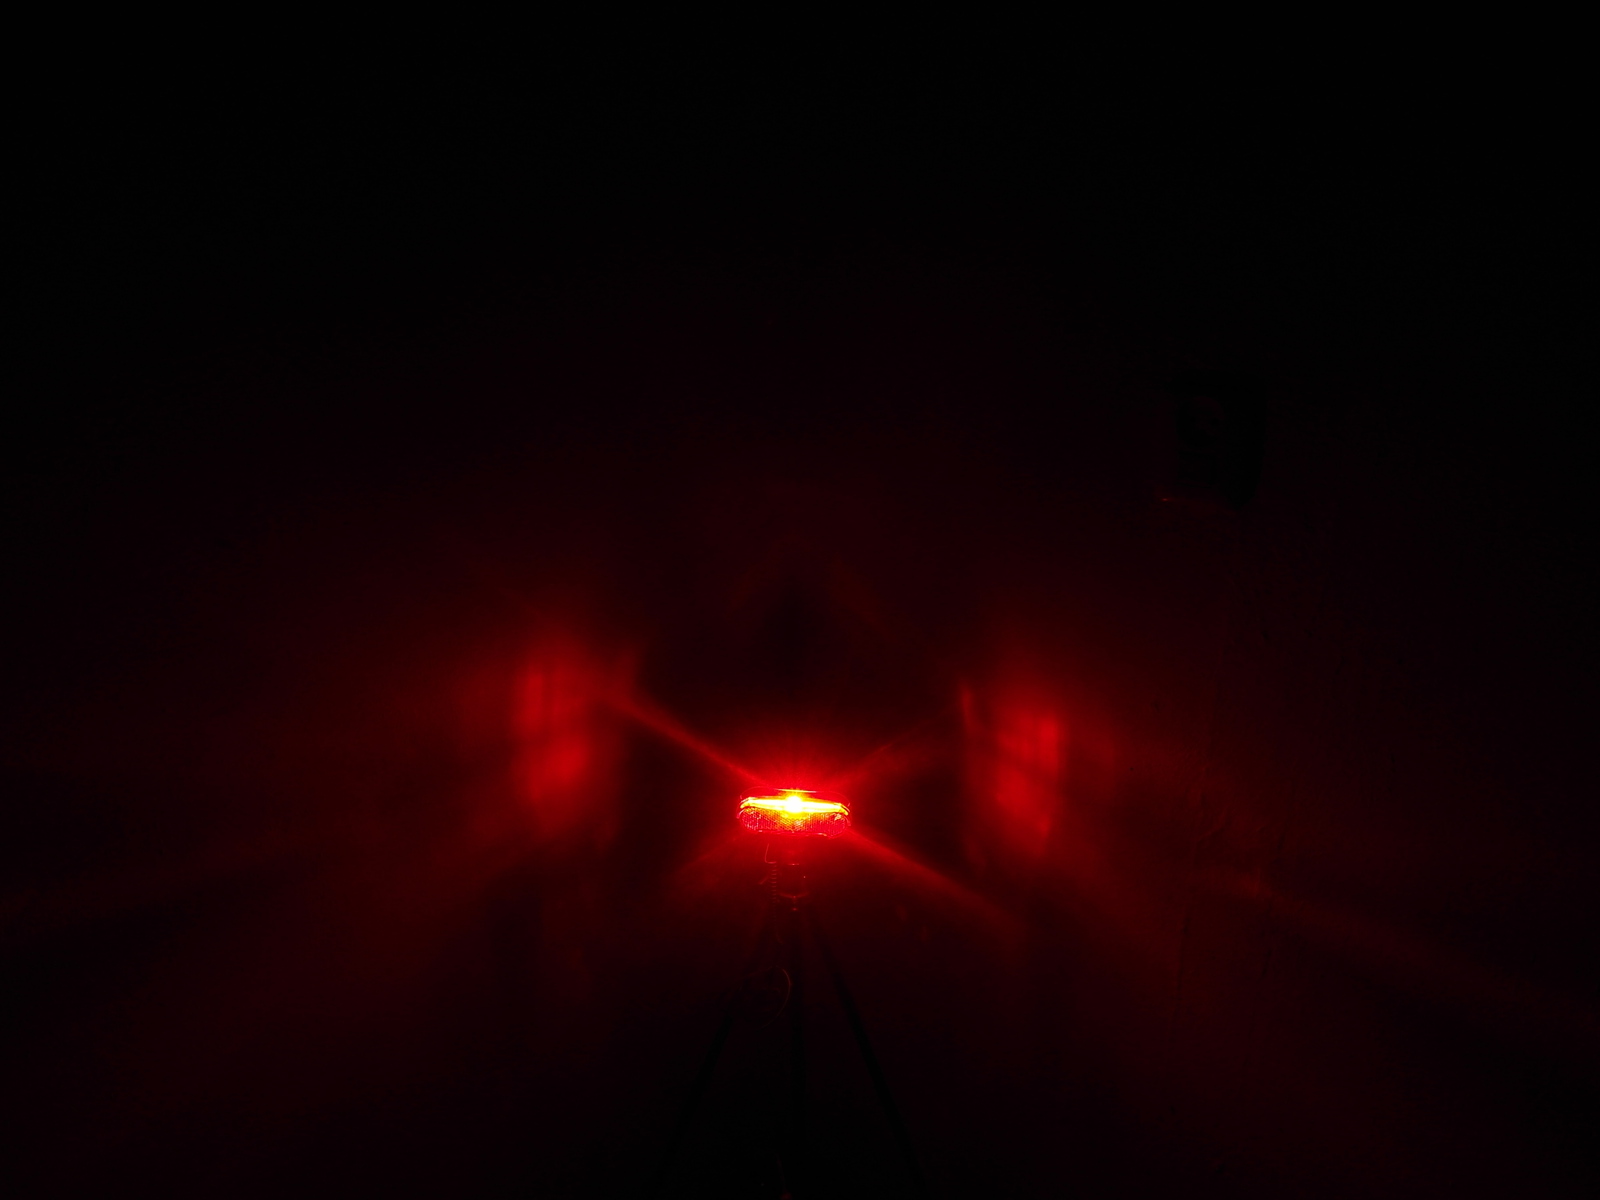
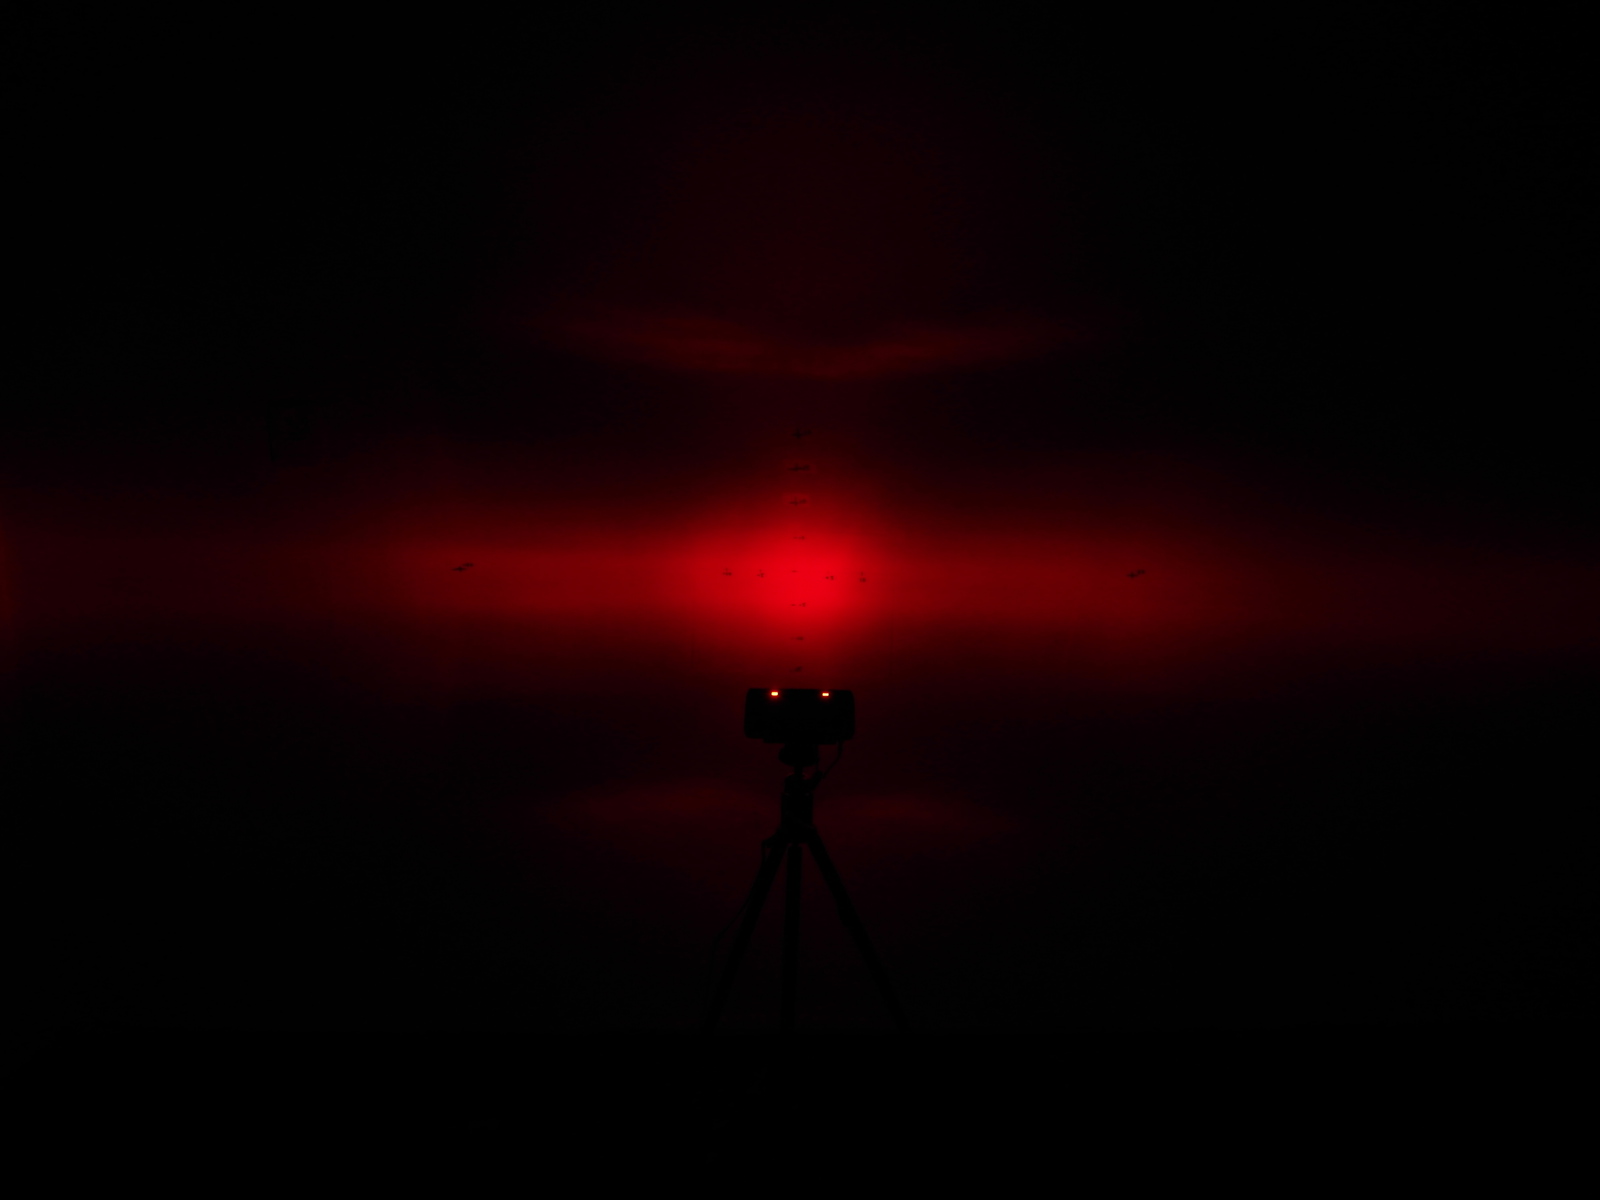
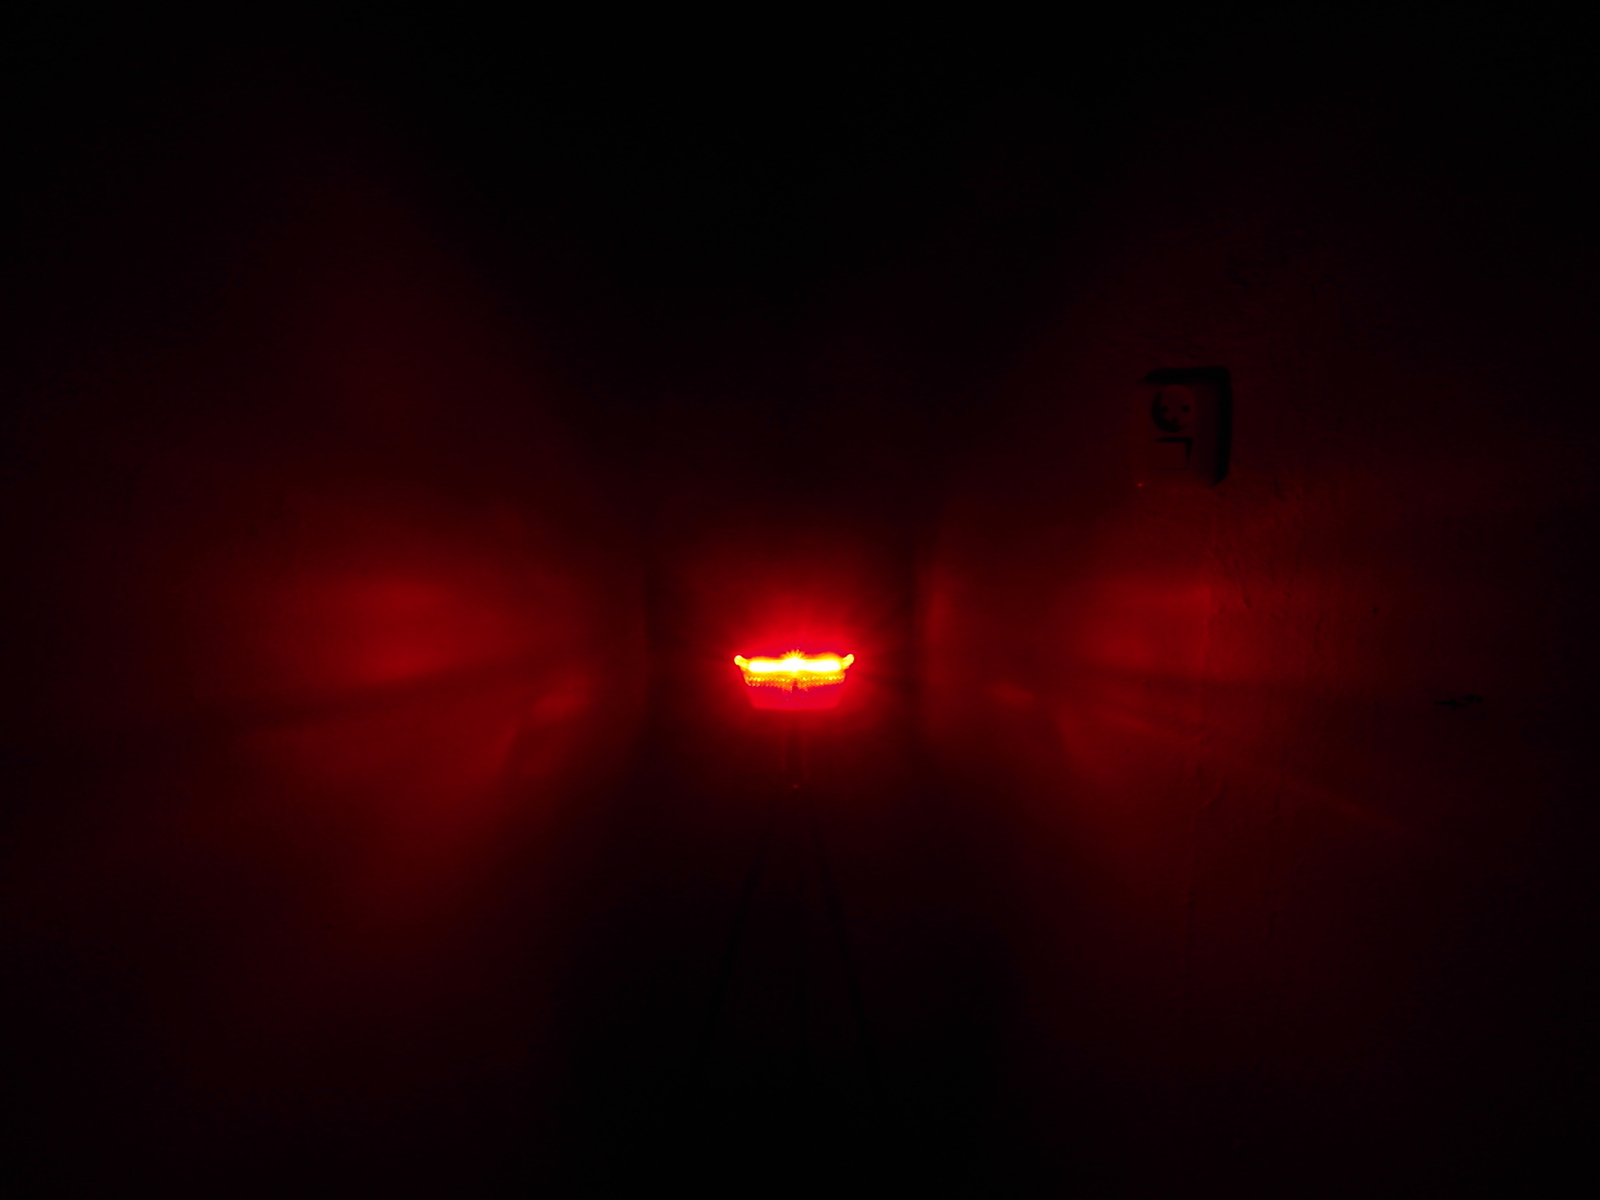
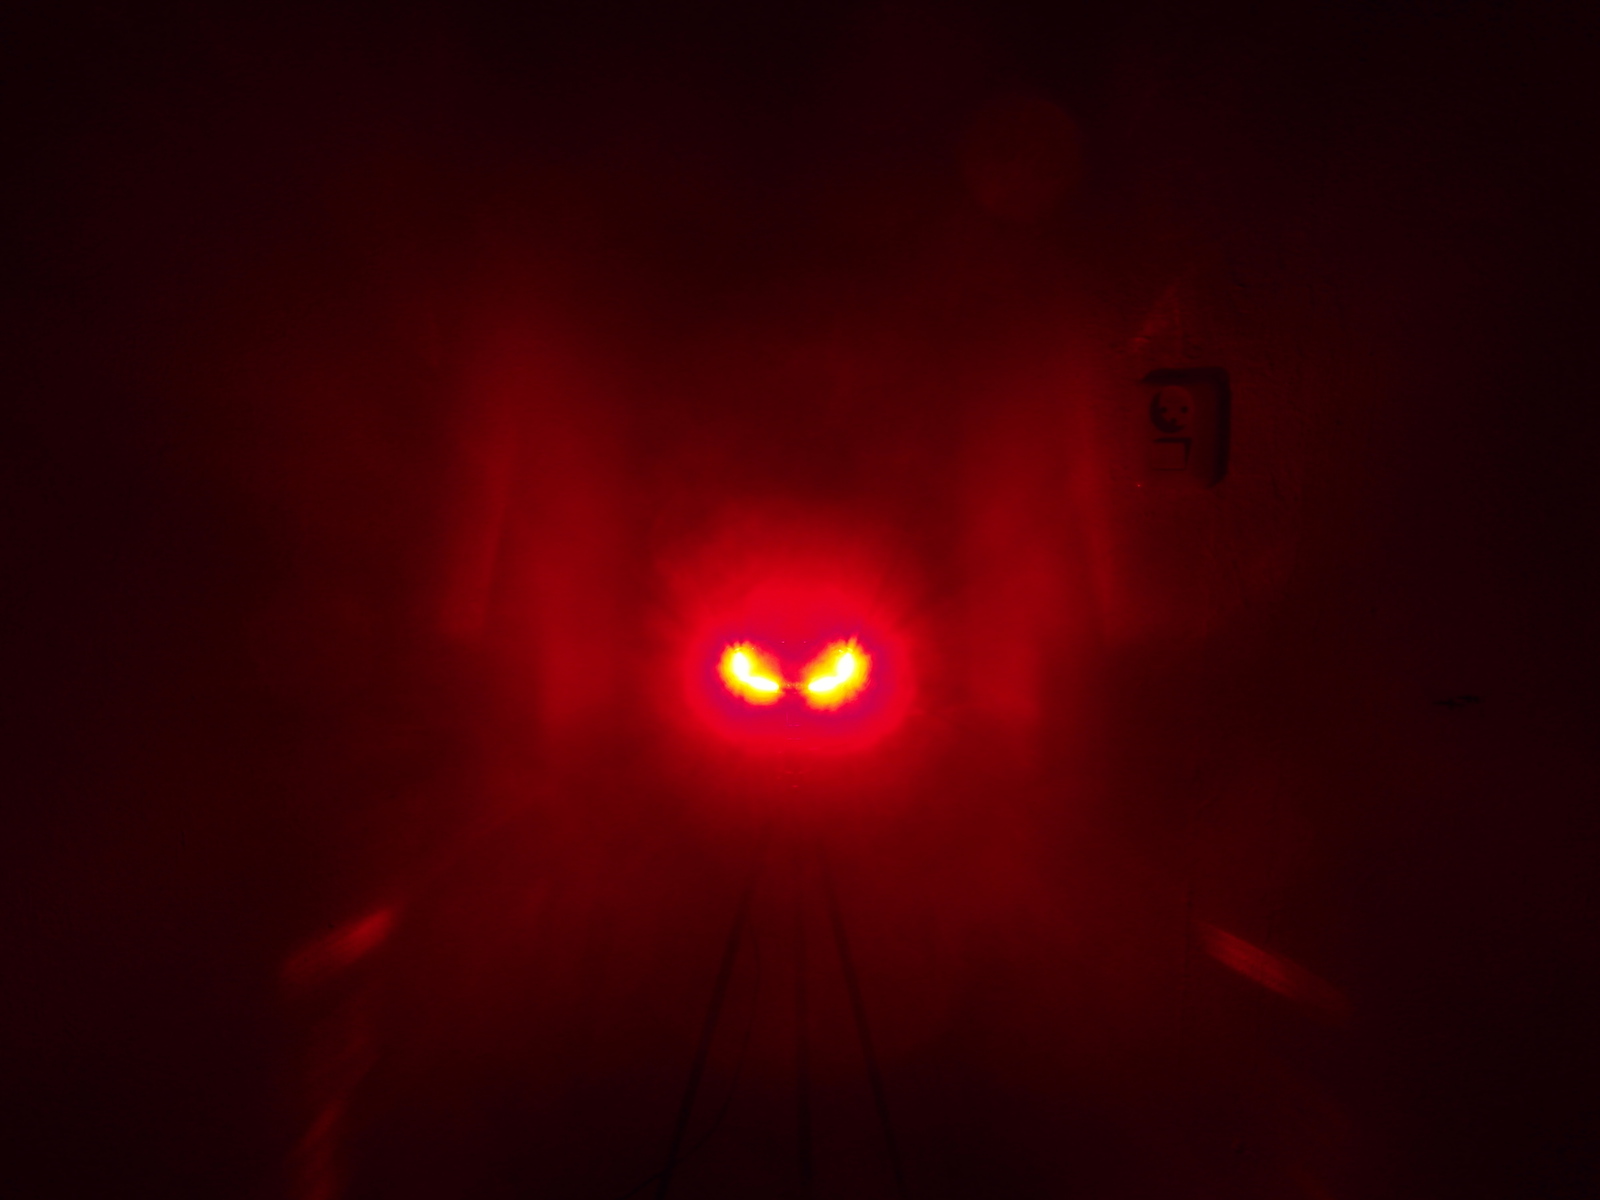
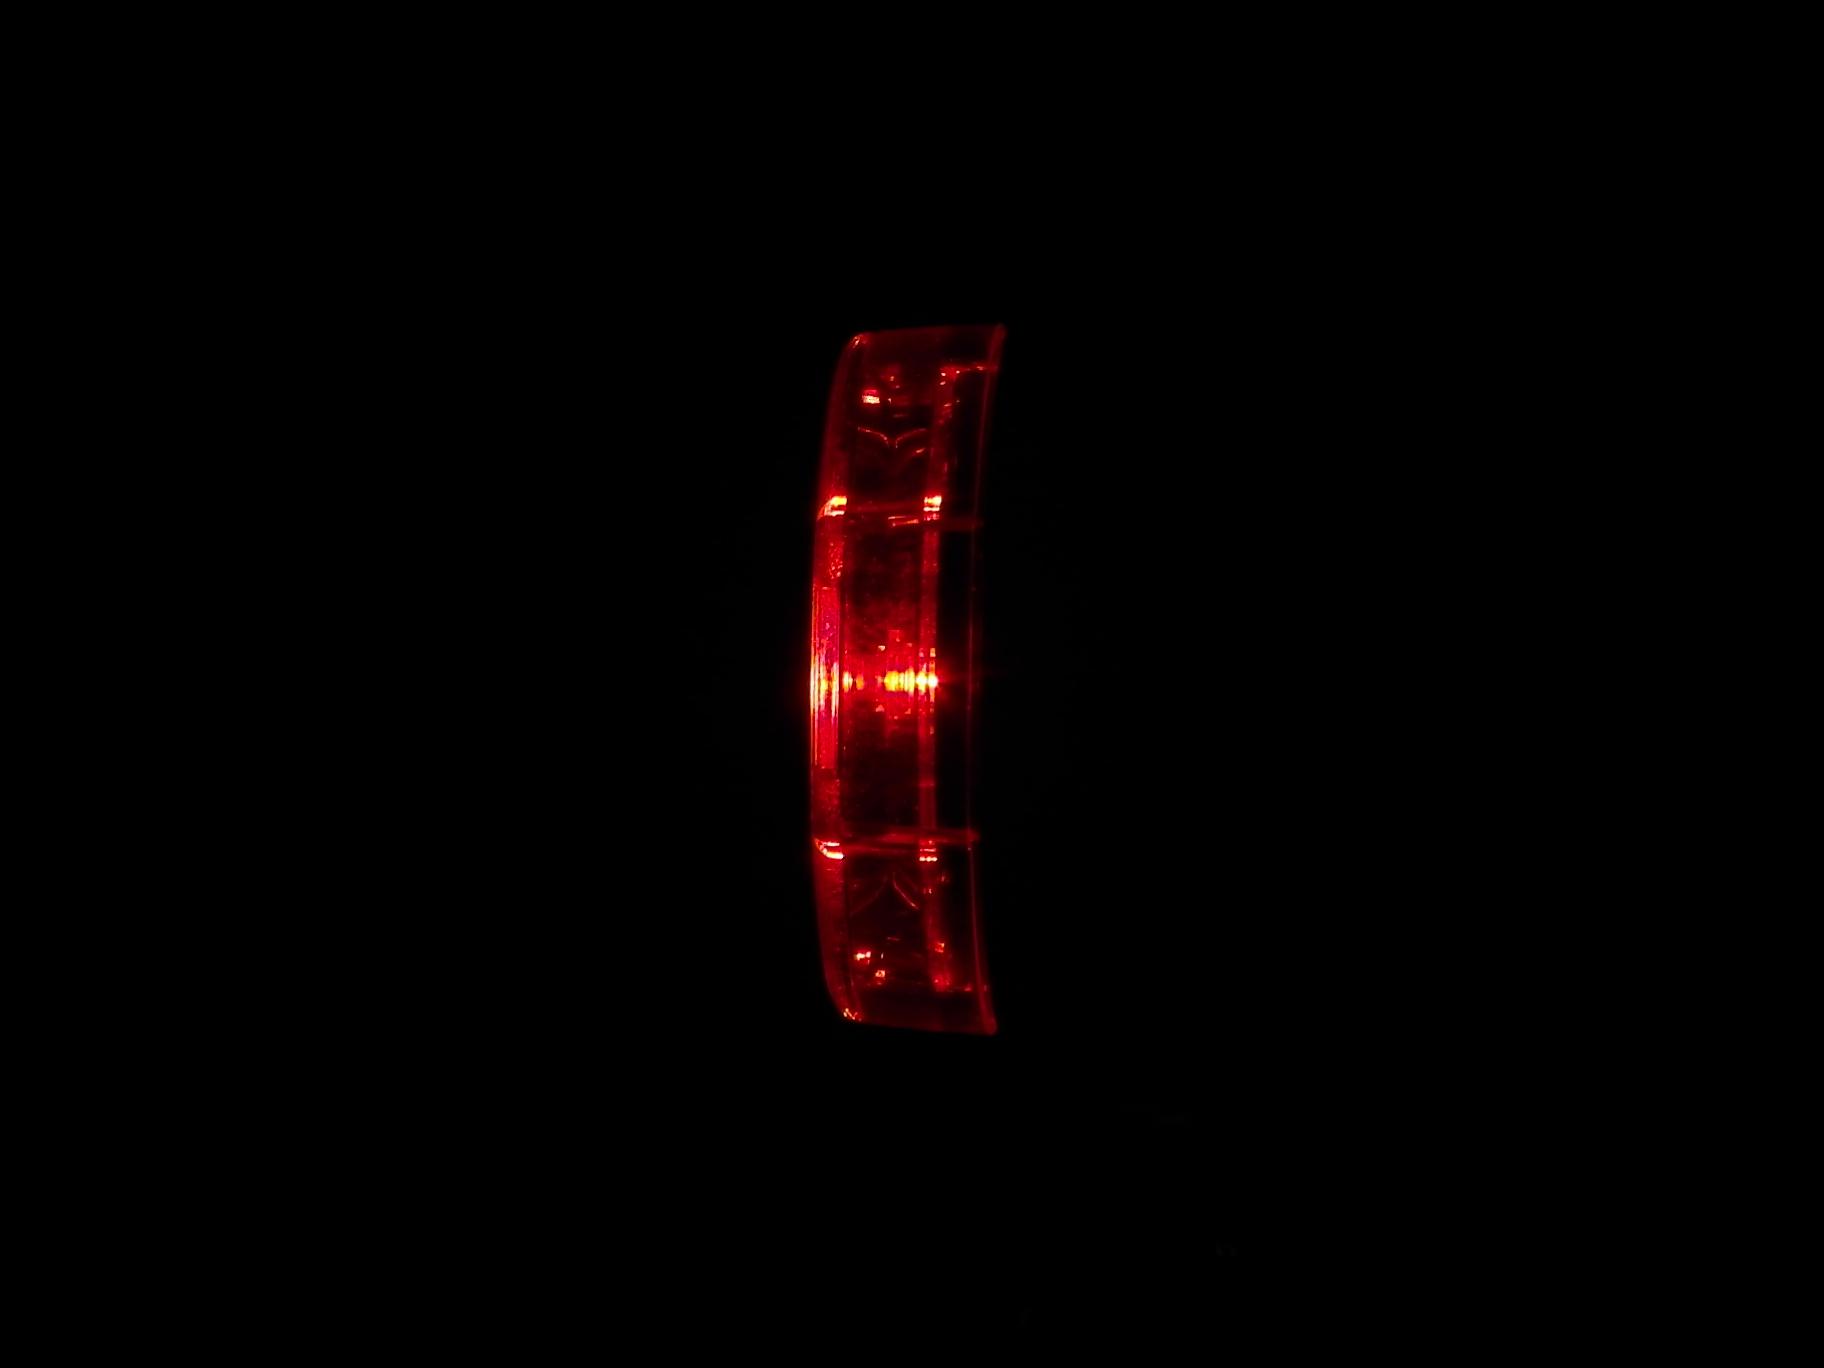
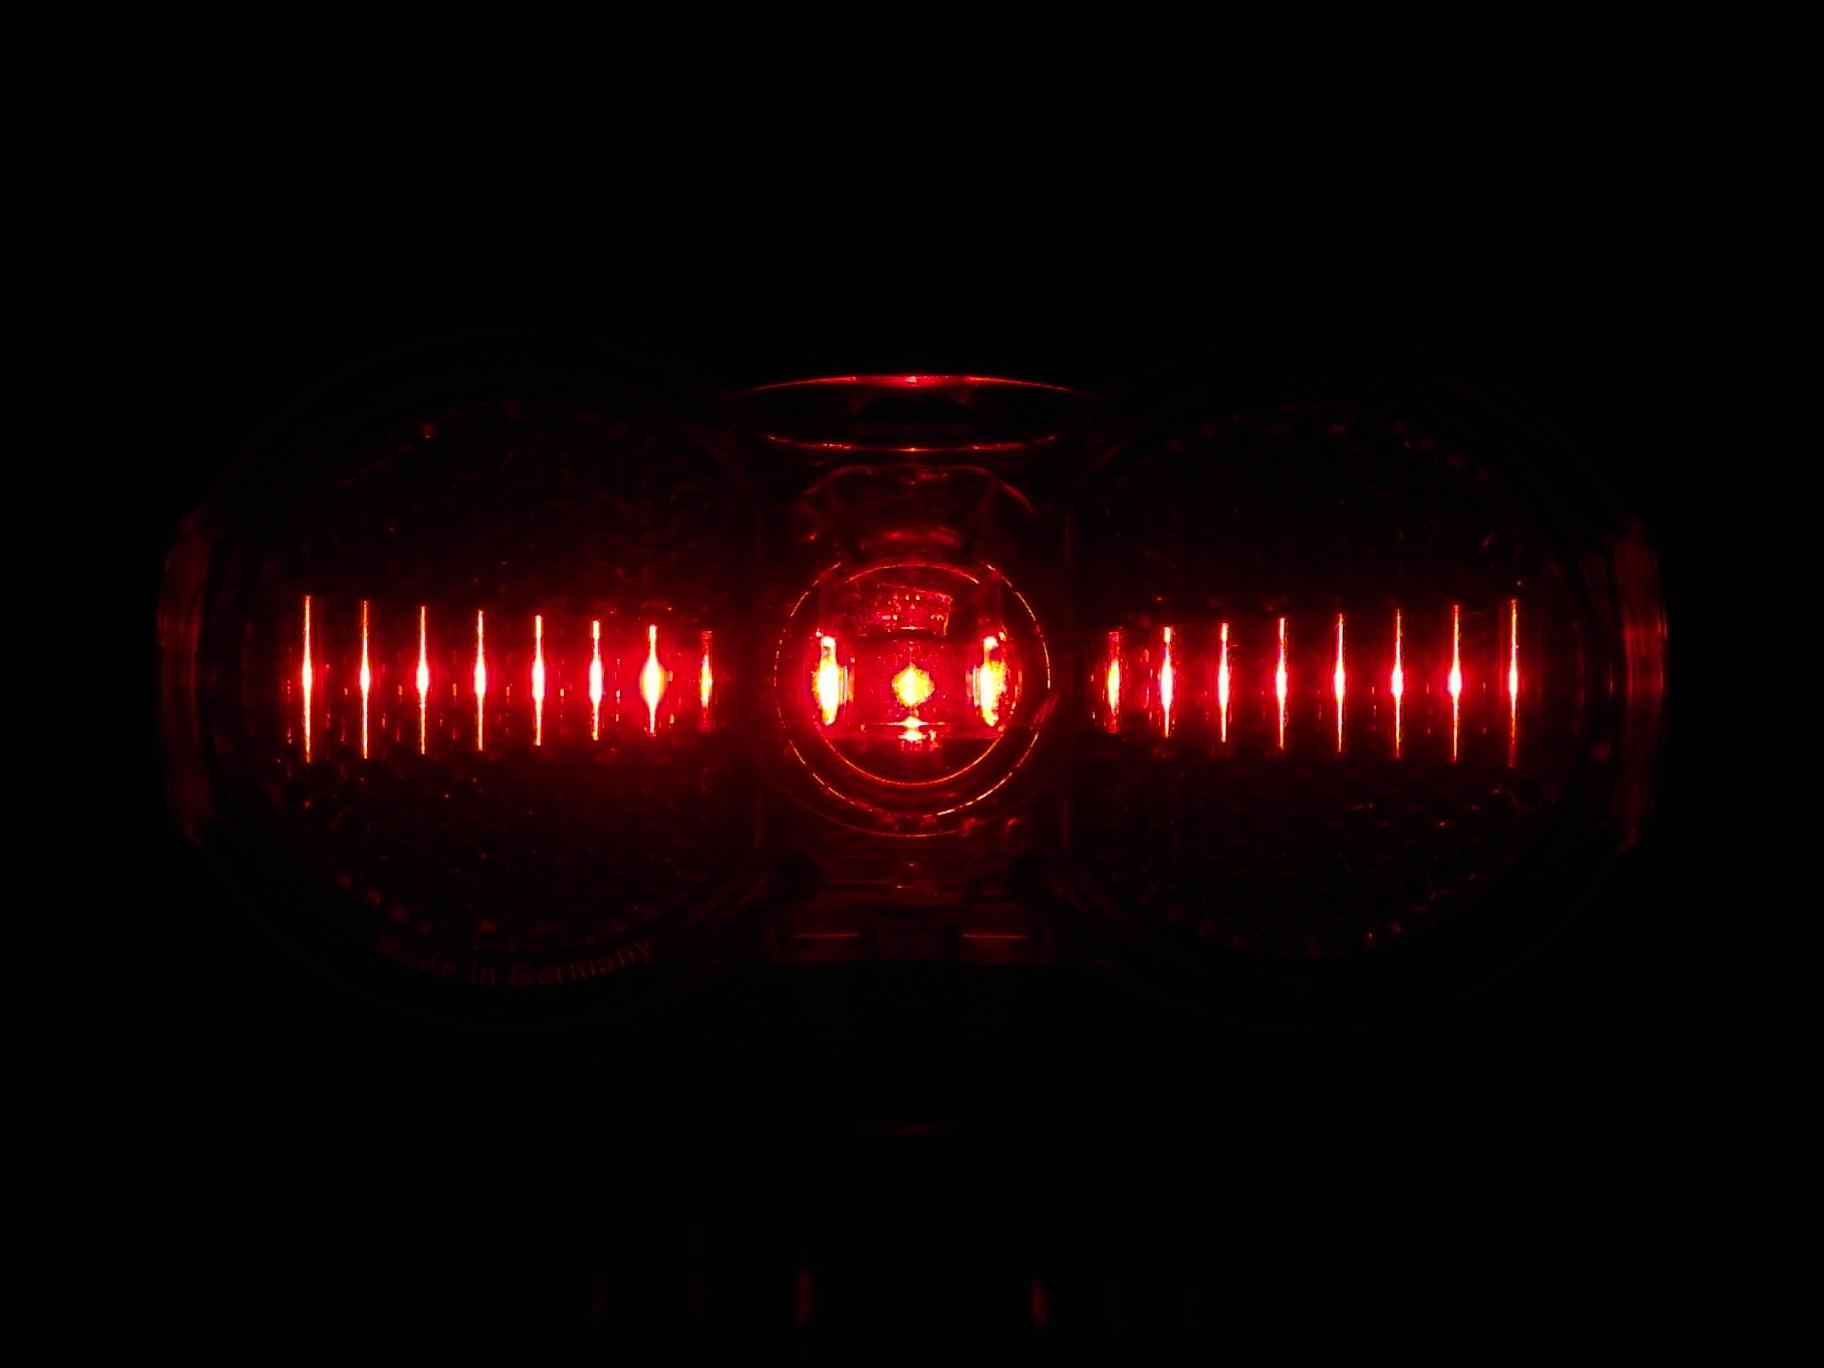
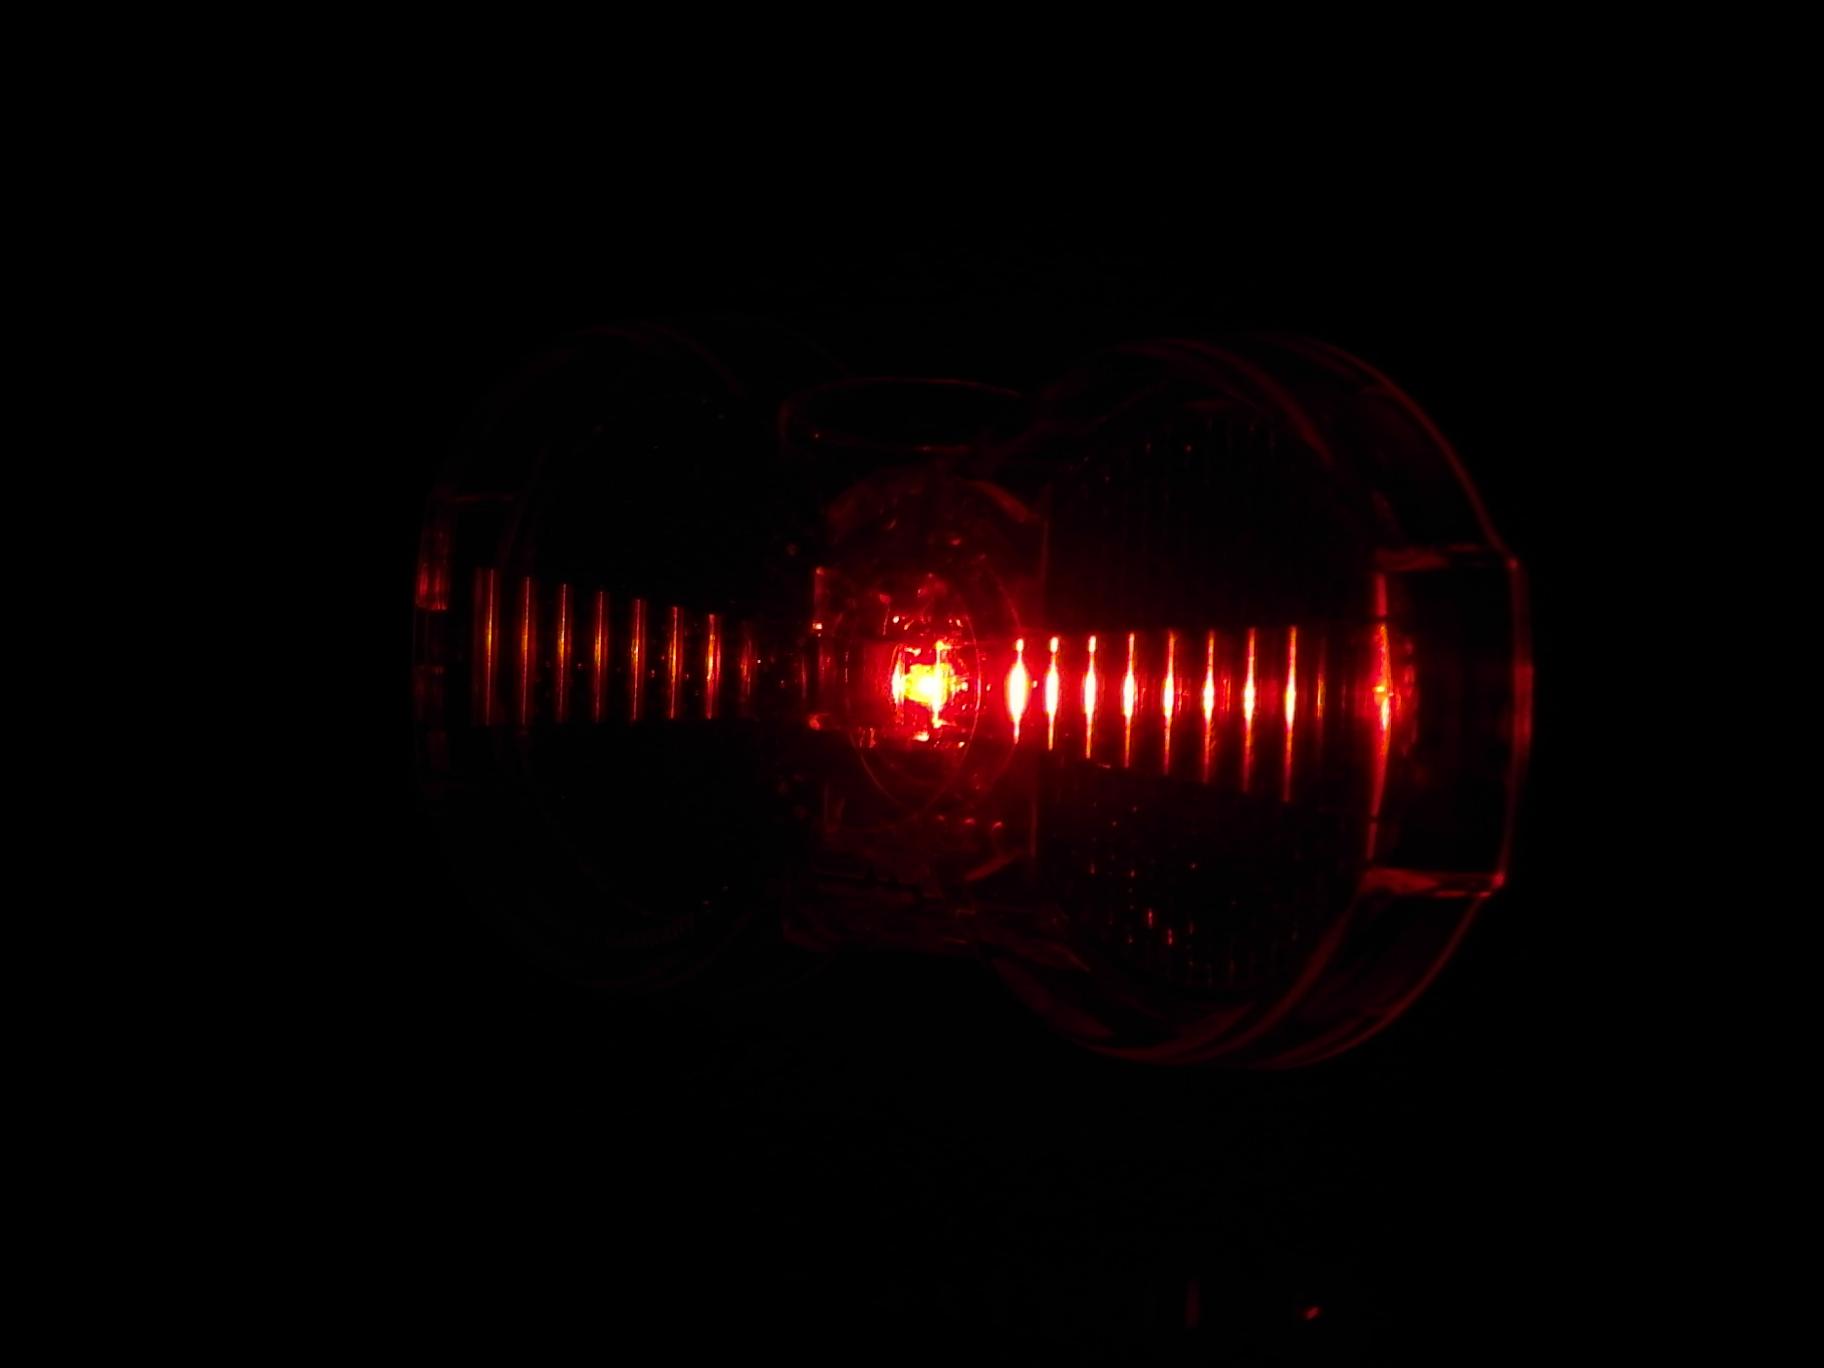
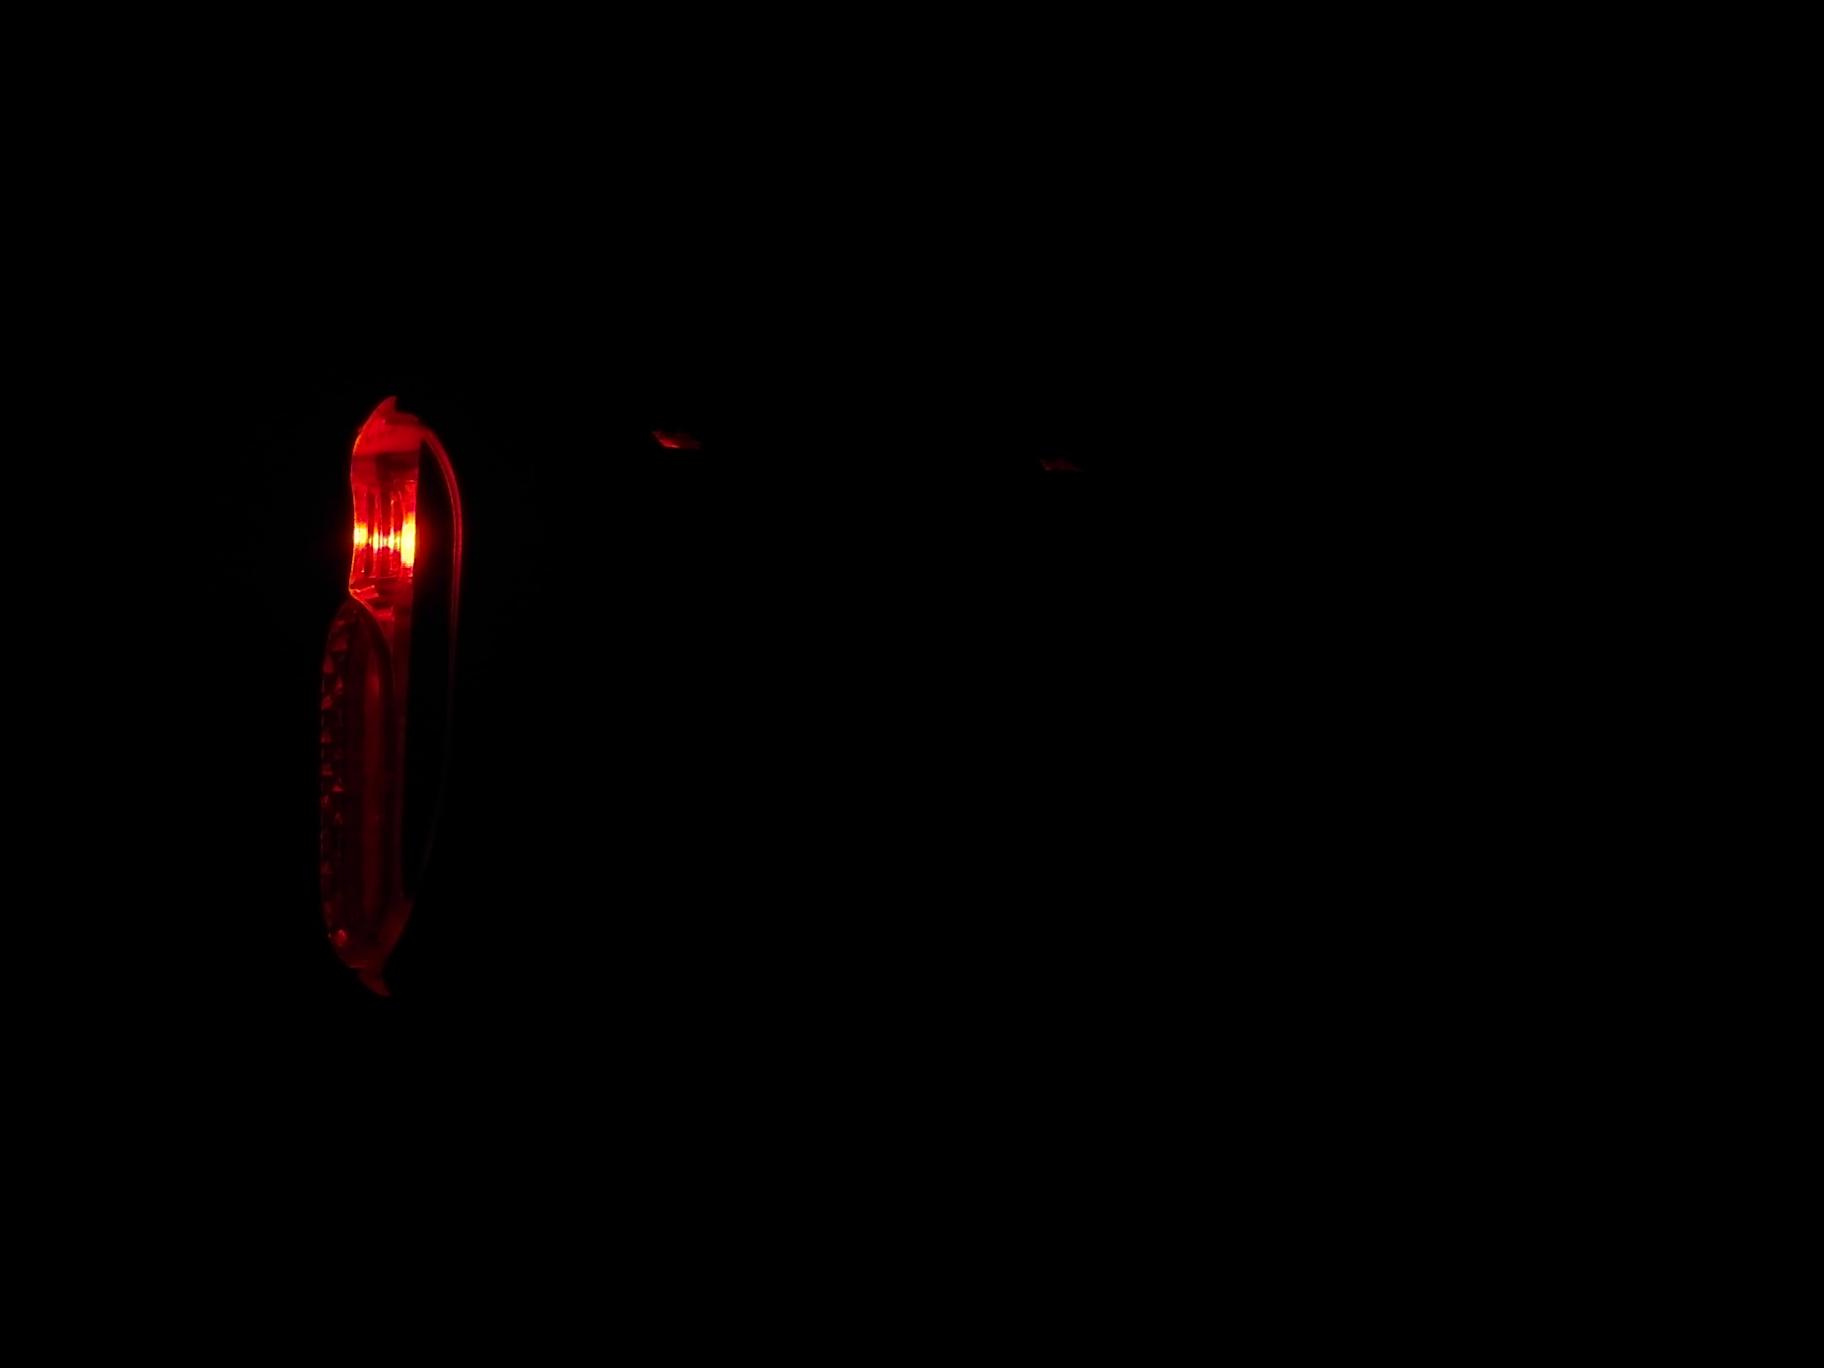
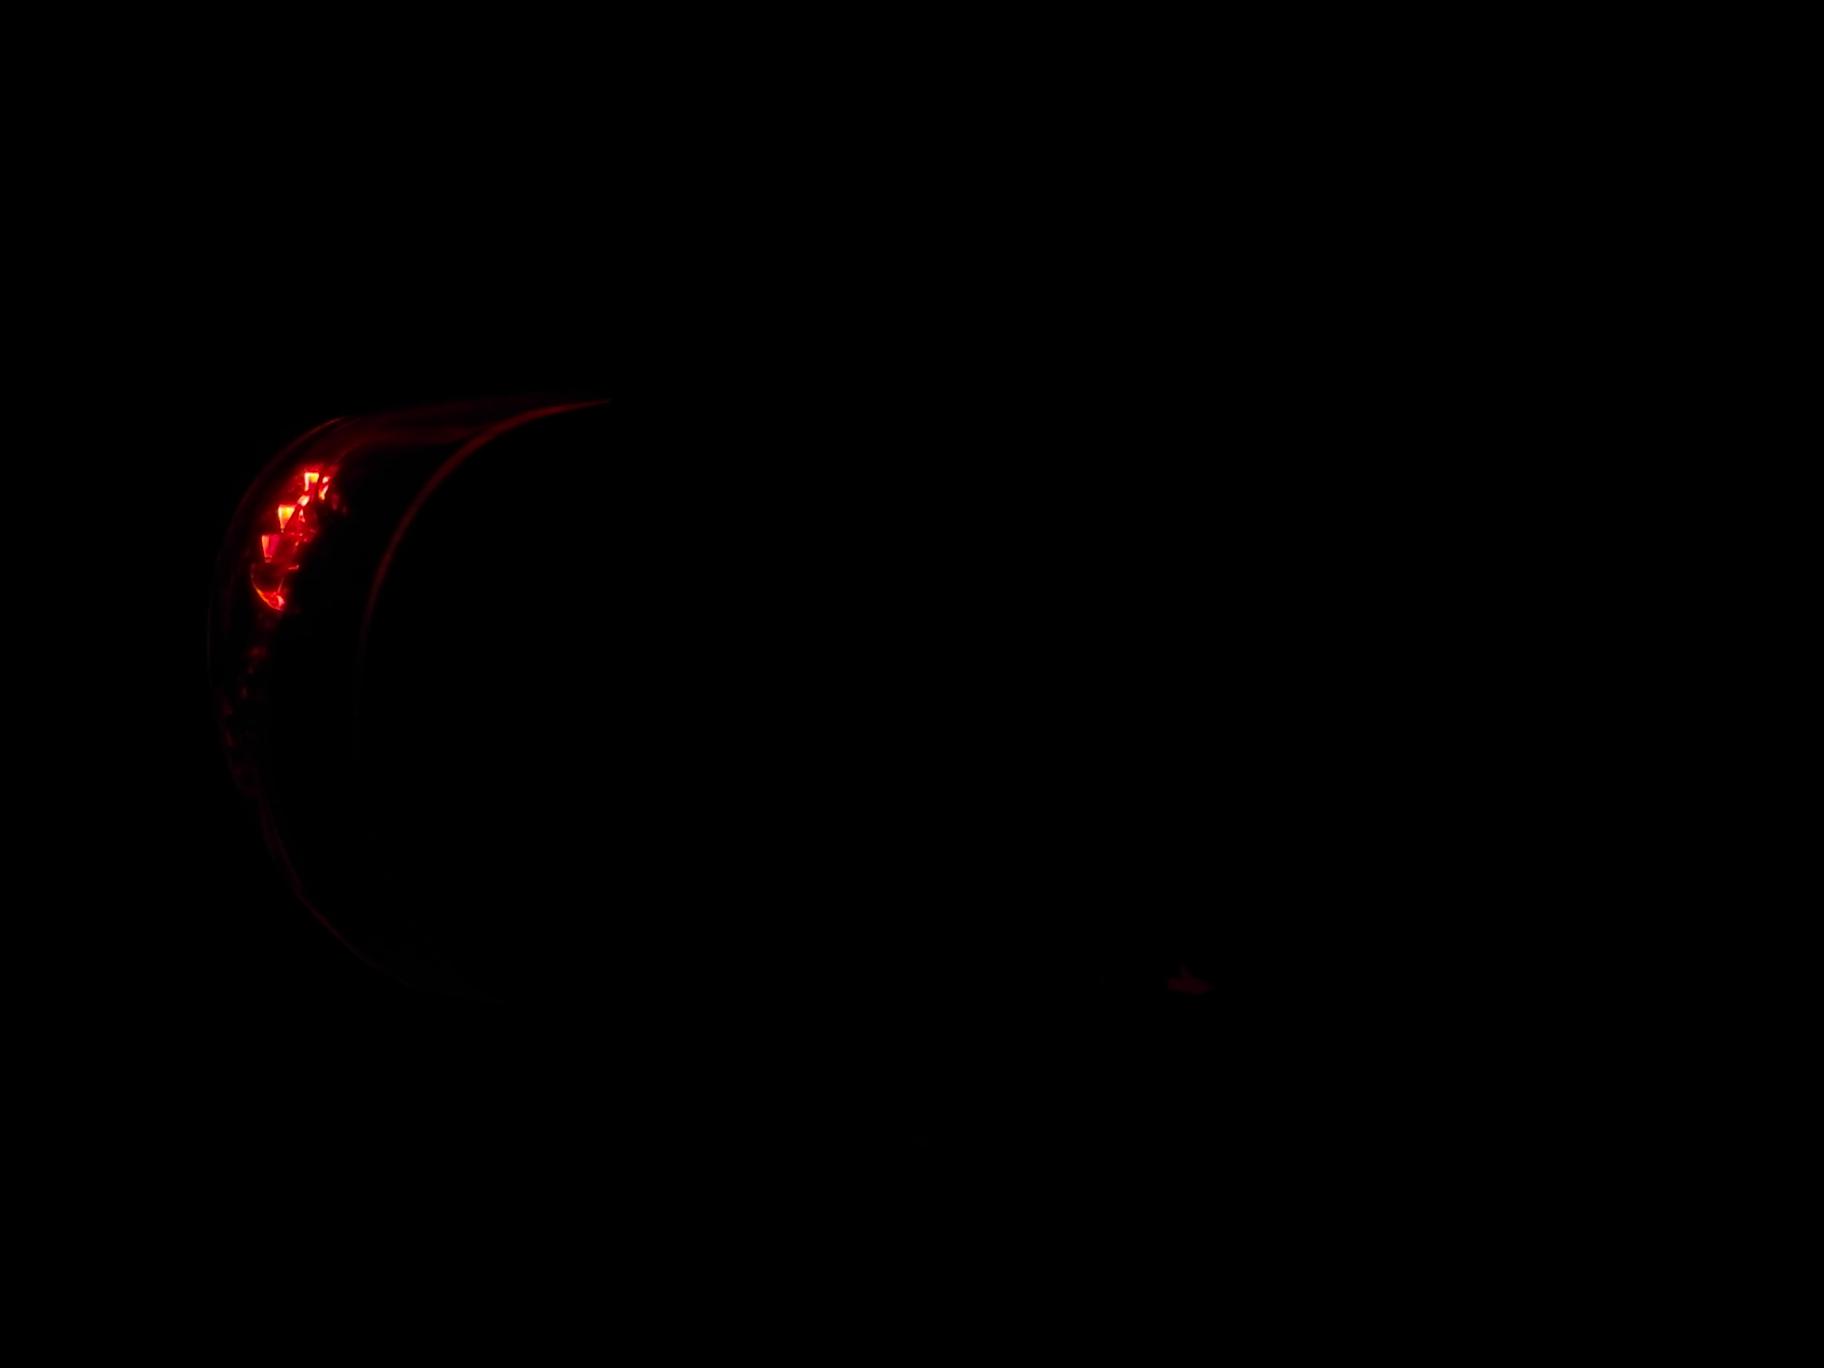
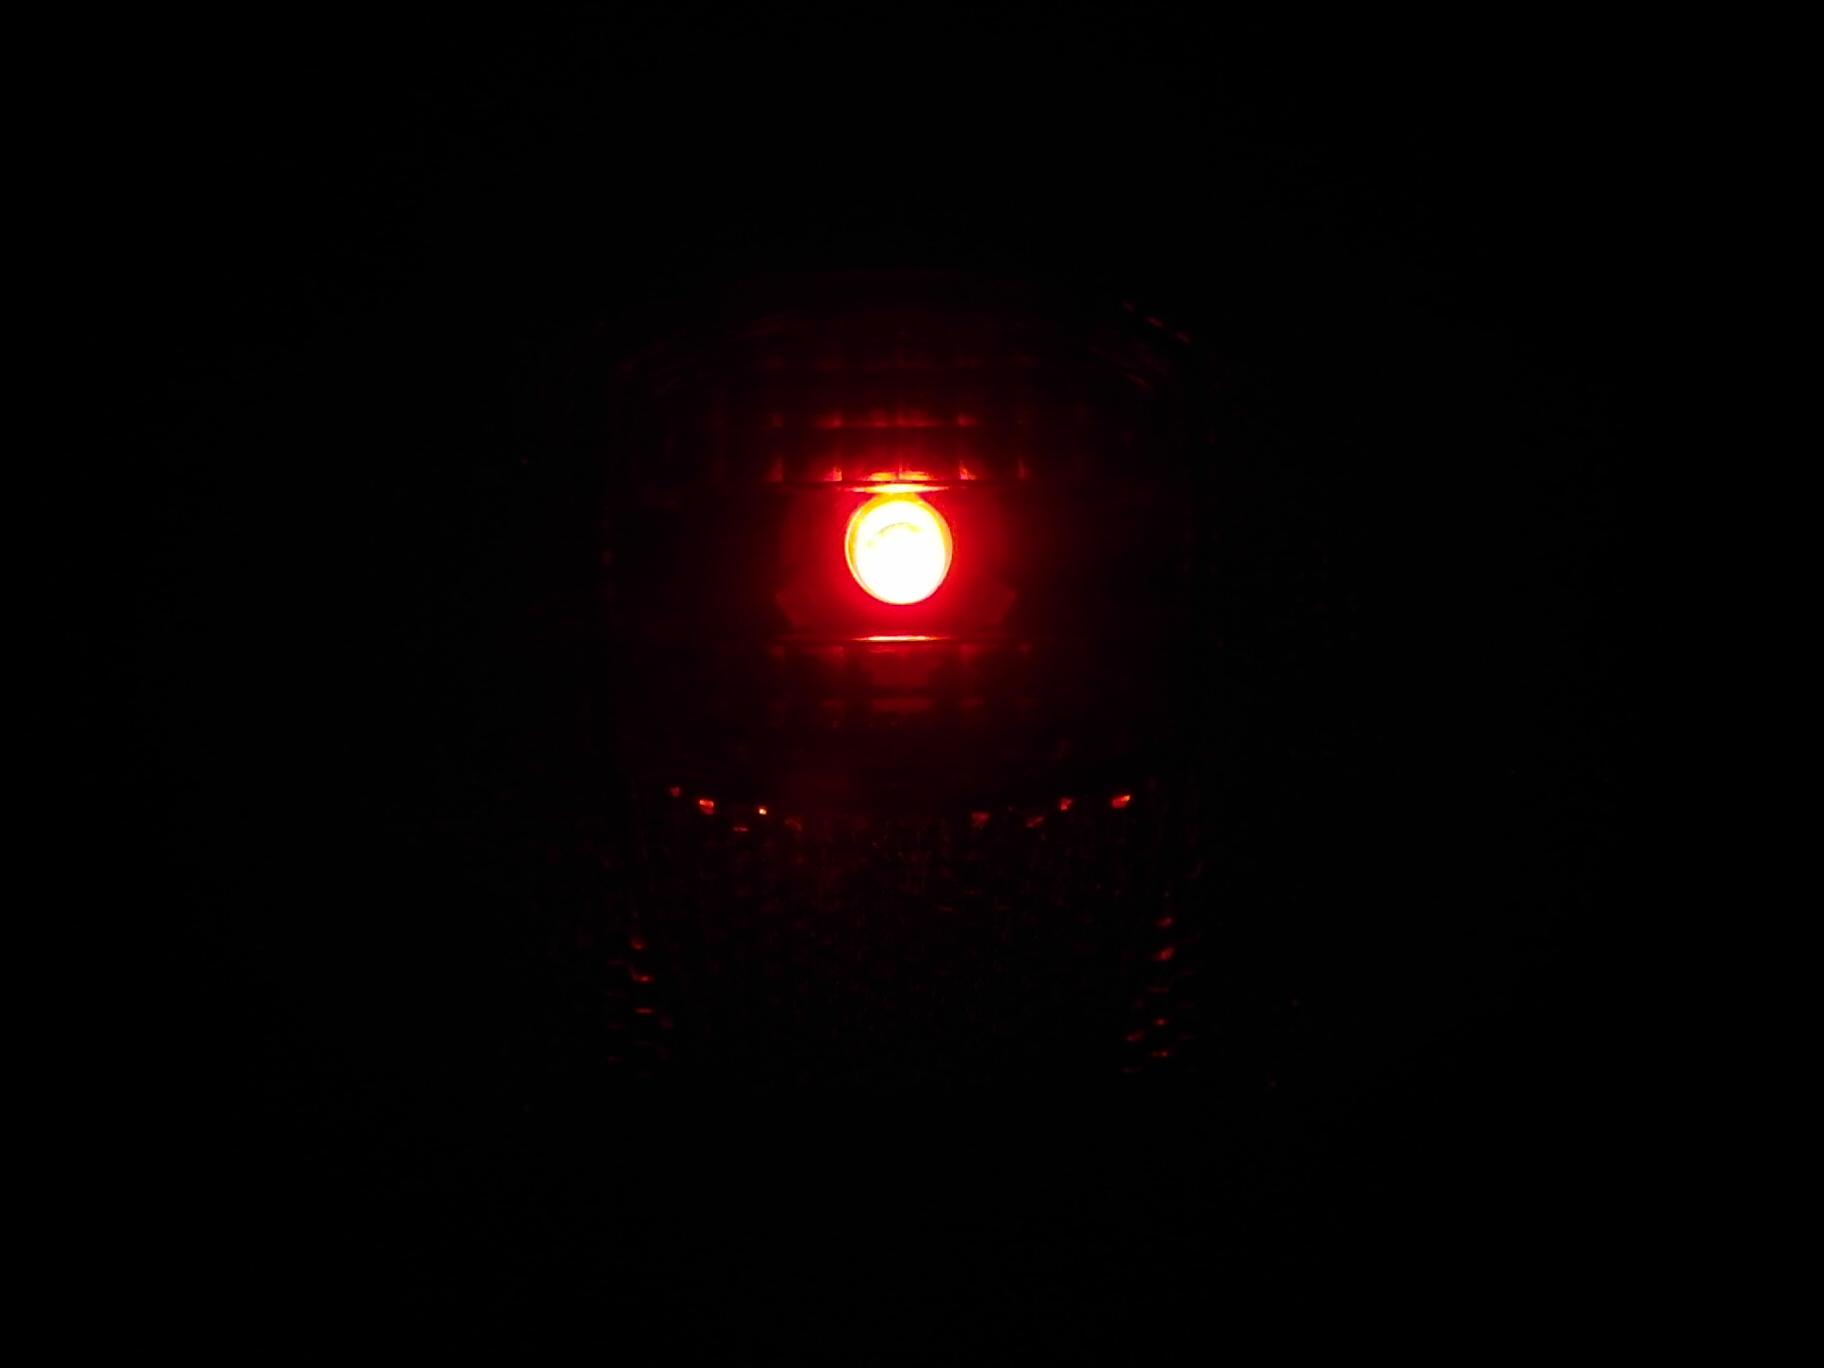
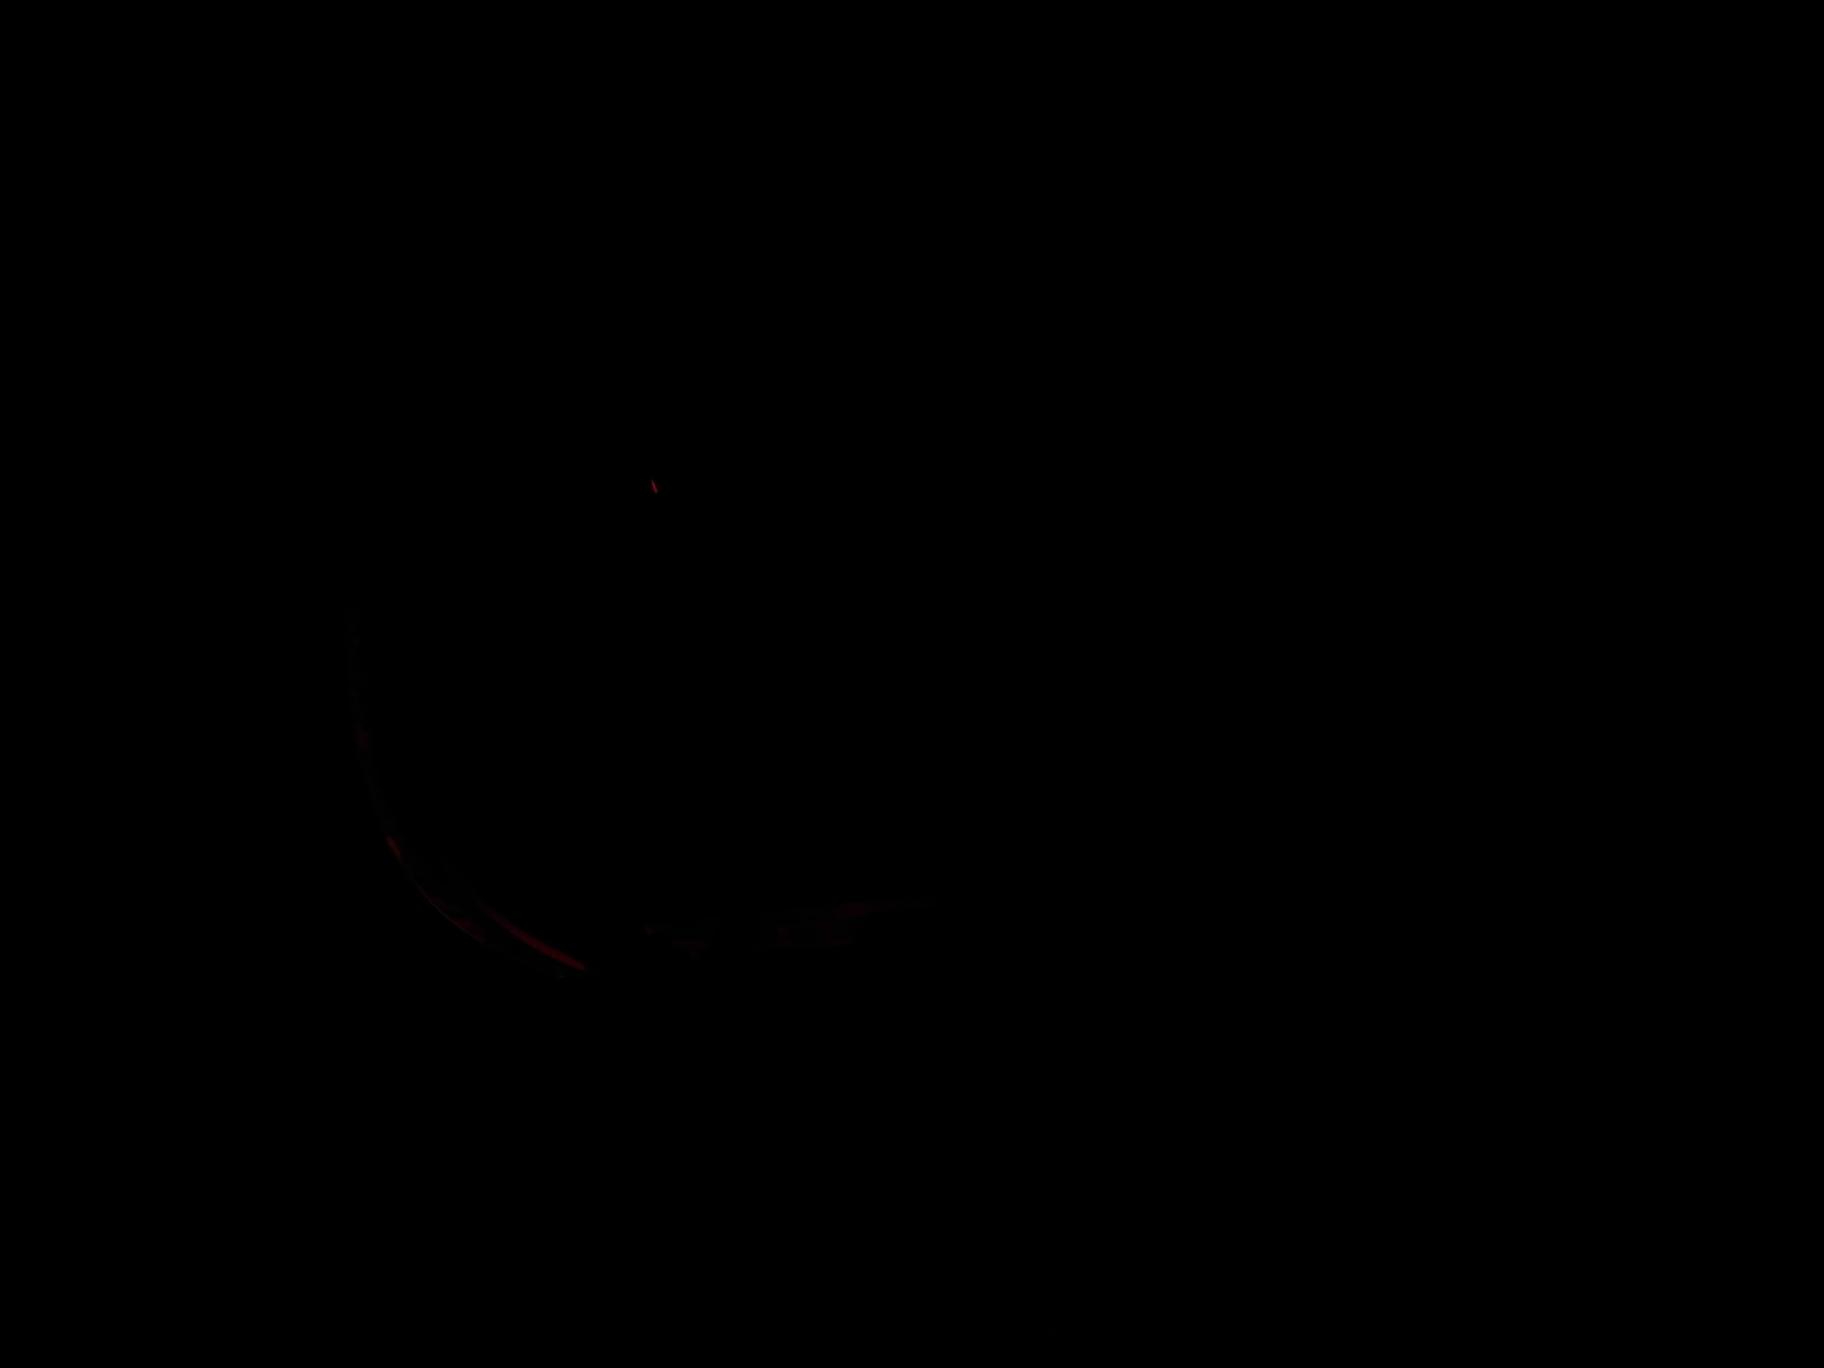
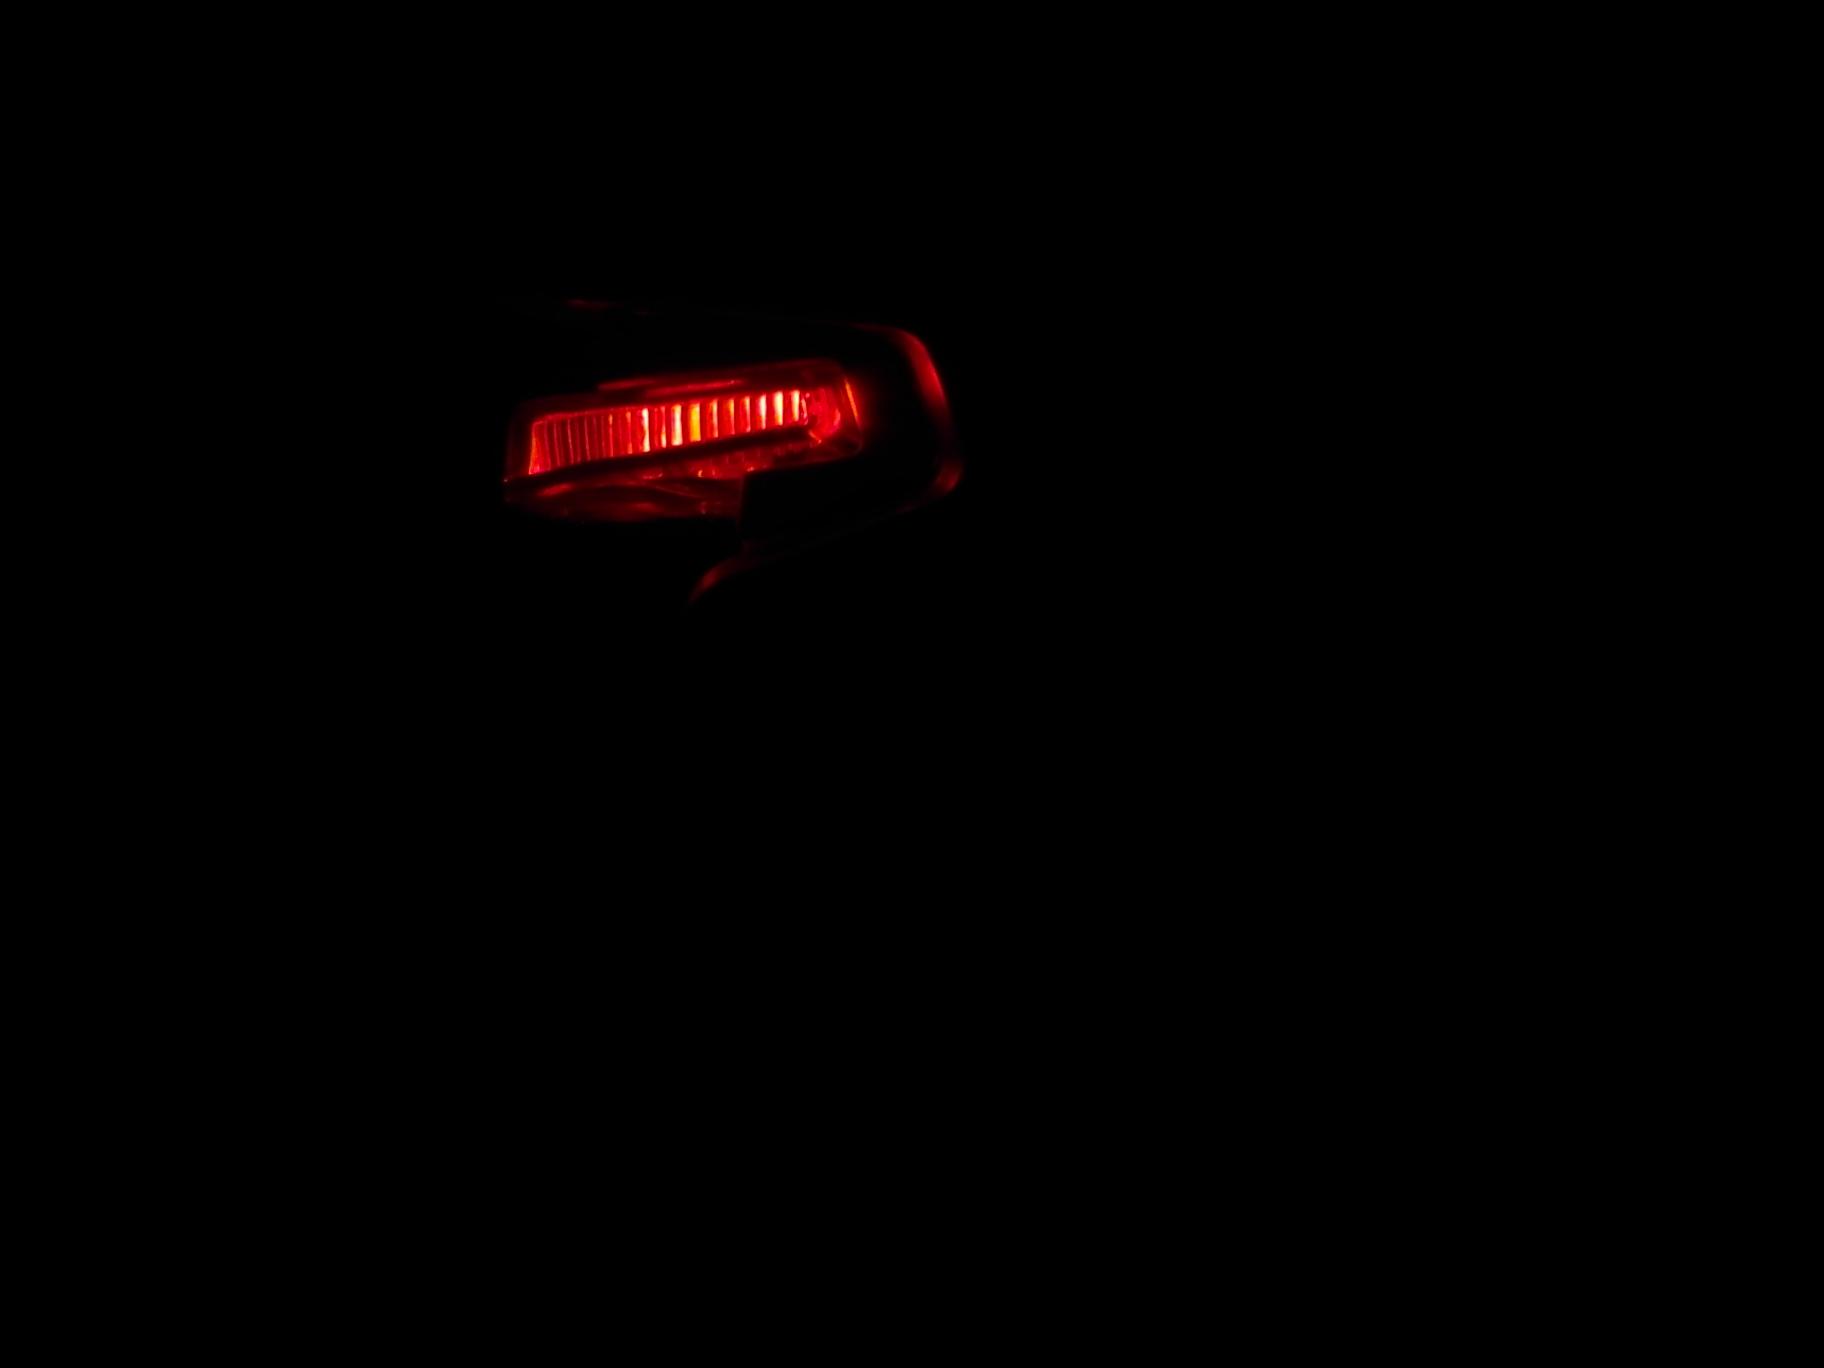
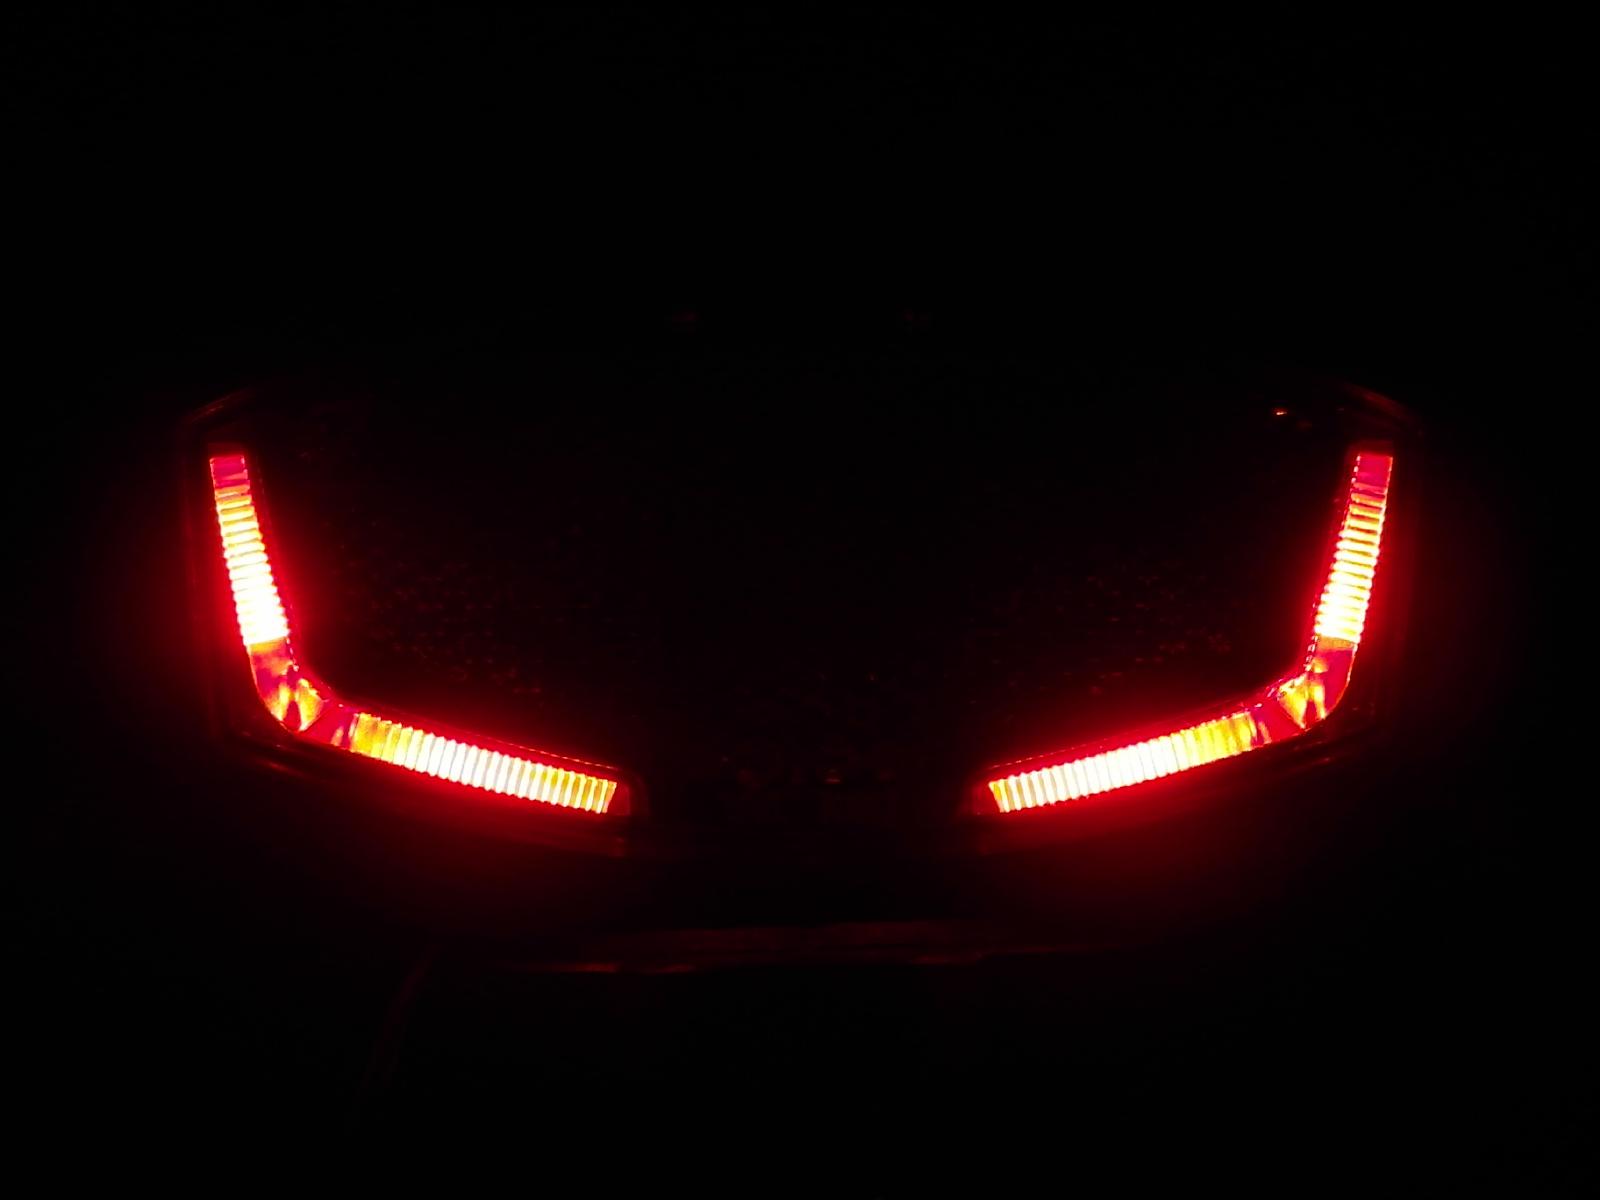
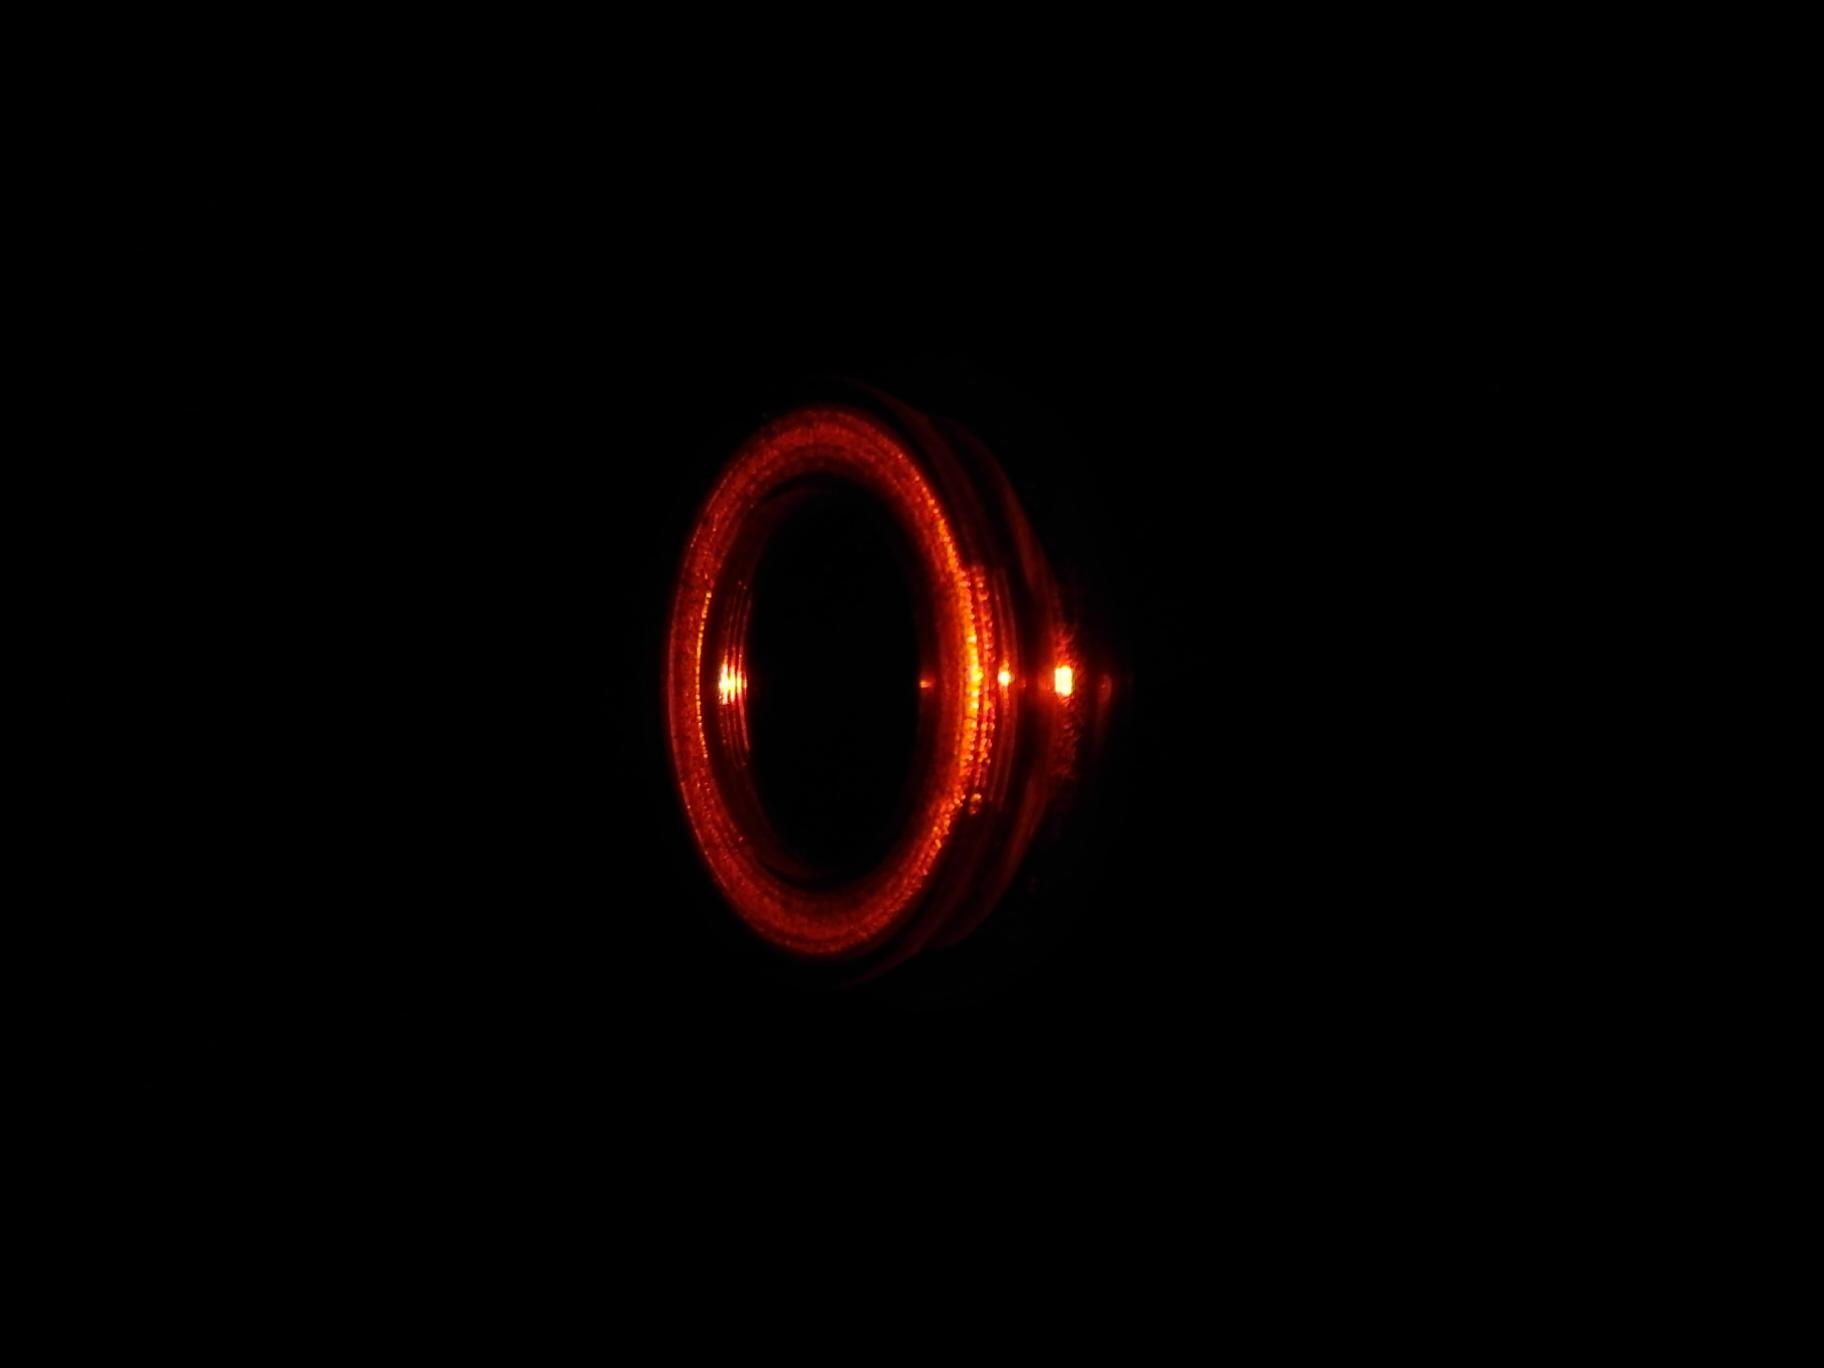
Visibility from various angles (0°, 45°, 90°, 135°) [ 0.5m, zoom x3, F3.5, ISO80, 1/250s (brighter 1/60s) ]:
Thumbnail size: 160 240
| Lamp | Visibility at 0° | Visibility at 45° | Visibility at 90° |
Visibility at 135° |
| Example in daylight |  |
 |
 |
 |
| Sp 15 (0,3W) |
|
|

|
|
| Sp 15 (0,6W) |

|
|
|

|
| Sp 15 (2013) (0,6W) |

|
|

|

|
| Spx |
|

|

|

|
| Pixeo |
|

|
|
|
| Go |
|

|
|

|
| Ray |
|
|
|

|
| D-toplight plus |
|
|
|

|
| Flat plus |
|
|
|
|
| Flat S plus |
|
|

|
|
| Line plus |
|
|

|
|
| Riff steady |
|
|

|
|
| H-track |

|
|
|
|
| Plateo xds |
|

|
|

|
| Mini plus |
|
|
|
|
| Philips Lumiring |

|

|

|

|
| Ray LED |
|
|
|
|
| Spark steady |

|
|

|
|
| Line brake plus |
|
|

|
|
| Brasa |
|
|
|

|
| Lineo |
|
|
|
|
| Philips Lightring |

|
|

|
|
Last modified: Sat Oct 26 06:13:22 CEST 2013